Cupcakes may not be at the height of dessert trendiness anymore (read: now you have to wait in long lines for other treats), but they will always be beloved. They’re nostalgic, miniature, and can be made to suit any tastes and styles. It’s best to just accept it: They’re adorable, and that makes them nearly irresistible. But unlike puff pastry, pâte à choux, or pie dough, I rarely get questions about how to nail a perfect cupcake recipe, step by step. Instead, I get flooded with questions about how to make cupcakes look a certain way.
Here’s what you need to know (or skip straight to the recipe!):
1. Preparing your pan
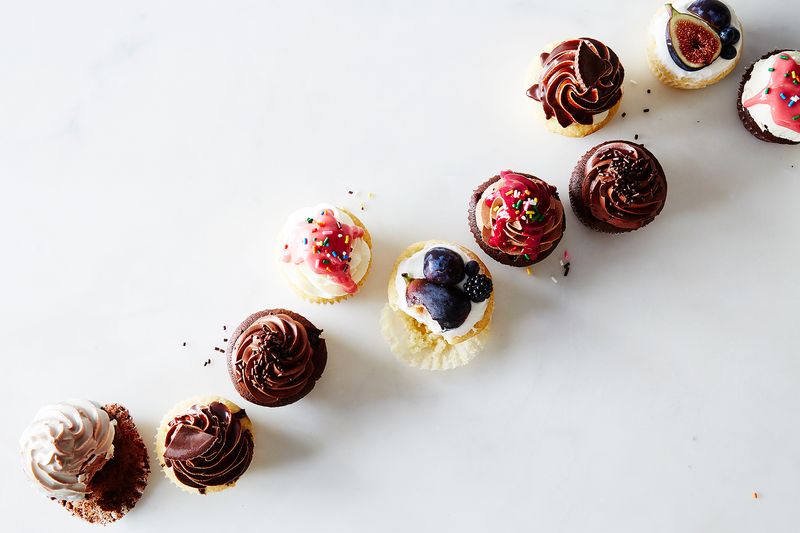
I love those adorable cupcake wrappers, too—you know, the ones they make now in every possible shape, color, pattern, and so on? Yup—cute as can be. If you want that wrapper to stay adorable, don’t grease your pan. The batter is already fatty and may leech a little grease into the absorbent paper wrappers, so if you grease the pan, you’re just starting that absorption from the get go.
If anything, grease just the top of the cupcake pan before you place the liners in — this prevents any sticking from the cupcake surface after it’s risen over the edge of the liner. If you’re really worried about the liner, you can try to use two—though this only works if you’re able to keep them together (meaning that you put both liners in the pan together, rather than putting one liner in the pan, then separating another liner and putting it on top).
I also really enjoy the thicker, higher quality free-standing cupcake forms, which rarely absorb grease or moisture (and you don’t need a cupcake pan at all).
If you’re a liner-hater (or just don’t have any), you can also grease and flour a cupcake pan like you would a larger cake pan, and the cupcakes will come out after baking, no problem.
2. Ingredients
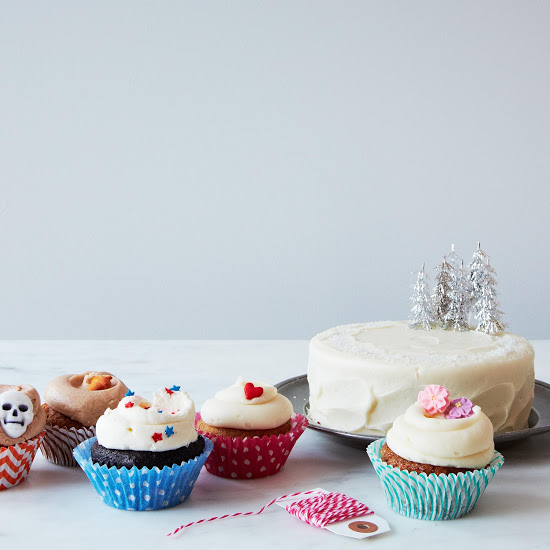
You can make cupcakes out of nearly any cake recipe, which means that there are an infinite amount of ingredients we could talk about here. Instead, it’s better to think about the result that you want. Do you want a dense, moist cake or a light, fluffy one? Turn to your favorite tried-and-true cake recipes for inspiration. It may take a little finagling to figure out how many cupcakes a cake recipe will yield and how long you’ll need to bake them, but you’ll be rewarded with miniature versions of your favorite cake flavors (and isn’t that what cupcakes are really all about)?
There are a lot of great cupcake recipes out there too—and for the purposes of this article, I’ve provided a basic vanilla cupcake and a basic chocolate cupcake recipe, which are great jumping off points!
The only other ingredient caveat is to remember to scale your recipes carefully—especially when you’re working with recipes that only make 12 cupcakes. It’s not that many ingredients and the volume is low, so it’s important to make sure you aren’t over or short. Proper scaling is always important in baking, but it can make a big difference in recipes where amounts are small to begin with.
3. Mixing
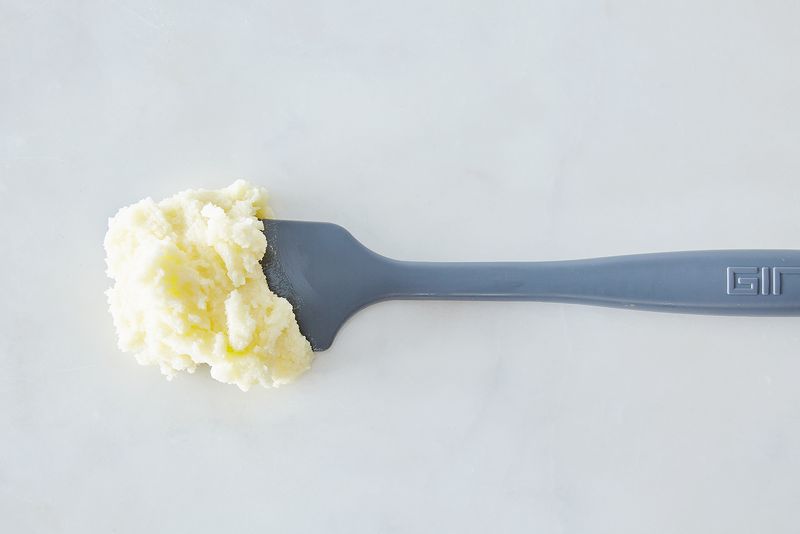
Some cupcake recipes are made using the blending method, some use the foaming method, and still others (mine included) use the creaming method. Remember that the desired end result should help determine your mixing method; I make one recipe for cupcakes that is essentially a killer brownie recipe (and the finished cupcakes are intensely dense and fudgy). But if you’re topping your cakes with whipped cream and fresh berries, you may want something that more closely resembles the soft, airy texture of angel food cake. For the most traditional moist and tender cupcake, the batter will likely start off with creamed butter and sugar.
4. Portioning

This seemingly simple step can mean the difference between perfectly even cupcakes or perfectly wonky ones. When I portion cake batter into cake pans for a layer cake, I like to weigh it out—this helps me to be extra precise and guarantees that the layers will come out uniformly. Unfortunately, cupcakes don’t really allow for that since their individual cavities are all in one pan. The best solution is to use a scoop. If you can, it’s best to find a scoop that is exactly the right size to fill your pan properly.
What is “properly”? Certain recipes can vary, of course, but the general golden rule is to fill each cavity 3/4-way full. This allows for the cake to rise slightly higher than the level of the pan, with only slight and subtle doming. Like I said, some recipes will vary (I love the Nutella cupcake recipe that says to fill to the edge of the cavity because the cupcakes will come out perfectly flat), but it’s a really good rule.
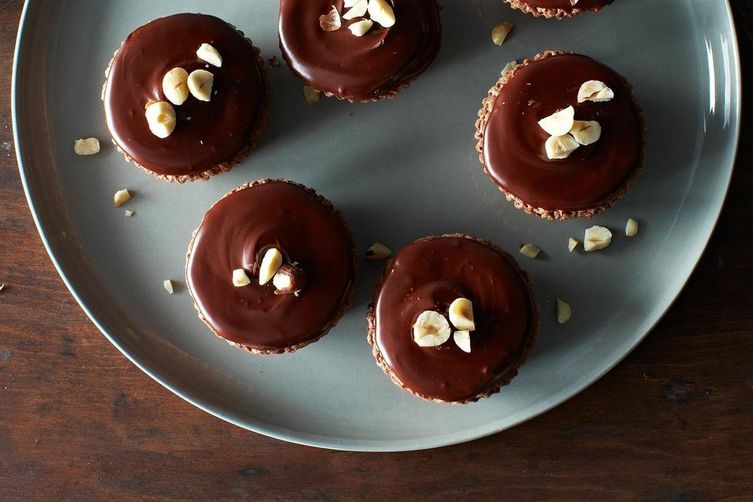
For a standard cupcake pan, I’ve found that a size 40 scoop (3/4 ounces) is perfect. If you only have smaller scoops, that’s okay—it’s just that you’re more likely to get uneven results if you have to keep dipping multiple times. If you don’t have a scoop, spoons (or even ladles) work, too. Just try to be even: The more careful you are here, the more likely your cupcakes will all turn out the same.
5. Stuffing
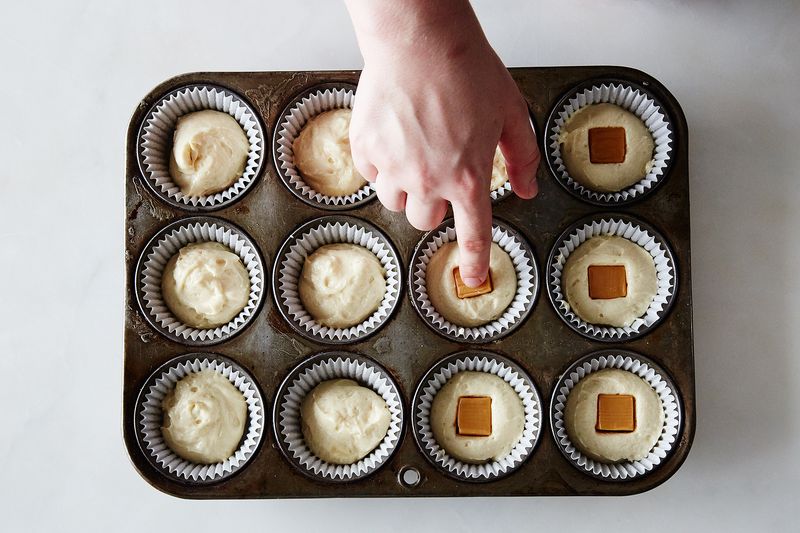
Stuffing cupcakes is fun way to take a basic recipe and turn it into something a little more special. I love to do multiple stuffings in a single batch of cupcakes, which provides people with a lot of variety when selecting their flavor (the batter is the same but the insides are a little different).
You can use lots of things to stuff a cupcake, but I usually opt for things I don’t have to prepare so it’s as easy as plopping it in the middle. Some of my favorites are: a piece of caramel, a square of chocolate (or a round of ganache), a dollop of jam, a few whole berries, a scoop o fmarshmallow fluff, a spoonful of nut butter, or any of your favorite candies (I usually choose something soft like chocolate-covered nougat).
If you want to stuff a cupcake, place the stuffing of choice in the center of the batter and press down—the batter should flood around the filling. Then, just use a spoon or your fingers to surround it completely with batter. Keep additions to around 1 tablespoon in size, but no need to be precise. Some fillings are more likely to naturally “sink” to the base of the batter, so I usually compensate by adding a little more filling to make sure that there’s still some near the center when I bite in.
6. Baking
The main way to mess up a cupcake? Over-bake that little guy so it’s all dried out. Avoid this by starting to check 5 minutes before your recipe guidelines. Insert a cake tester into the center of a cupcake. It should come out with a few moist crumbs attached to it. If it comes out totally clean, that’s okay, but the cupcakes definitely don’t need any more time.
7. Cooling
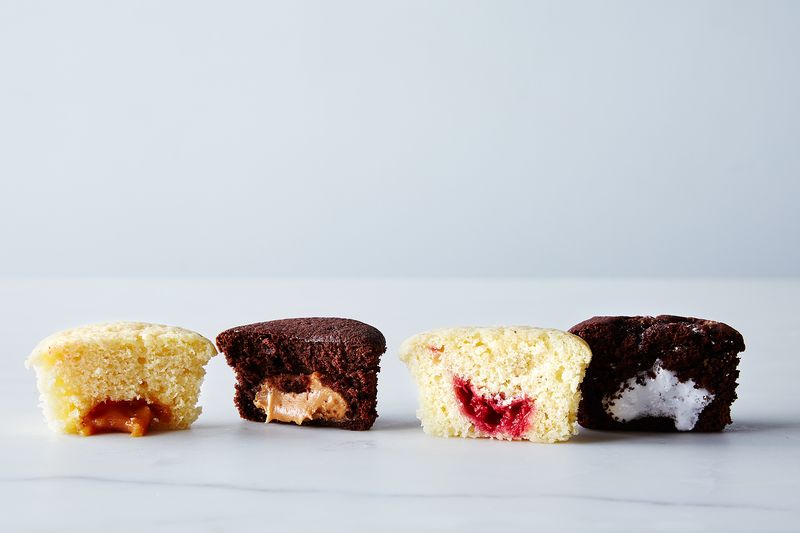
For best results, cool cupcakes in the pan for 5 to 10 minutes before inverting them onto a cooling rack and allowing to cool completely. If you suspect your cupcakes may be over-baked (or close to it), go ahead and invert them immediately upon removing them from the oven; the cakes should be strong enough to stay together while piping hot, especially if you’re using a liner. Remember to cool the cupcakes completely before frosting and finishing. The good news is, unlike larger cakes, cooling time is usually only 25 to 30 minutes!
8. Frosting
Frosting selection is another great way to dress up a basic cupcake flavor. You can use your favorite buttercream, meringue or marshmallow frosting (bonus points for toasting it), basic whipped cream, or ganache in any flavor whipped up to a light and fluffy consistency. For these types of icings, I love to pipe them on. Even if you’re not a great piper, piping will give your cupcake that undeniably signature look. You can pipe a simple spiral with an open round tip (or, just cut a round hole in a piping bag or plastic storage bag) or you can use a star tip (my fave).
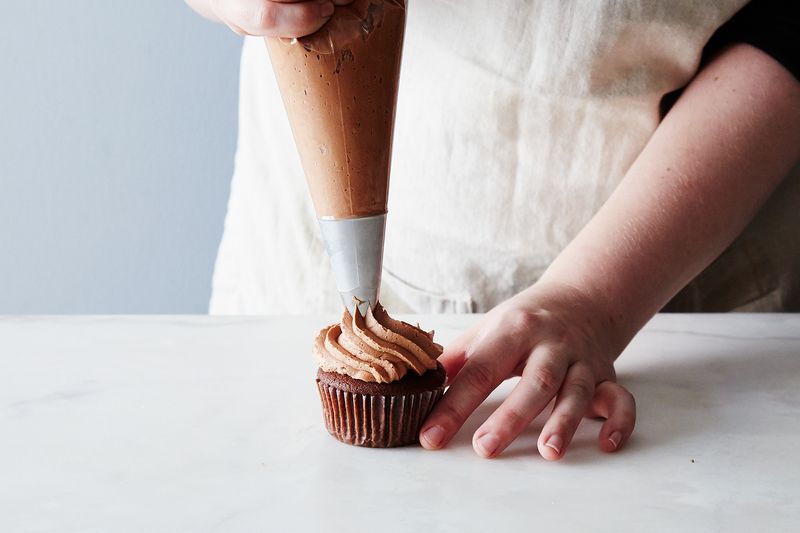
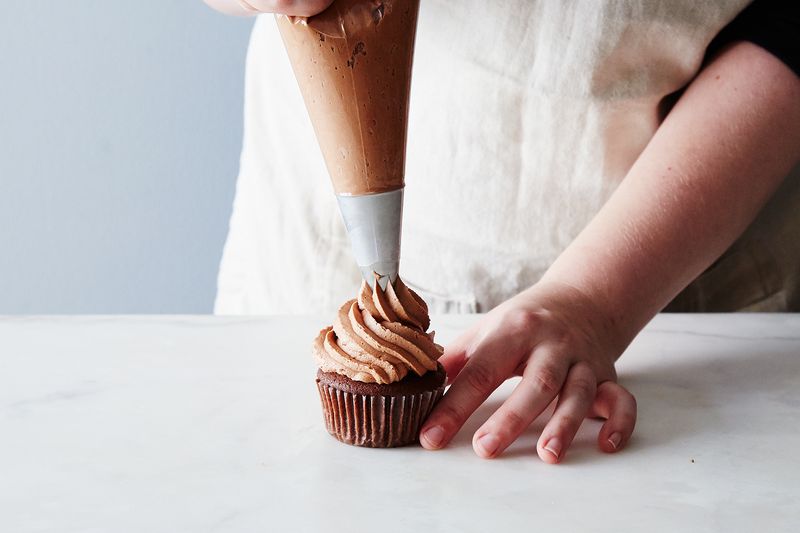
Start on one edge of the cupcake and turn the cupcake with your non-dominant hand while you pipe with your dominant hand. Once you’ve made a circle on the base of the cupcake, build another layer moving up. Stop squeezing the pastry bag just before you’re ready to finish: By stopping the pressure, you stop the frosting from flowing over, which will help you get a prettier finish. If the pull-away isn’t so hot, just use that as the jumping off point for applying garnishes, and no one will ever know!
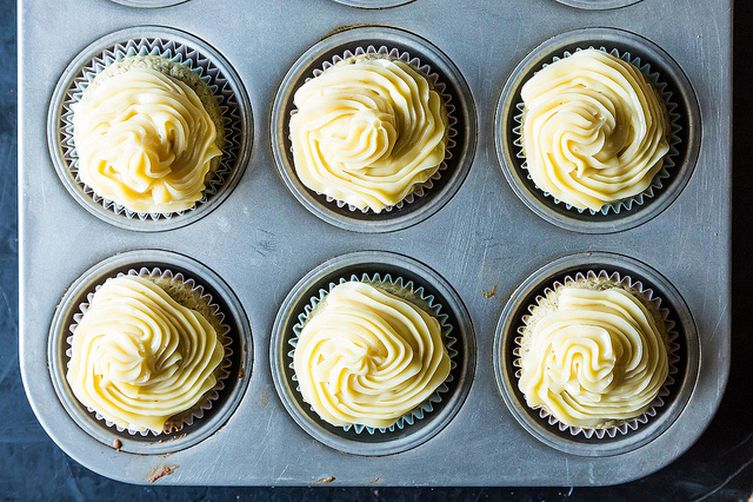
If piping isn’t for you, you can go the swirly route (à la Magnolia Bakery). Place a hefty dollop of icing in the center of the cupcake. Use a small offset spatula or even the back of a spoon to swirl the frosting around the cupcake. One of the best ways to do this is to hold the spatula or spoon in the center, and turn the cupcake while you hold the utensil still. Move from the center to the outer edge of the frosting while you turn, creating one big swoopy swirl.
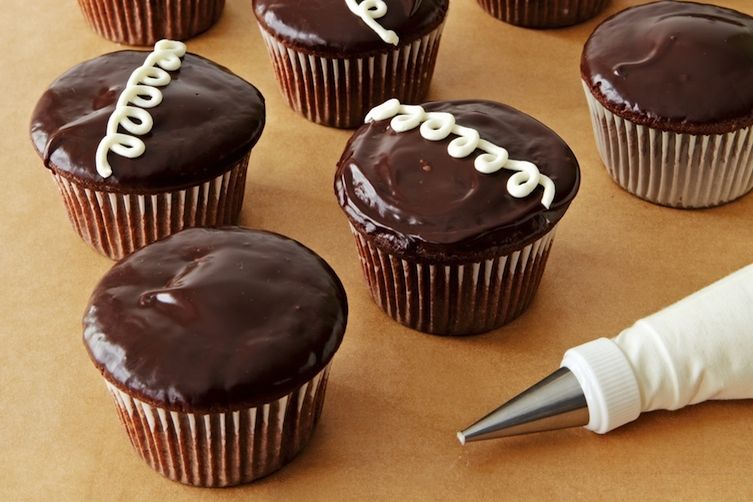
Yet another option is to glaze cupcakes. This is a gorgeous finish that is easy as can be. It works well with ganache (or any other chocolate glaze), or you can make your own fruit glaze by thickening a small amount of fruit juice with powdered sugar. For a smooth finish on a cupcake, you want the glaze to be relatively fluid. Hold the cupcake by the base and dip it straight down into the glaze. Lift the cupcake out of the glaze and let the excess drip off, then quickly invert the cupcake.
9. Garnishing
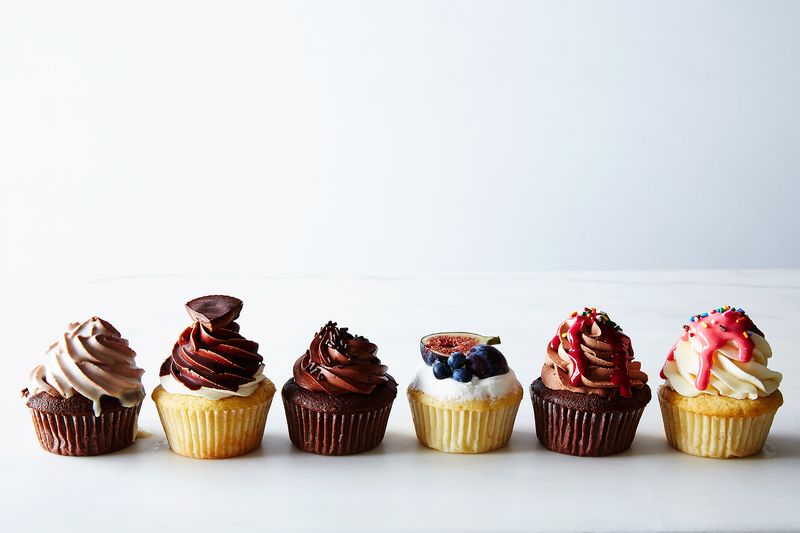
Garnishes on a cupcake are nothing short of really, really, really fun. Sprinkles, chopped chocolate, candy, and fresh fruit are all fair game. My suggestion is to either go plentiful (hello, handful of sprinkles) or delicate (looking at you, cherry).
But my favorite garnish? A second icing. It looks special and introduces another color, texture, or flavor to the cupcake. I like the super fun Hi-Hat: Frost the cupcake with a buttercream, 7-minute, or other fat-based frosting, then refrigerate them until the frosting is good and set. When the frosting is nice and cold, dip the frosted cupcake into magic shell (I like to make my own so I can have multiple chocolate flavors). This looks especially great on piped frosting, but works fine on swirly frosting, too.
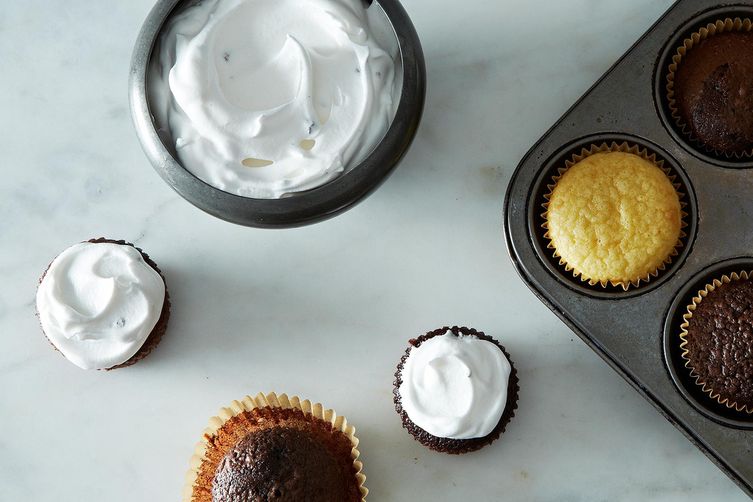
Another favorite look is a healthy drizzle of a second icing. You could drip ganache down the cupcake or the use the aforementioned fruit glaze—just make it thicker so it drizzles slowly down. Both will set if left at room temperature and look (and taste) amazing.
Basic Vanilla and Chocolate Cupcakes
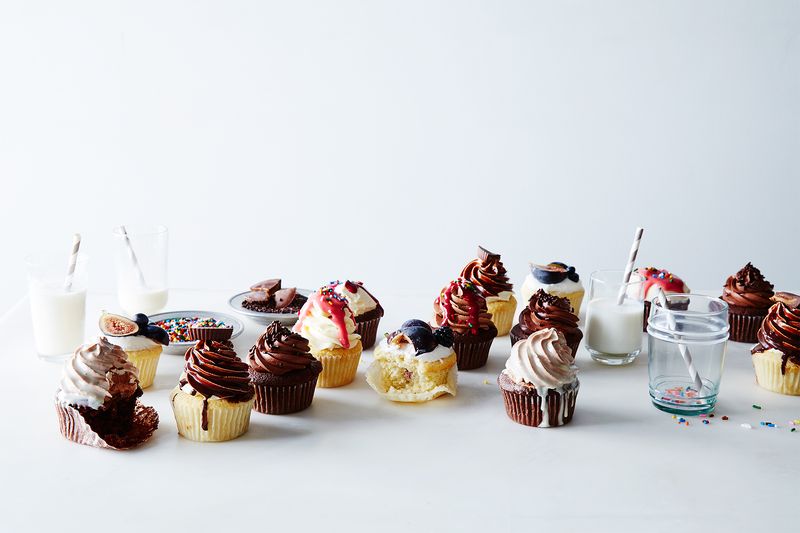
Makes 12 of each
For the vanilla cupcakes:
1 1/2
cups all-purpose flour
1
teaspoon baking powder
3/4
teaspoon salt
1/2
cup unsalted butter, at room temperature
1
cup granulated sugar
2
eggs
1 1/4
teaspoons vanilla extract
1/2
cup buttermilk
For the chocolate cupcakes:
1 1/4
cups all-purpose flour
1/3
cup cocoa powder
1
teaspoon baking powder
3/4
teaspoon salt
1/2
cup unsalted butter, at room temperature
1
cup granulated sugar
2
eggs
1 1/4
teaspoons vanilla extract
3/4
cup buttermilk
See the full recipe (and save and print it) here.
This article originally appeared on Food52
More from Food52:
More Must-Reads from TIME
- Why Trump’s Message Worked on Latino Men
- What Trump’s Win Could Mean for Housing
- The 100 Must-Read Books of 2024
- Sleep Doctors Share the 1 Tip That’s Changed Their Lives
- Column: Let’s Bring Back Romance
- What It’s Like to Have Long COVID As a Kid
- FX’s Say Nothing Is the Must-Watch Political Thriller of 2024
- Merle Bombardieri Is Helping People Make the Baby Decision
Contact us at letters@time.com