For years, I confused fraternal affection with a hatred for nuts. When my brother was diagnosed with a severe nut allergy, they were banned from the house and I, in an act of sibling loyalty, declared that I didn’t like nuts, either. In reality, I wasn’t quite sure how they tasted, but I refused to touch even the kid-friendly, nut-filled classics: Snickers, Reese’s Cups, peanut butter.
It was a sneaky Nutella crêpe that ultimately converted me. At the time, I thought Nutella was just a chocolate spread, but I quickly learned that it was hazelnuts that made it much, much better than plain old chocolate. I chose my next move more deliberately with a PB&J, and to my delight, it was even better than the Nutella crêpe—mainly because I could eat it for lunch rather than waiting all day for dessert. I ate one every day for an entire year. At that point I had become old enough to bicker with my brother, so I took pride in the fact that my bold lunch choice made him mad.
Now that I’m older, I’m a bit more sophisticated with my lunches. Still, I have a soft spot for anything with peanut butter, especially when it involves sugar. For this reason, I’ve always considered Nutter Butters to be the perfect dessert, but their dry texture makes it necessary to soften each bite with a dunk into milk. When I set out to make my own, I made sure to make them chewier, held together with a more nuanced filling that replaces hydrogenated oils with butter as its base. They’re everything my adult self wants, sibling rivalry aside.
Ingredients
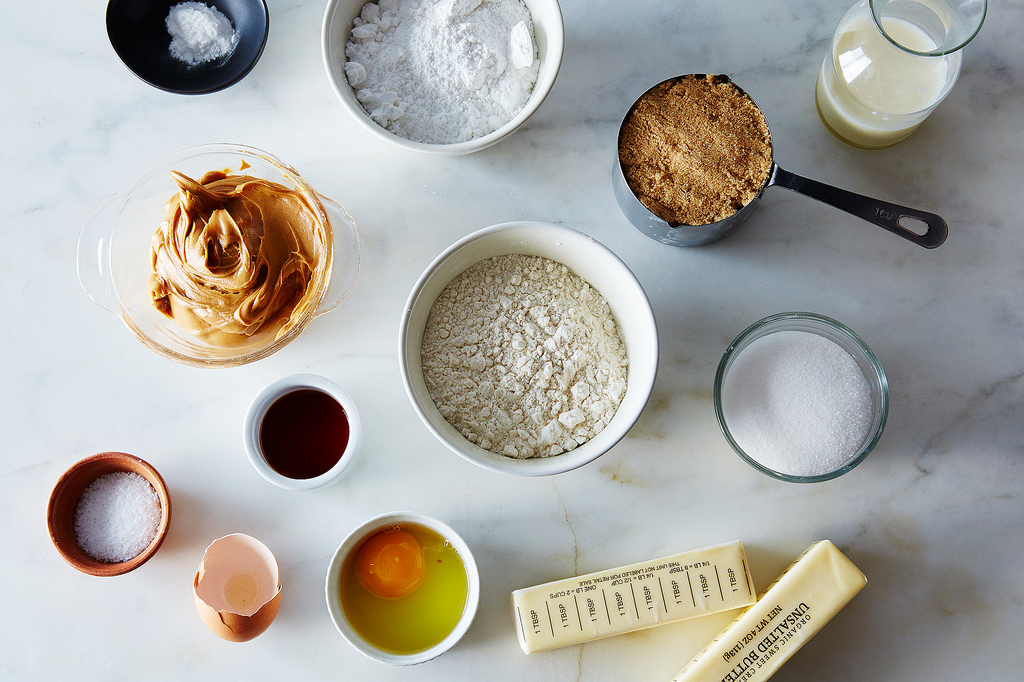
Makes 16 cookies
For the peanut butter cookies:
1 1/2 cups all-purpose flour*
3/4 teaspoon baking soda
1/4 teaspoon salt
8 tablespoons butter
1 cup packed light brown sugar
1 egg
1/2 teaspoon vanilla extract
3/4 cup chunky peanut butter
1/2 cup granulated sugar
For the peanut butter filling and assembly:
4 tablespoons butter, at room temperature
1/2 cup chunky peanut butter
1 cup powdered sugar, sifted
2 tablespoons whole milk
1/2 teaspoon vanilla extract
*For homemade Nutter Butters that better resemble the store-bought variety, replace the all-purpose flour with 1 cup gluten-free flour, as the gluten-free flour better retains its shape.
Step 1
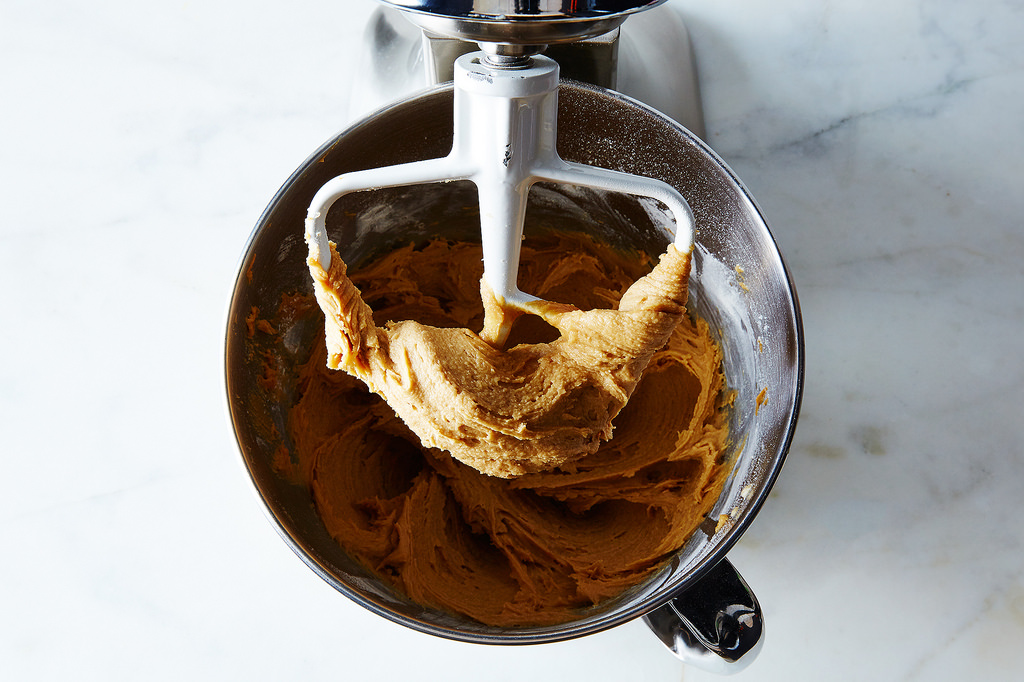
Start by making the peanut butter cookies: In a small bowl, sift the flour, baking soda, and salt together. Set it aside while you use a large bowl with a handheld mixer or a stand mixer to cream together the butter and brown sugar on medium speed, until the mixture is light and fluffy. Add the egg and vanilla extract and beat until well combined. Add the peanut butter and mix until just blended, then reduce the speed to low and beat in the flour mixture just until the dough just comes together.
Step 2
Cover the dough with plastic wrap and chill in the refrigerator until firm, about 1 hour or up to overnight.
Step 3
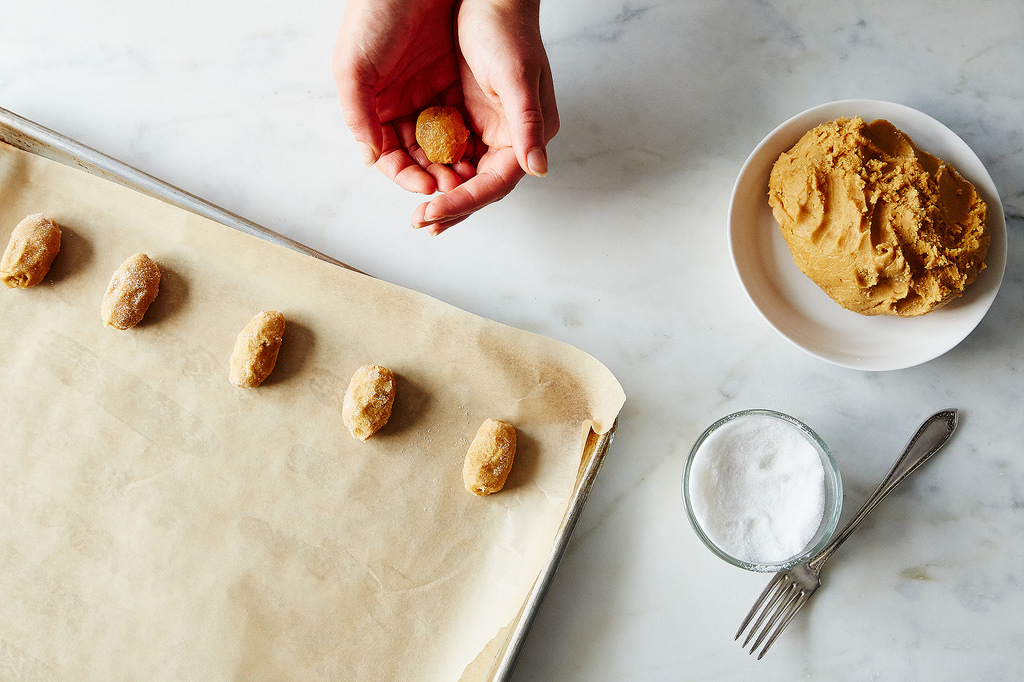
When you’re ready to bake them, preheat the oven to 350° F. Line 2 baking sheets with parchment paper and fill a small bowl with the granulated sugar.
Step 4
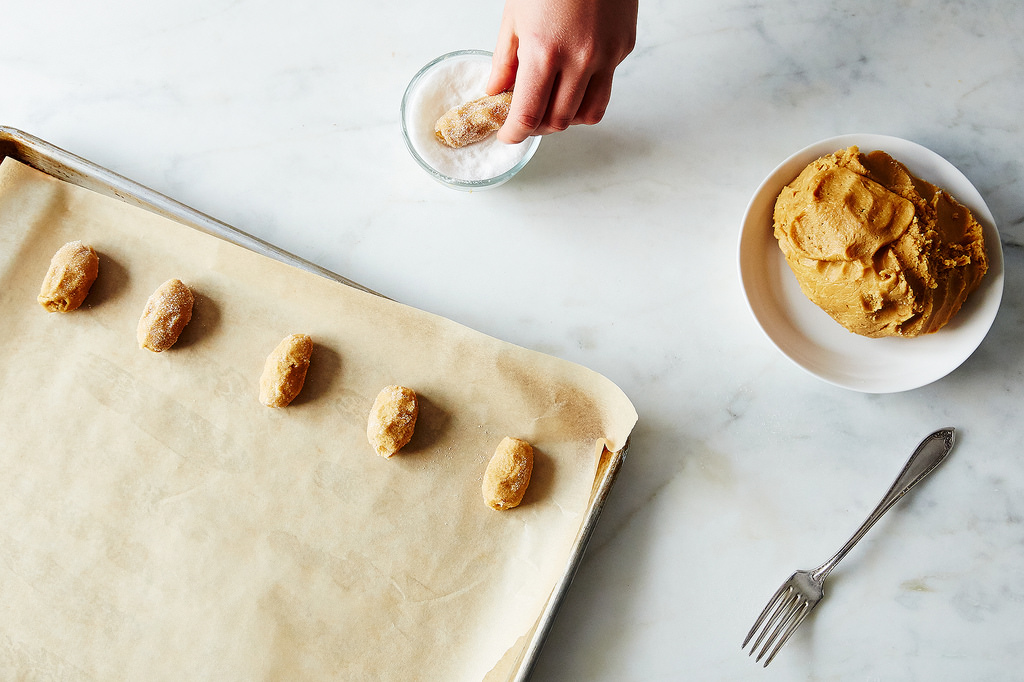
Roll the dough into logs that are 1 inch long by 1/2 inch wide. The easiest way to do this is to first roll the dough into 1 inch-wide balls, then keep rolling until they turn into cylinders. Roll each one in the bowl of sugar until covered.
Step 5
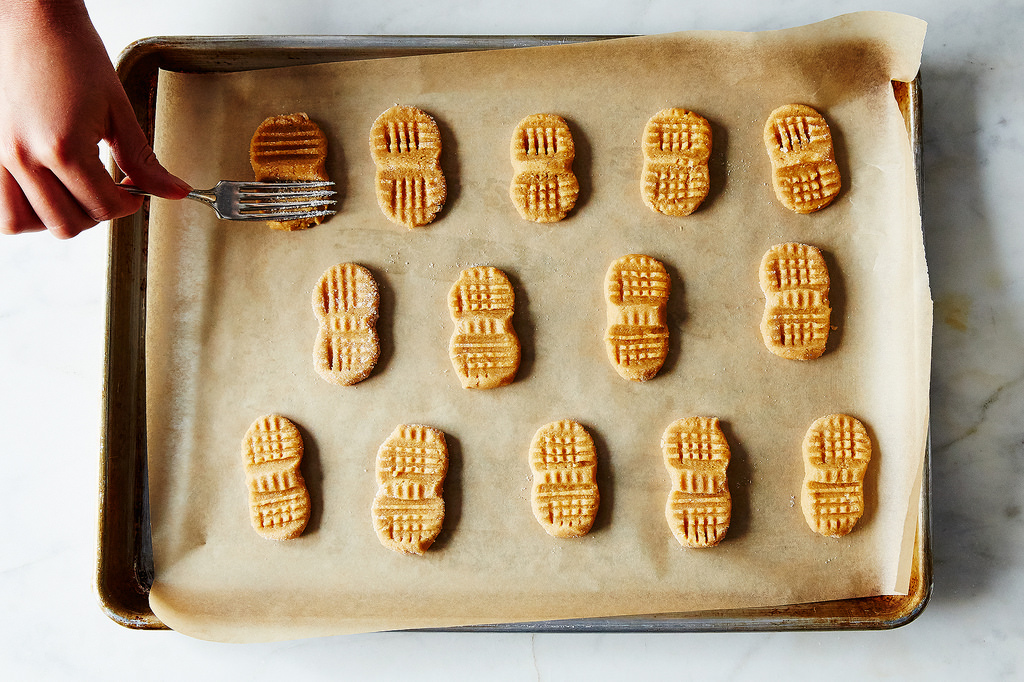
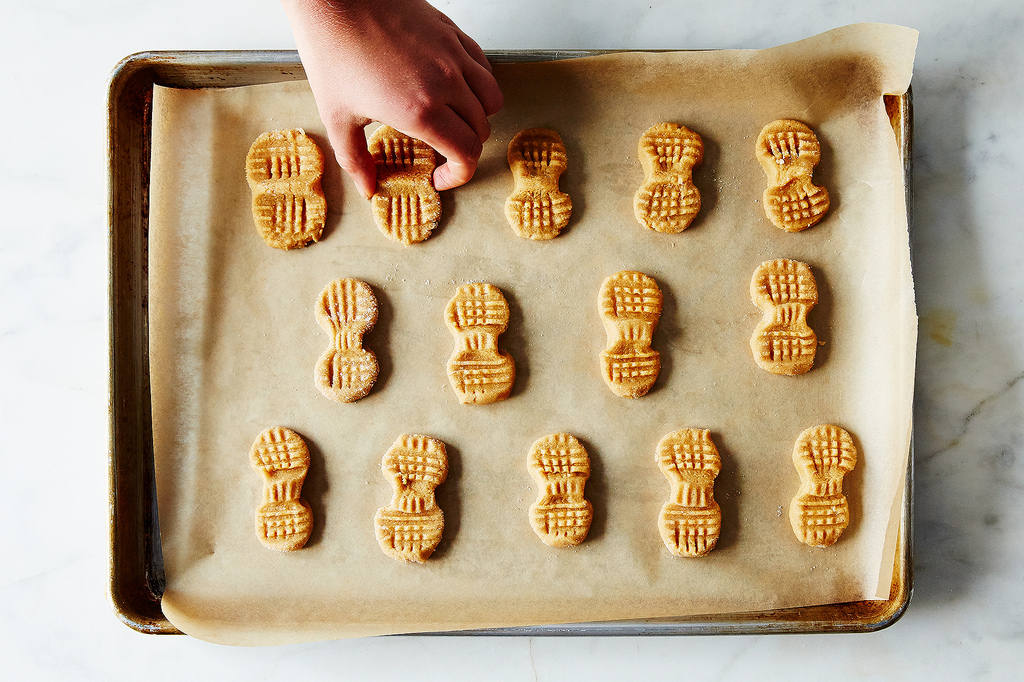
Place the logs 2 inches apart on the baking sheets. Using the tines of a fork, create a criss-cross pattern in the dough and flatten the cookies until they are 1/4 inch high. Using your fingers, pinch the middle to create a peanut shape. Return the cookies to the freezer to cool for 15 minutes—the dough spreads quite a bit but cooling them before baking will help them retain their peanut shape.
Step 6
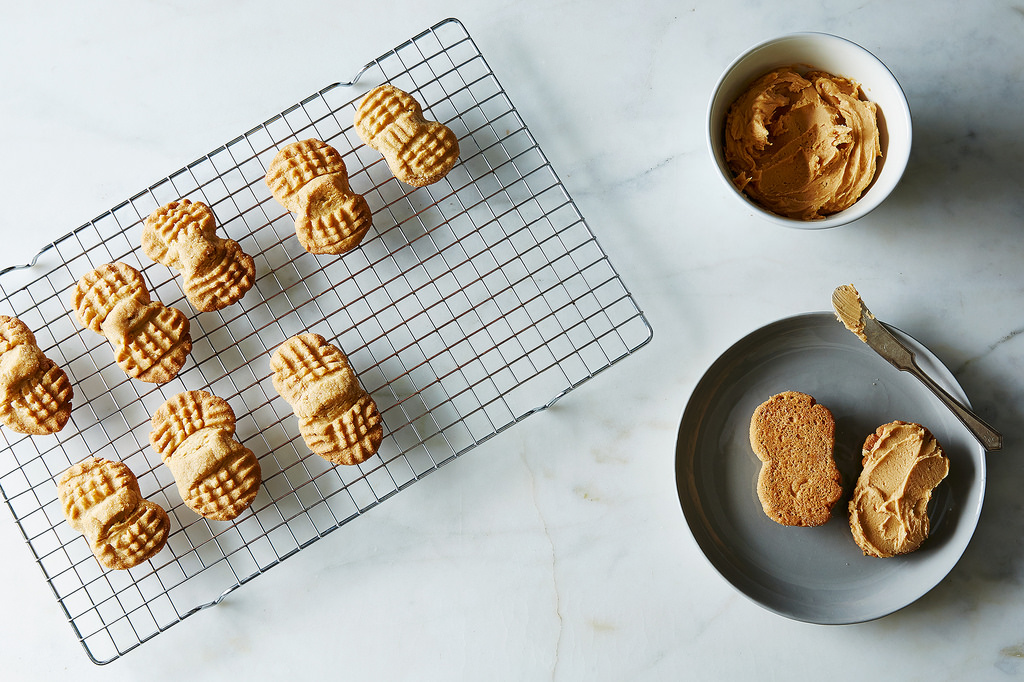
Bake for 10 to 12 minutes, until lightly golden at the edges. Transfer to a wire rack. Meanwhile, make the filling: In a large bowl, use an electric mixer to beat the butter until smooth, about 2 minutes. Add the remaining ingredients and beat until well combined.
Step 7
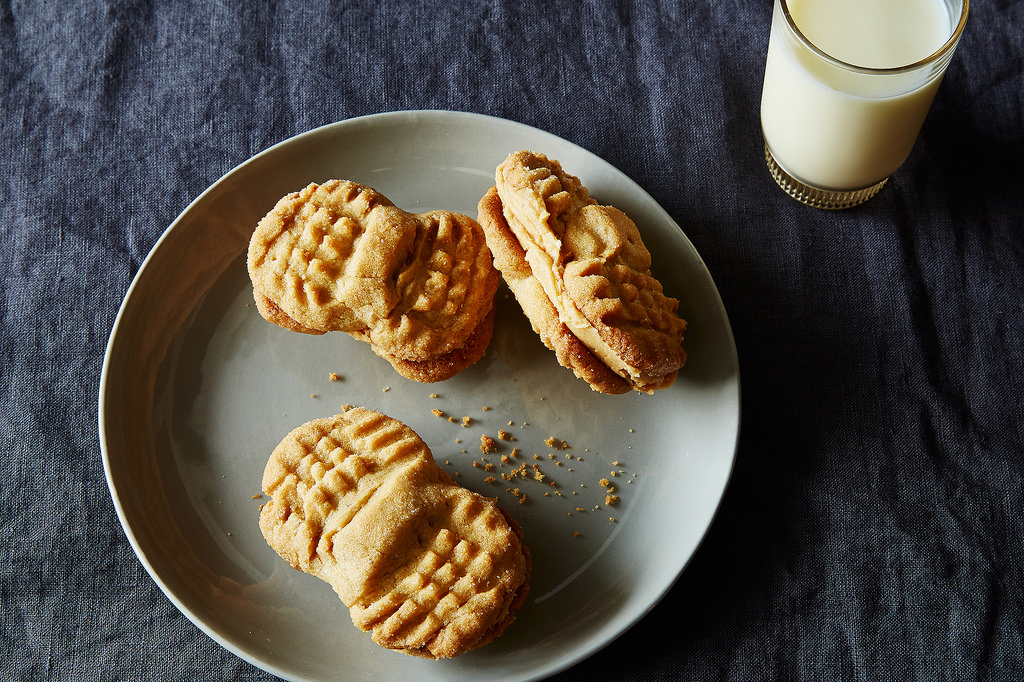
Pair each cookie with a similarly sized partner so that the edges match up. Spread a thick layer of filling on one cookie, then press the other cookie on top to create a sandwich. They are best eaten immediately, but will keep for up to 3 days in an airtight container.
See the full recipe (and save and print it) here.
This article originally appeared on Food52
More from Food52:
More Must-Reads from TIME
- Donald Trump Is TIME's 2024 Person of the Year
- TIME’s Top 10 Photos of 2024
- Why Gen Z Is Drinking Less
- The Best Movies About Cooking
- Why Is Anxiety Worse at Night?
- A Head-to-Toe Guide to Treating Dry Skin
- Why Street Cats Are Taking Over Urban Neighborhoods
- Column: Jimmy Carter’s Global Legacy Was Moral Clarity
Contact us at letters@time.com