Amid a shortage of medical-grade face masks, such as surgical masks (loose-fitting, disposable masks that block large droplets but don’t filter small particles) and N95 respirators (tight-fitting face coverings that filter out small particles), the U.S. federal government recently changed its recommendations, suggesting now that all residents wear homemade facial coverings when they have to go out.
That’s a marked difference from previous federal guidance that recommended only sick people or those caring for someone who is sick wear face masks. According to newly updated guidelines from the U.S. Centers for Disease Control and Prevention, anyone who is around other people should cover their mouth and nose with a cloth face cover, which the health agency says can be made from household items or common materials found at home. That, in turn, has raised questions about how people can best make their own face coverings at home, whether by sewing cloth masks or fashioning something out of bandanas or other fabric.
Wearing cloth face masks while in public can help prevent a person from potentially transmitting an infection to someone else. “If everybody wears a mask, it can prevent asymptomatic carriers from inadvertently infecting other people because it can trap the virus inside the mask,” says Dr. Larry Chu, a professor of anesthesiology at the Stanford University Medical Center. “That can help prevent the spread.”
However, the CDC and health care professionals have noted that cloth facial coverings are not a substitute for other preventative measures. Everyone should continue frequently washing their hands and maintaining social distancing practices, in conjunction with wearing face masks in public spaces.
Here is a basic guide to making your own face masks. Tested by TIME staff, the sewing instructions are based on guides provided by Deaconess Health and the Medical College of Wisconsin and Froedtert Hospital.
For those who sew
Materials
Instructions
Step 1: Sew the two main rectangle pieces together with the “right” sides of the fabric—the side you want to see—facing each other. Sew almost all the way around the rectangles, leaving a small gap (a few inches) open on the long side.
Step 2: Turn the rectangle right-side-out by reaching into the gap you left open and pulling the fabric through. Now your edges are on the inside and you have a neatly sewn two-sided rectangle. At the gap you left open, just tuck the edges inside for now; you’ll sew it closed later.
Step 3: Make three evenly spaced pleats along both 7-inch sides of the fabric, making sure to keep all of your tucks facing in the same direction, and pin in place. One way to do this is by marking the spacing with pins: place one about 1.5 inches down the short side of the fabric; add the next 1 inch down from that, then the third ½ inch down from that, and keep alternating between 1 and ½ inches until you’ve used all six pins. To create the pleats, just bring the first pin down to meet the second, the third to meet the fourth, and the fifth to meet the sixth. Repeat on the other side.
Step 4: Once the pleats are pinned, stitch all the way around the perimeter of the rectangle. This will sew the pleats into place and also close the gap you had left open in Step 1.
Step 5: If you’re using a strip of fabric for your strap, fold and iron it in half lengthwise and then fold and iron the raw edges in. Find the centers of your straps and the centers of the long sides of your mask, and match them. Pin the straps in place along the long edges of the mask, so there is a strap on the top of the mask and one on the bottom, with equally long pieces coming out to the sides. If you’re using a strip of fabric, pin it so it’s wrapped around the edge of the rectangle.
Step 6: Sew the strap to the mask by stitching all the way down each strap, catching the edges of the mask as you pass. (If you are using a strap that did not require folding, you can opt instead to stitch around the perimeter of the rectangle one more time.)
For those who don’t sew
You can also make cloth face masks out of T-shirts or bandanas. The instructions for no-sew masks are based on a guide from the CDC and a tutorial from Japanese Creations.
Materials for a T-shirt face mask
Instructions
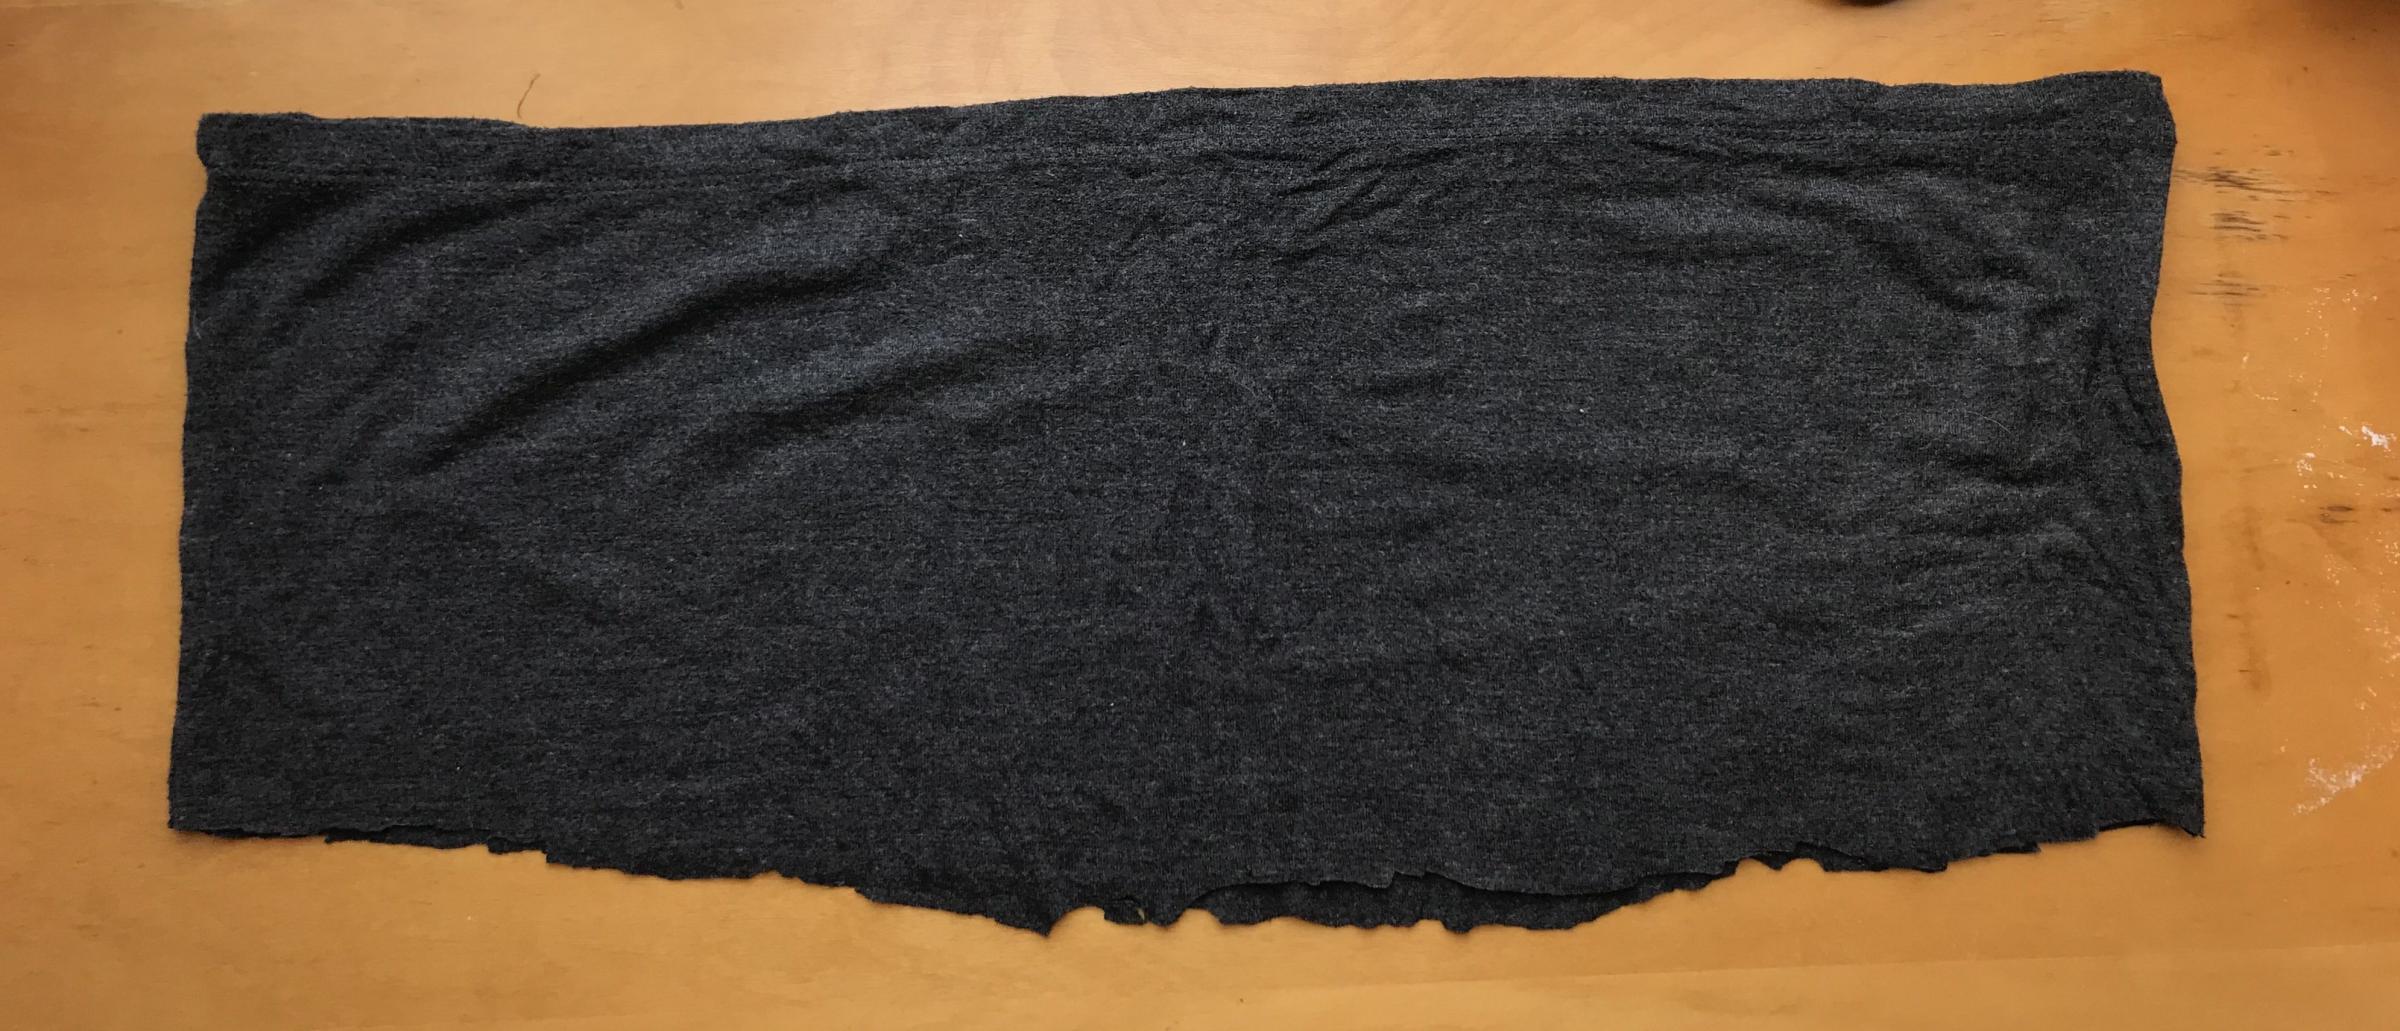
Step 1: Cut off the bottom 7 inches of the T-shirt
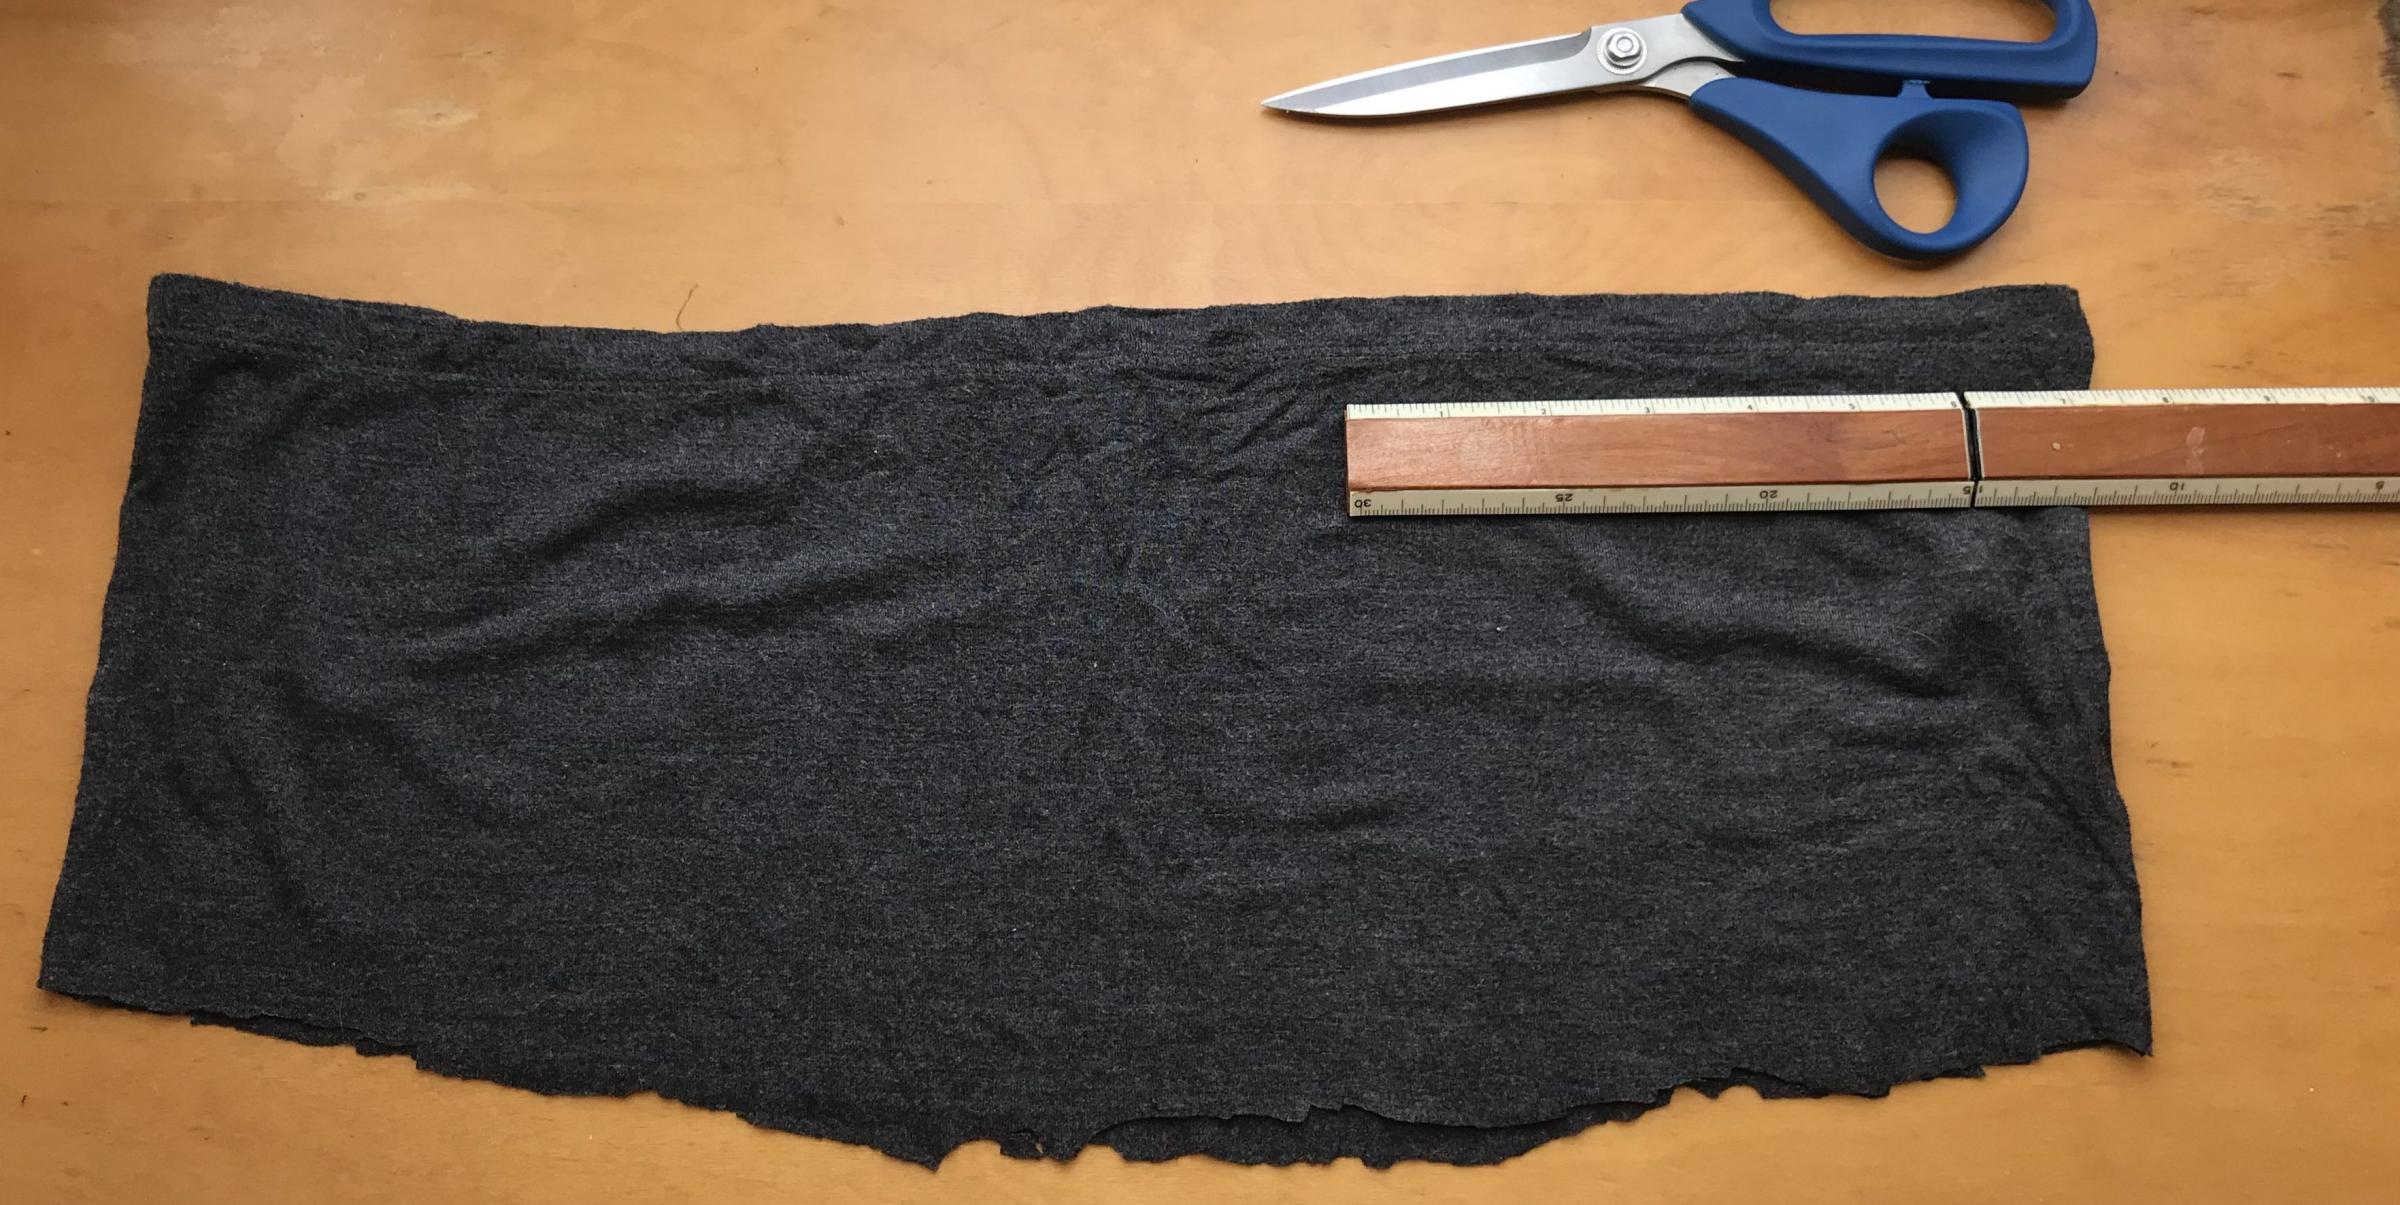
Step 2: The detached T-shirt bottom will make a two-layered rectangle. Cut a smaller rectangle across 6-7 inches of the width of the material. The remaining fabric will make up the face covering and the strings to the mask.
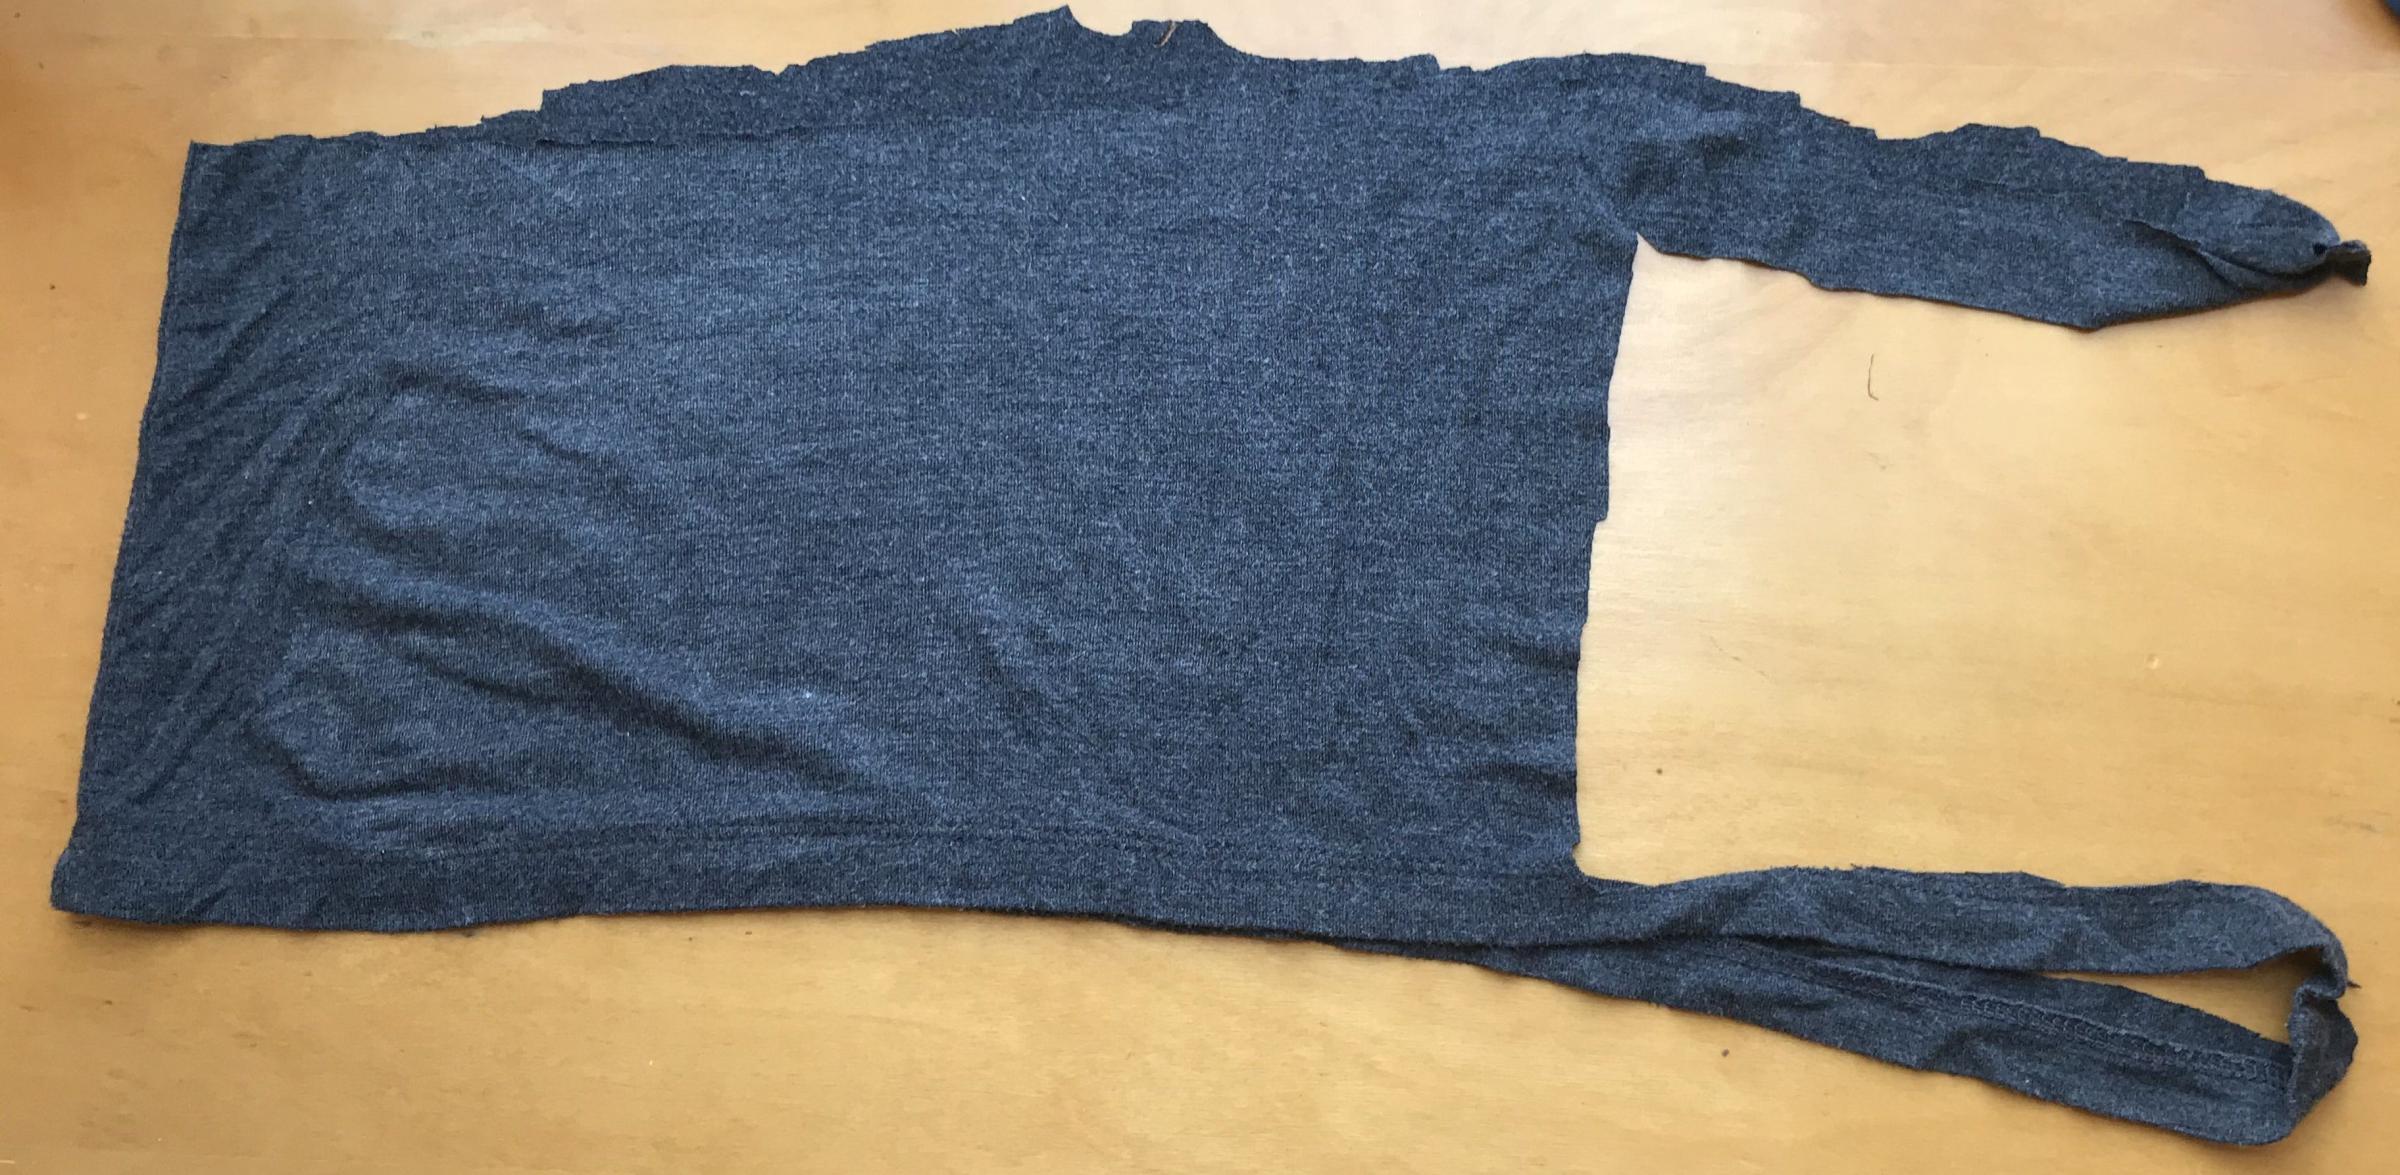
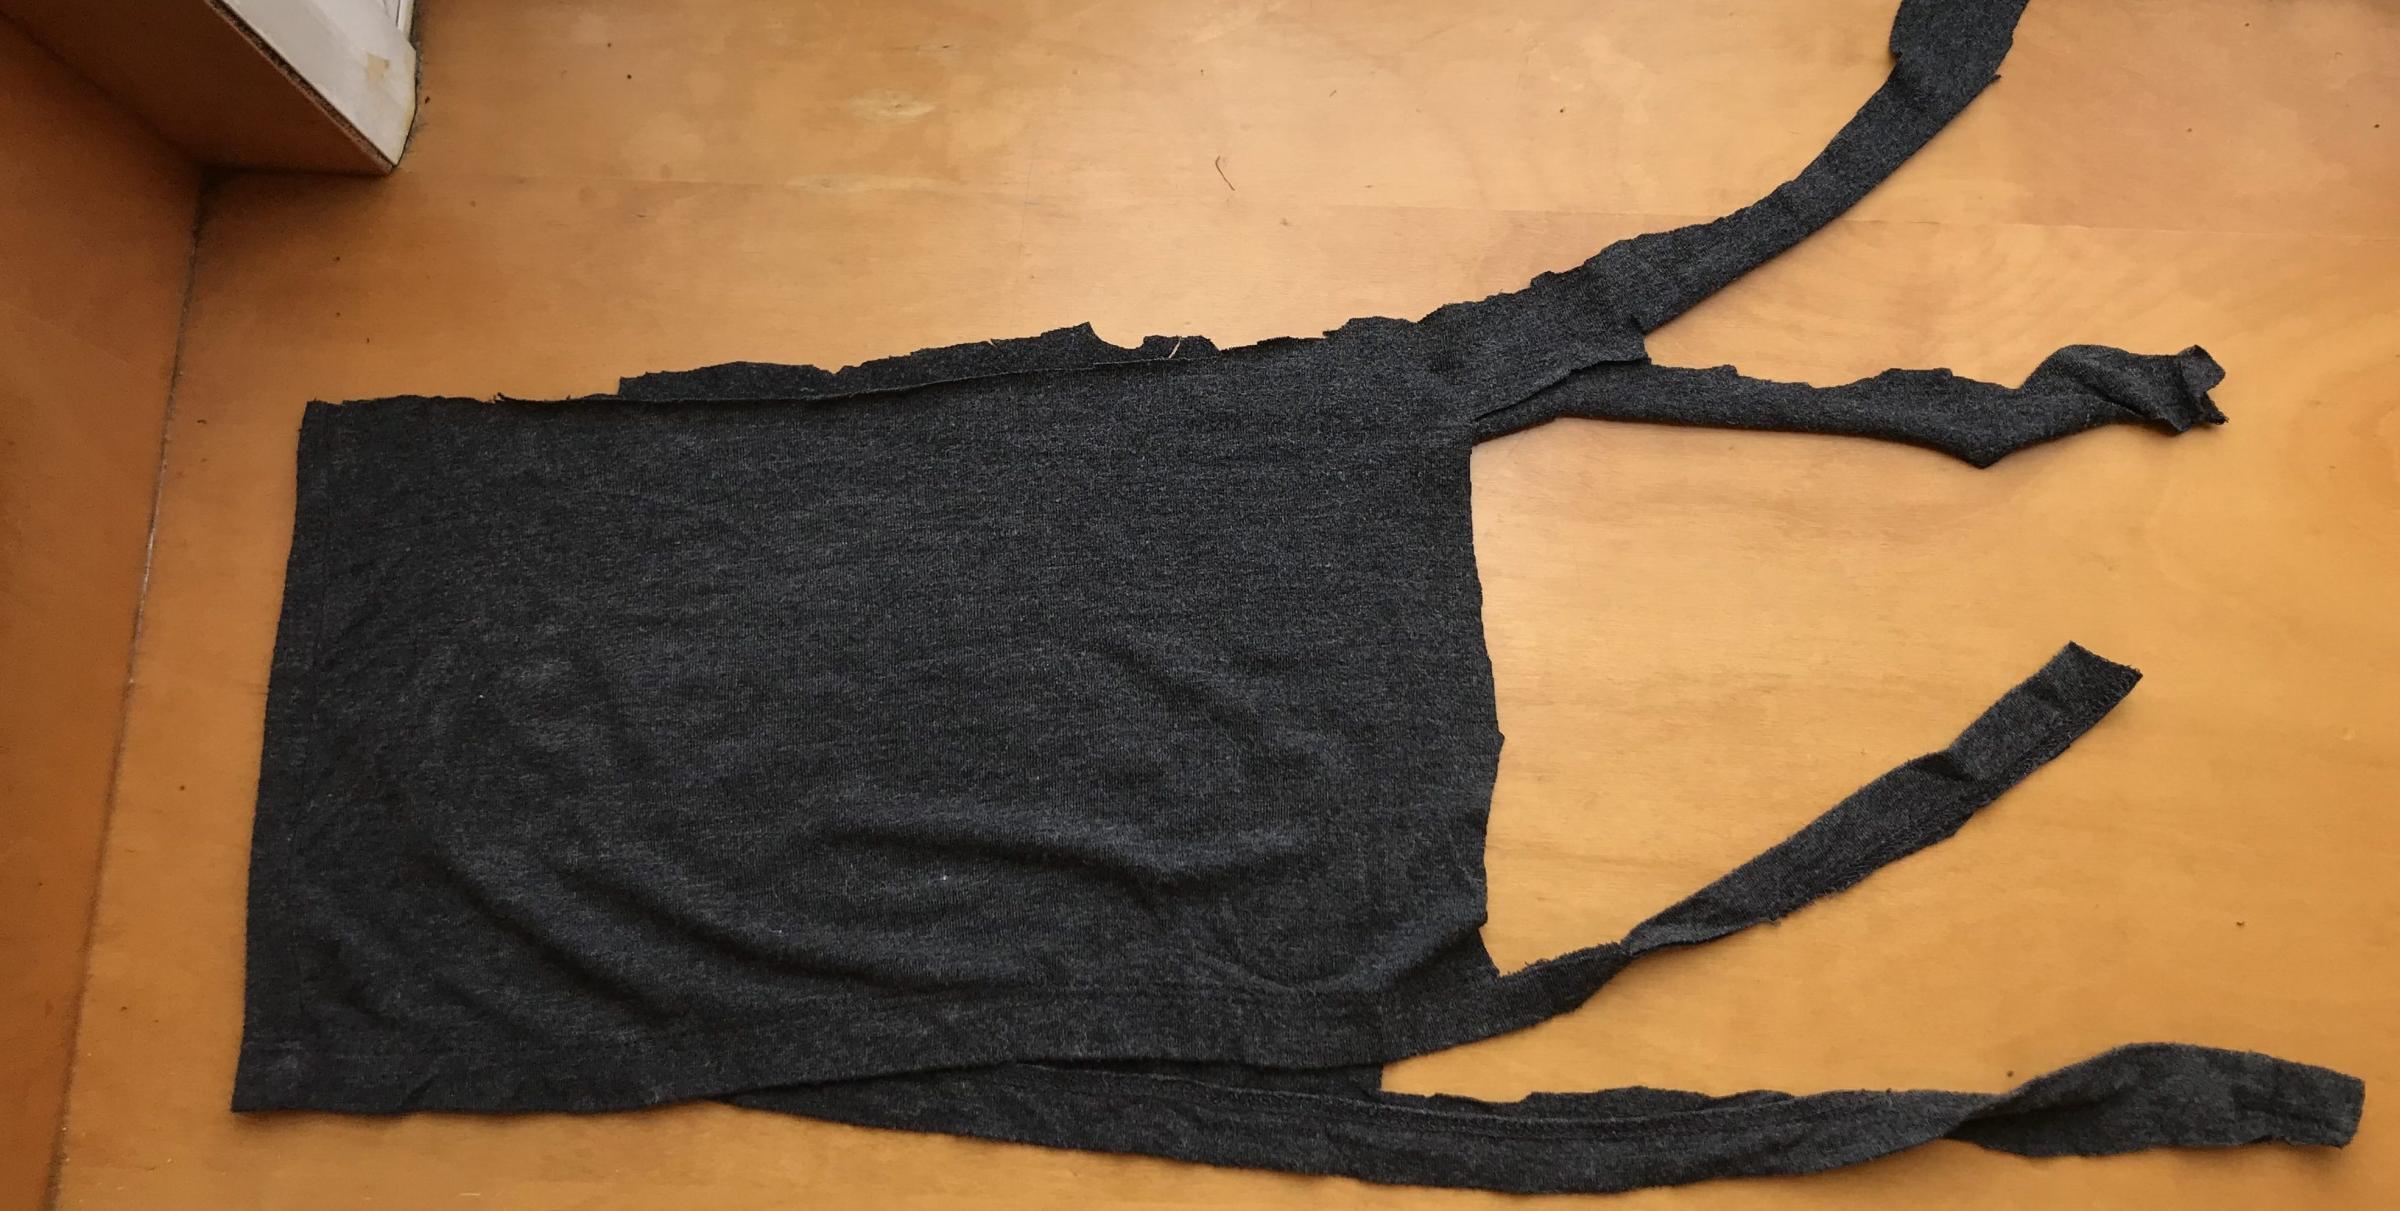
Step 3: To attach the mask, cut the middle of the fabric strips to make strings and tie one set behind your neck and the other behind the back of your head (depending on the size of the T-shirt and your face, you may have to cut out more material to ensure the mask fits—cut as much or as little as you need to properly cover your mouth and nose openings).
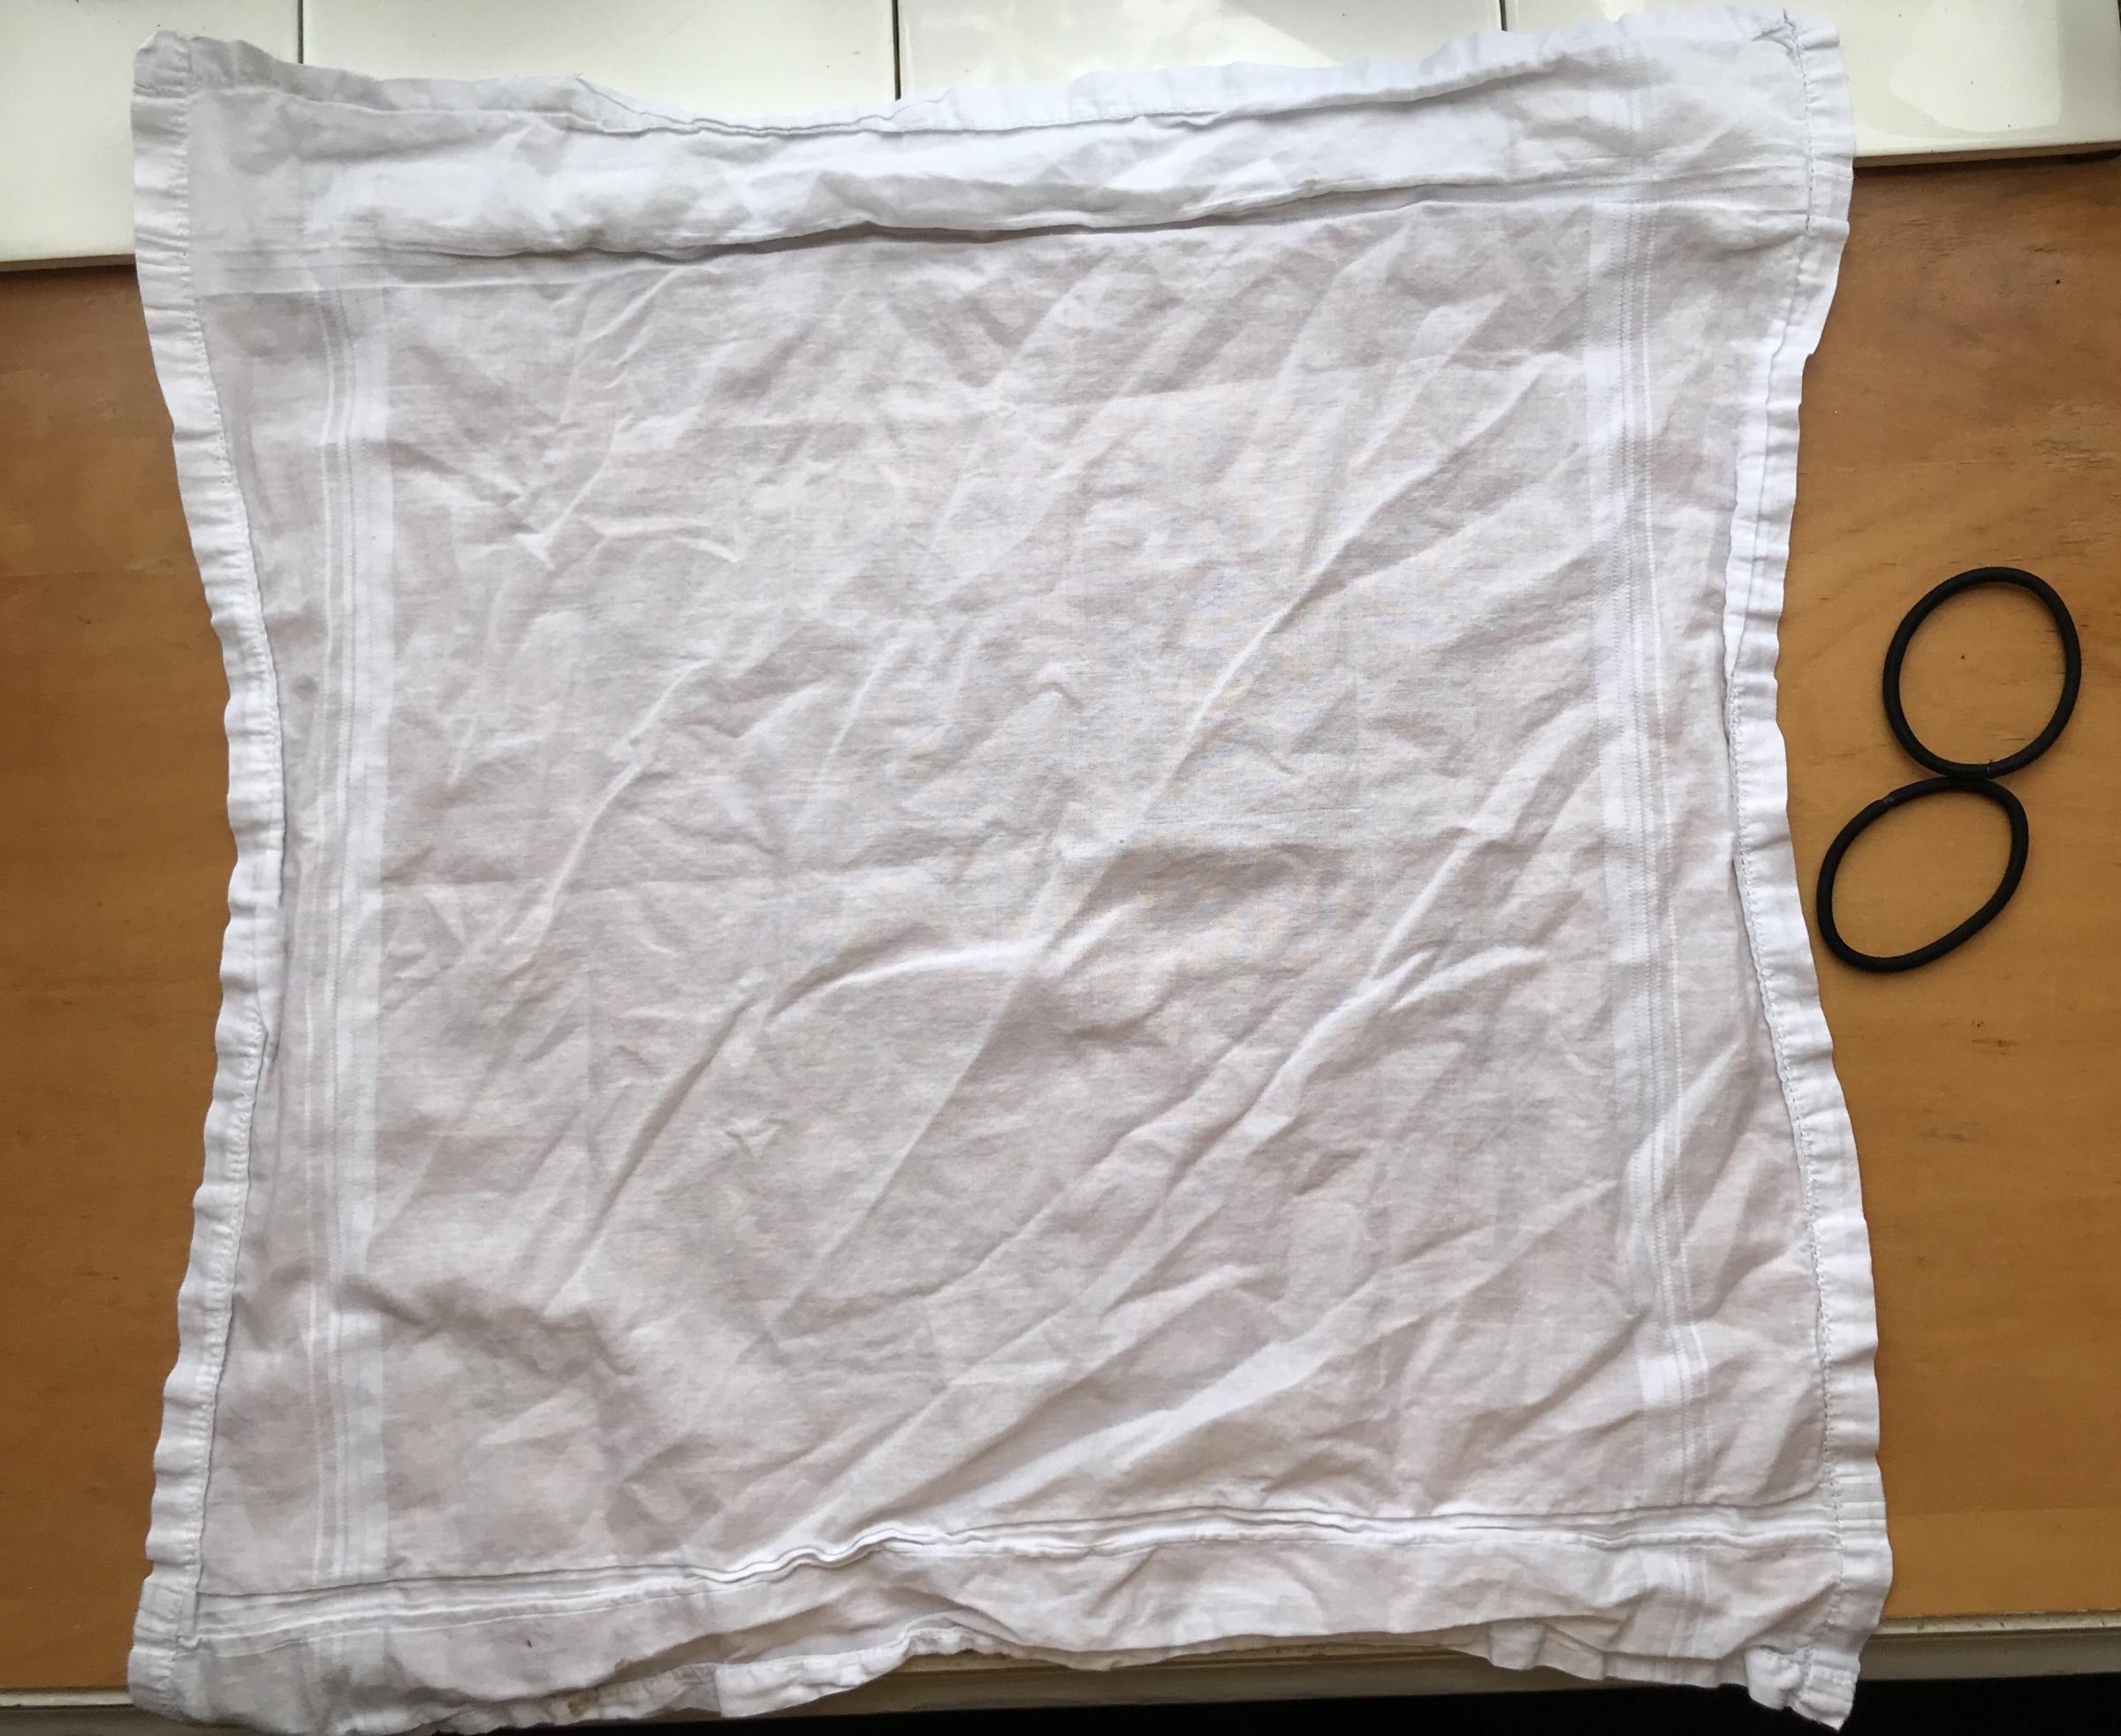
Materials for a bandana face mask
Instructions
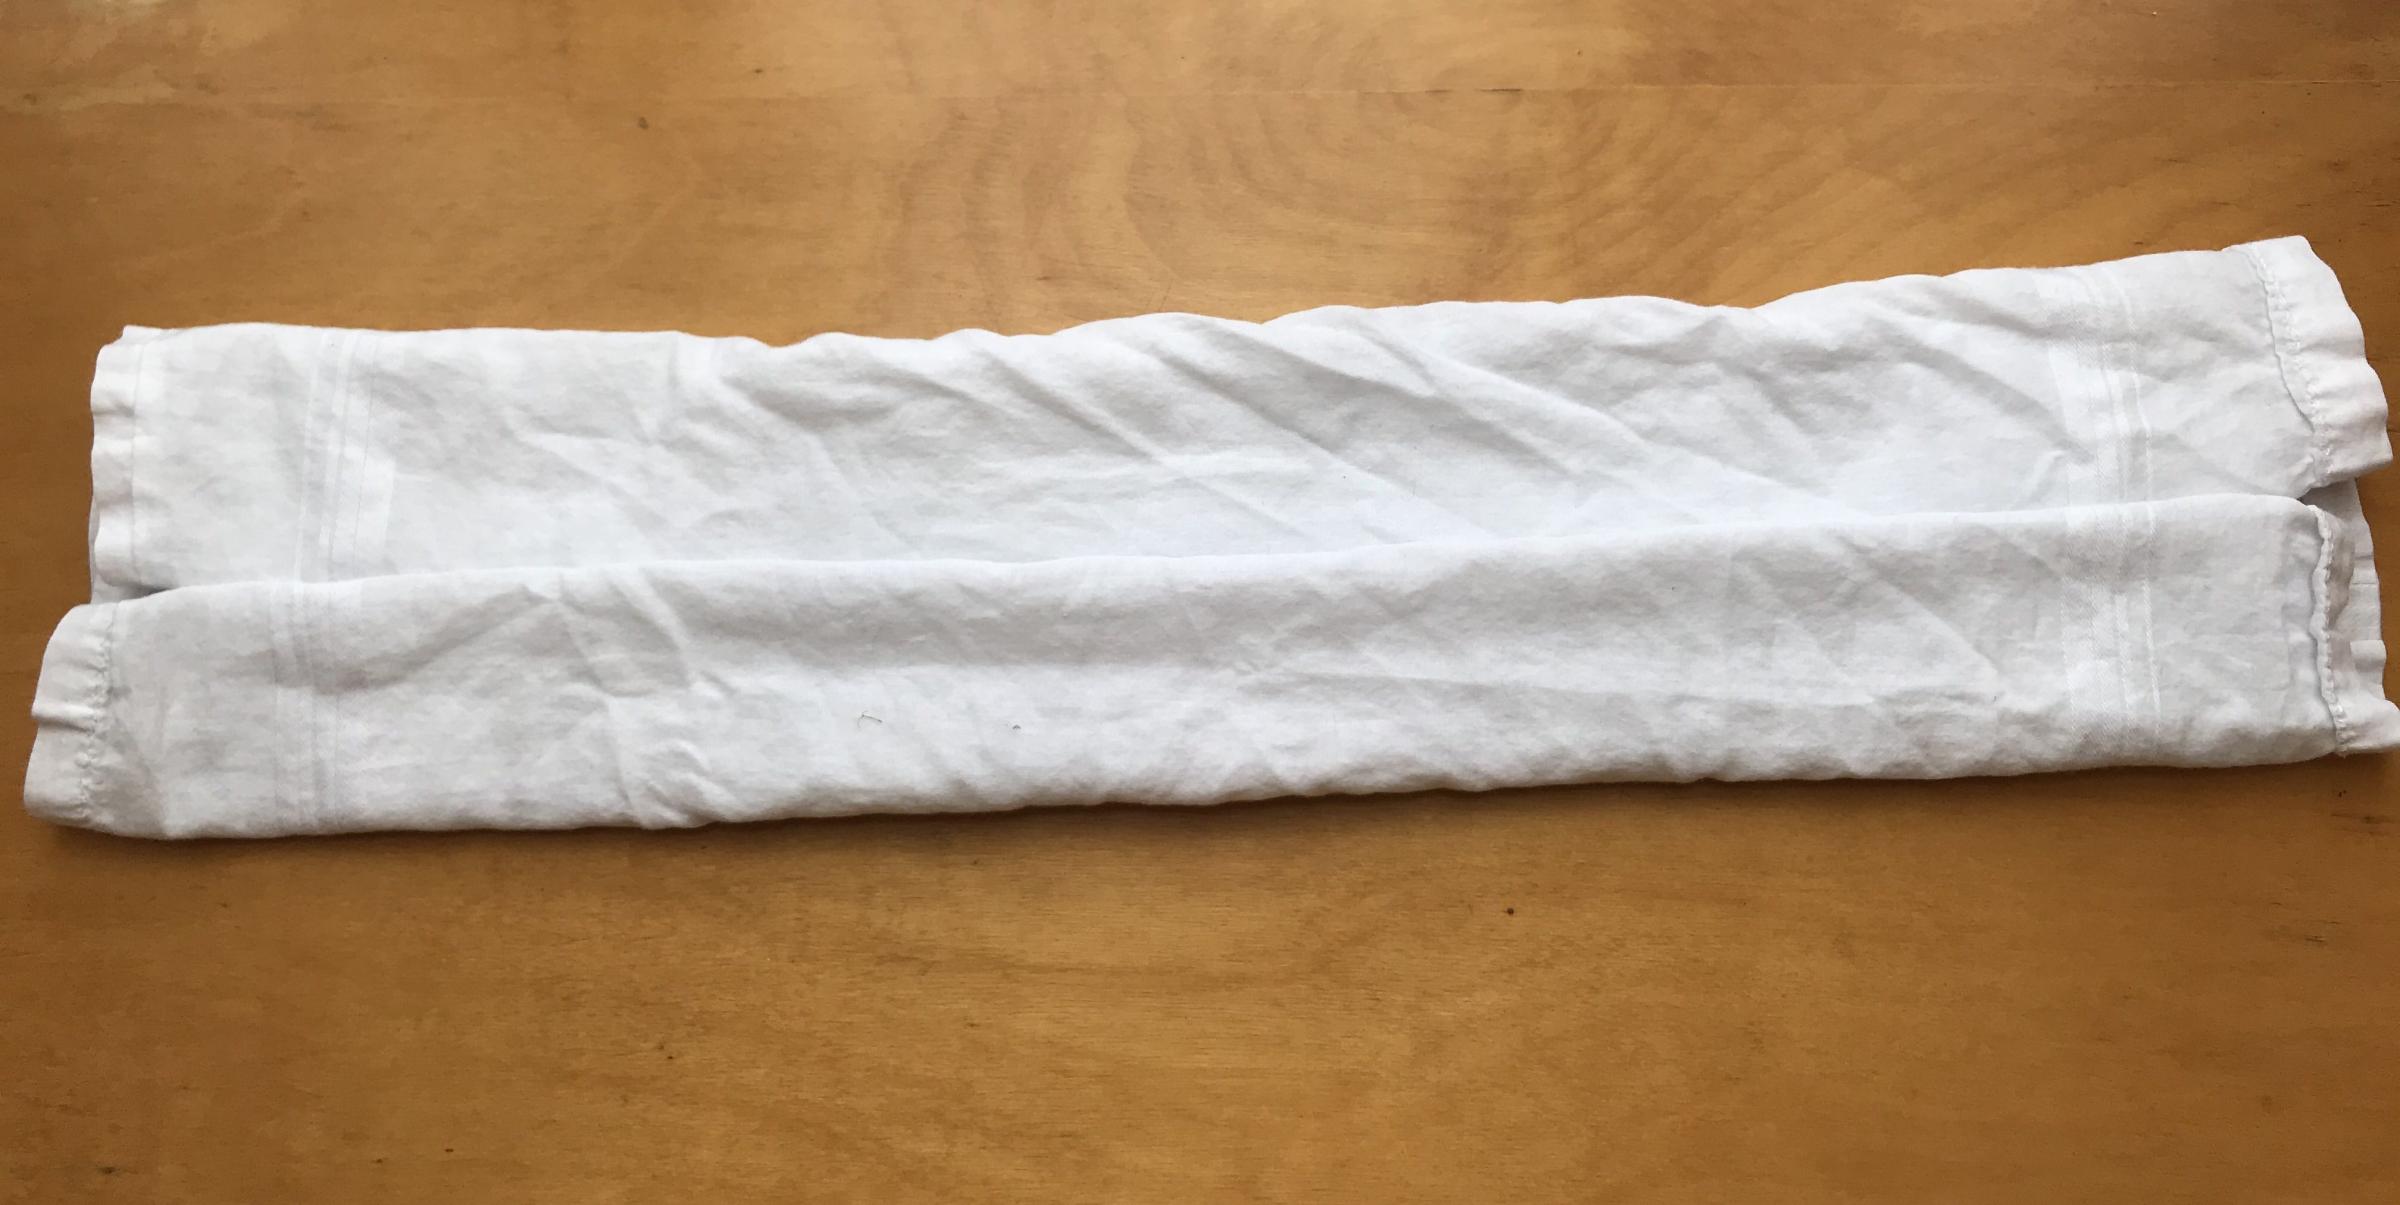
Step 1: Lay the bandana flat
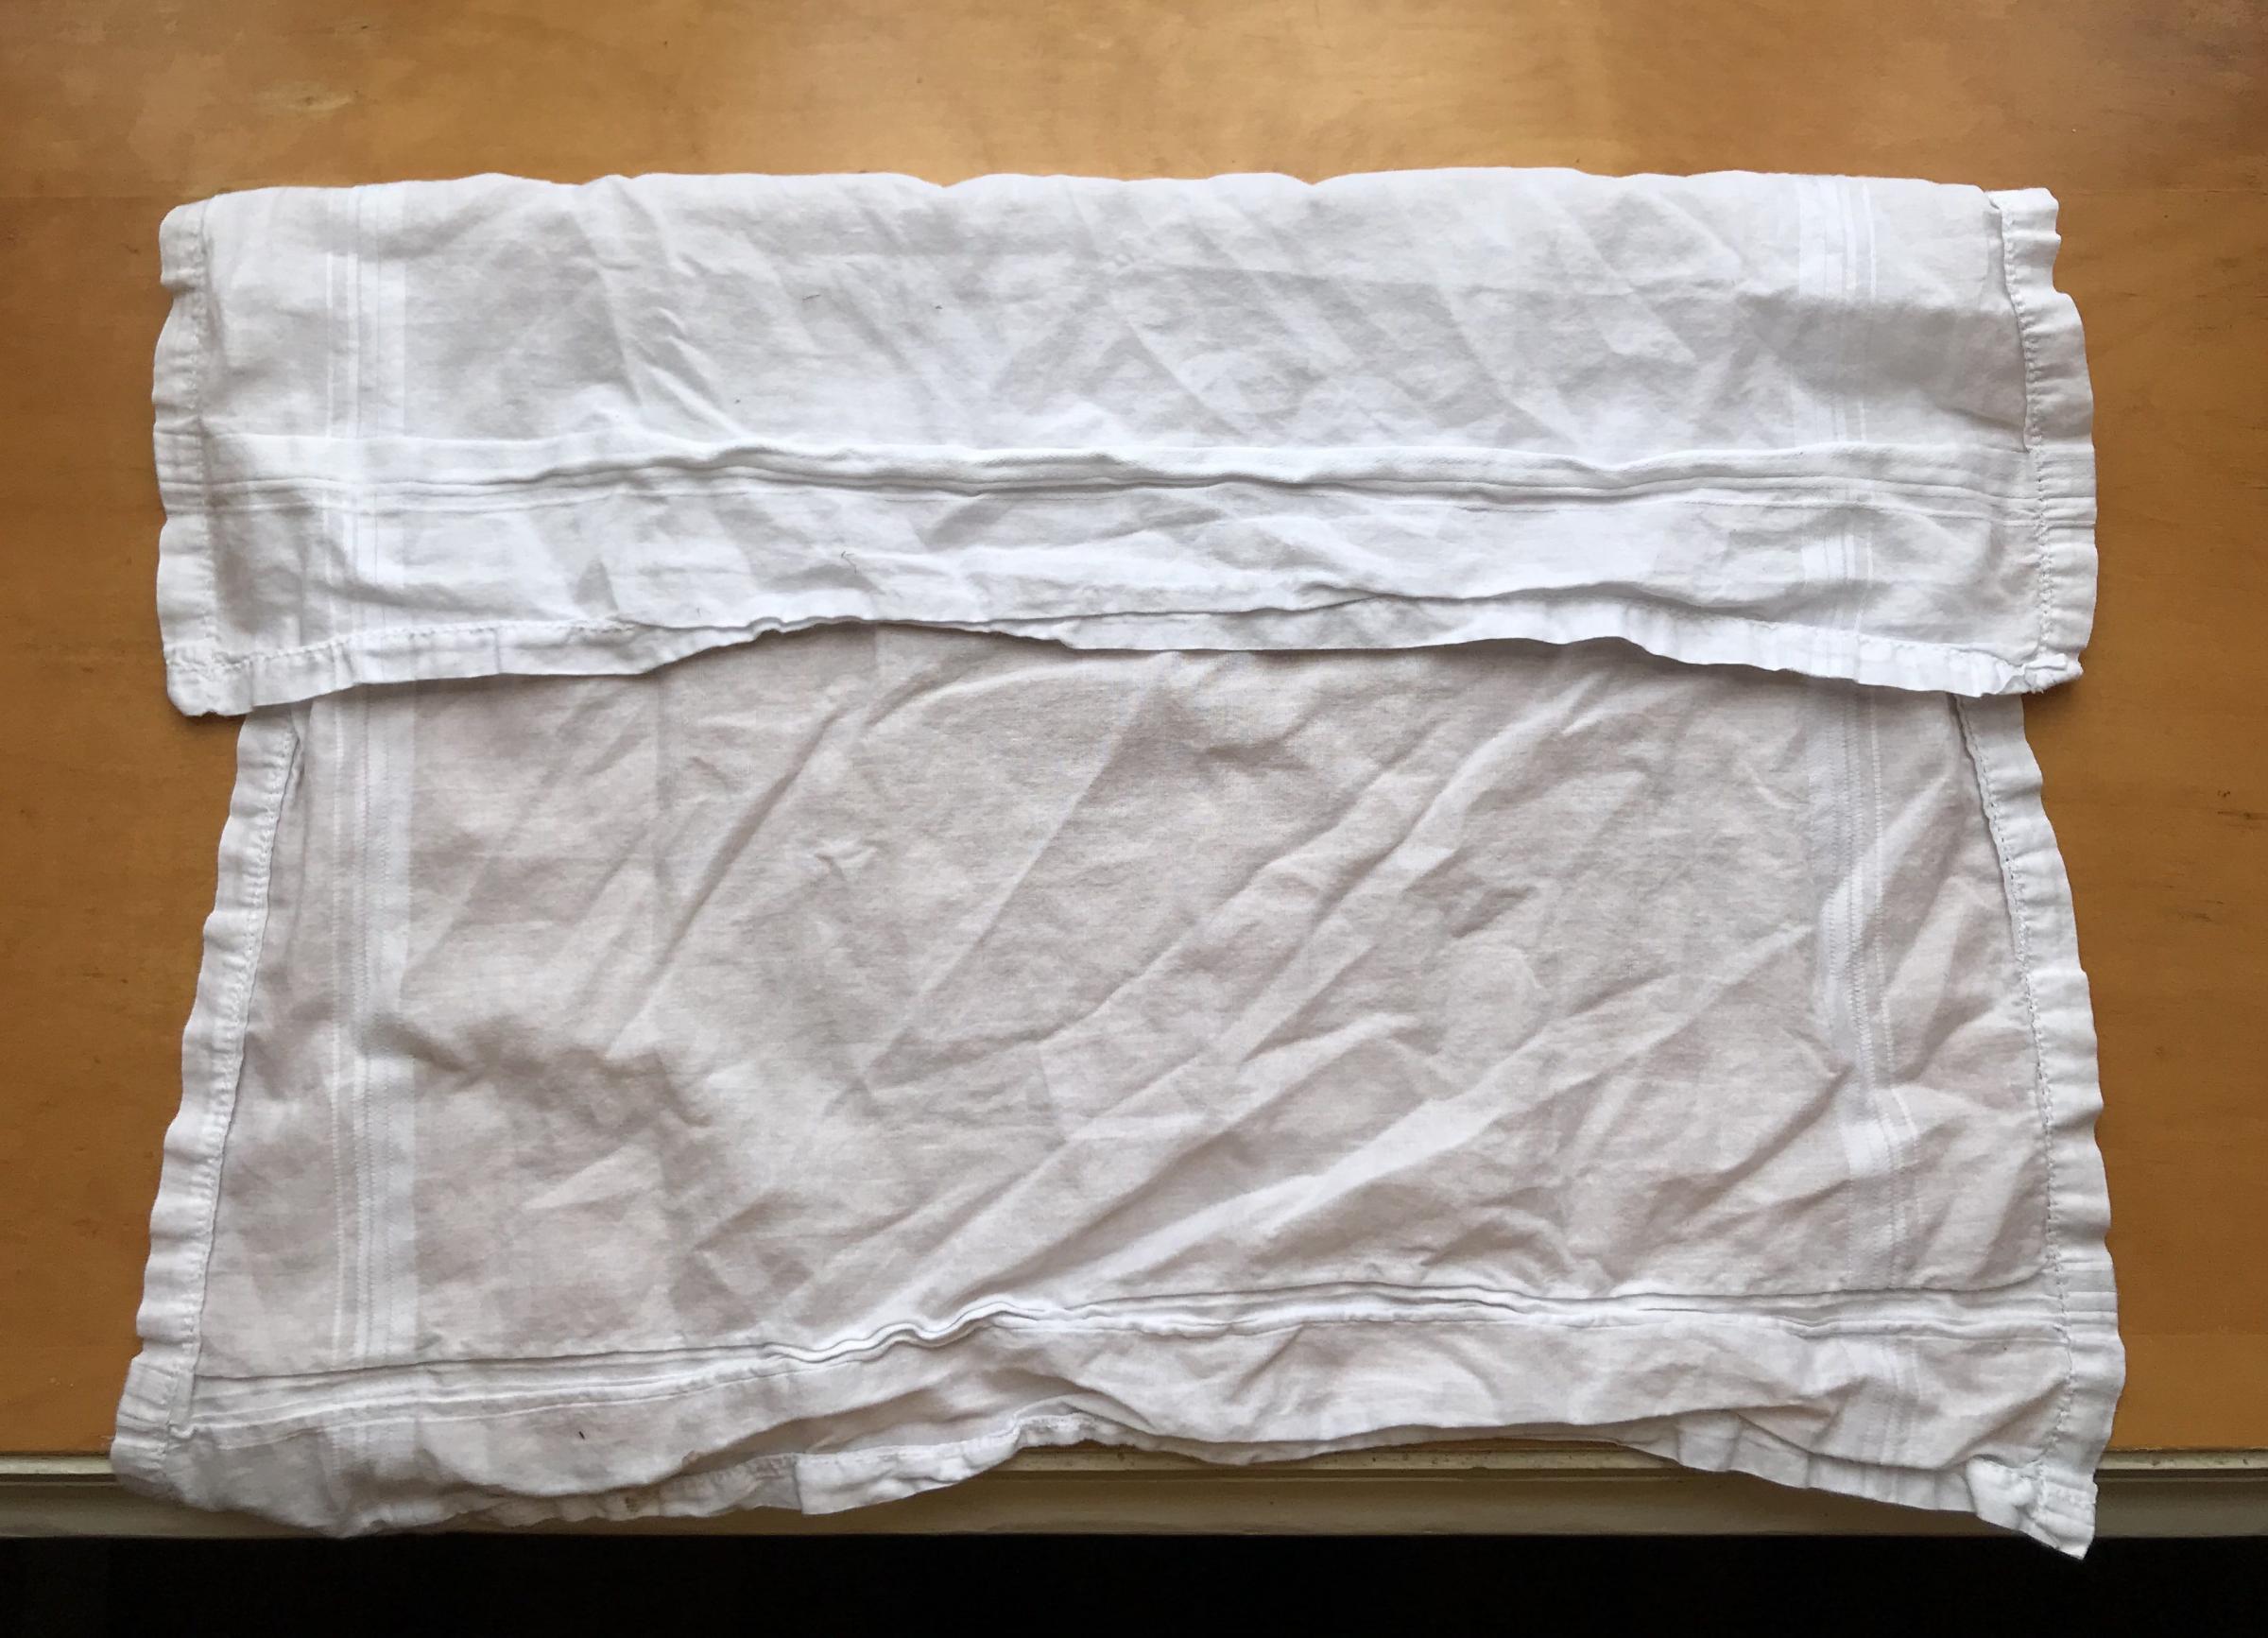
Step 2: Fold the top of the bandana to the middle
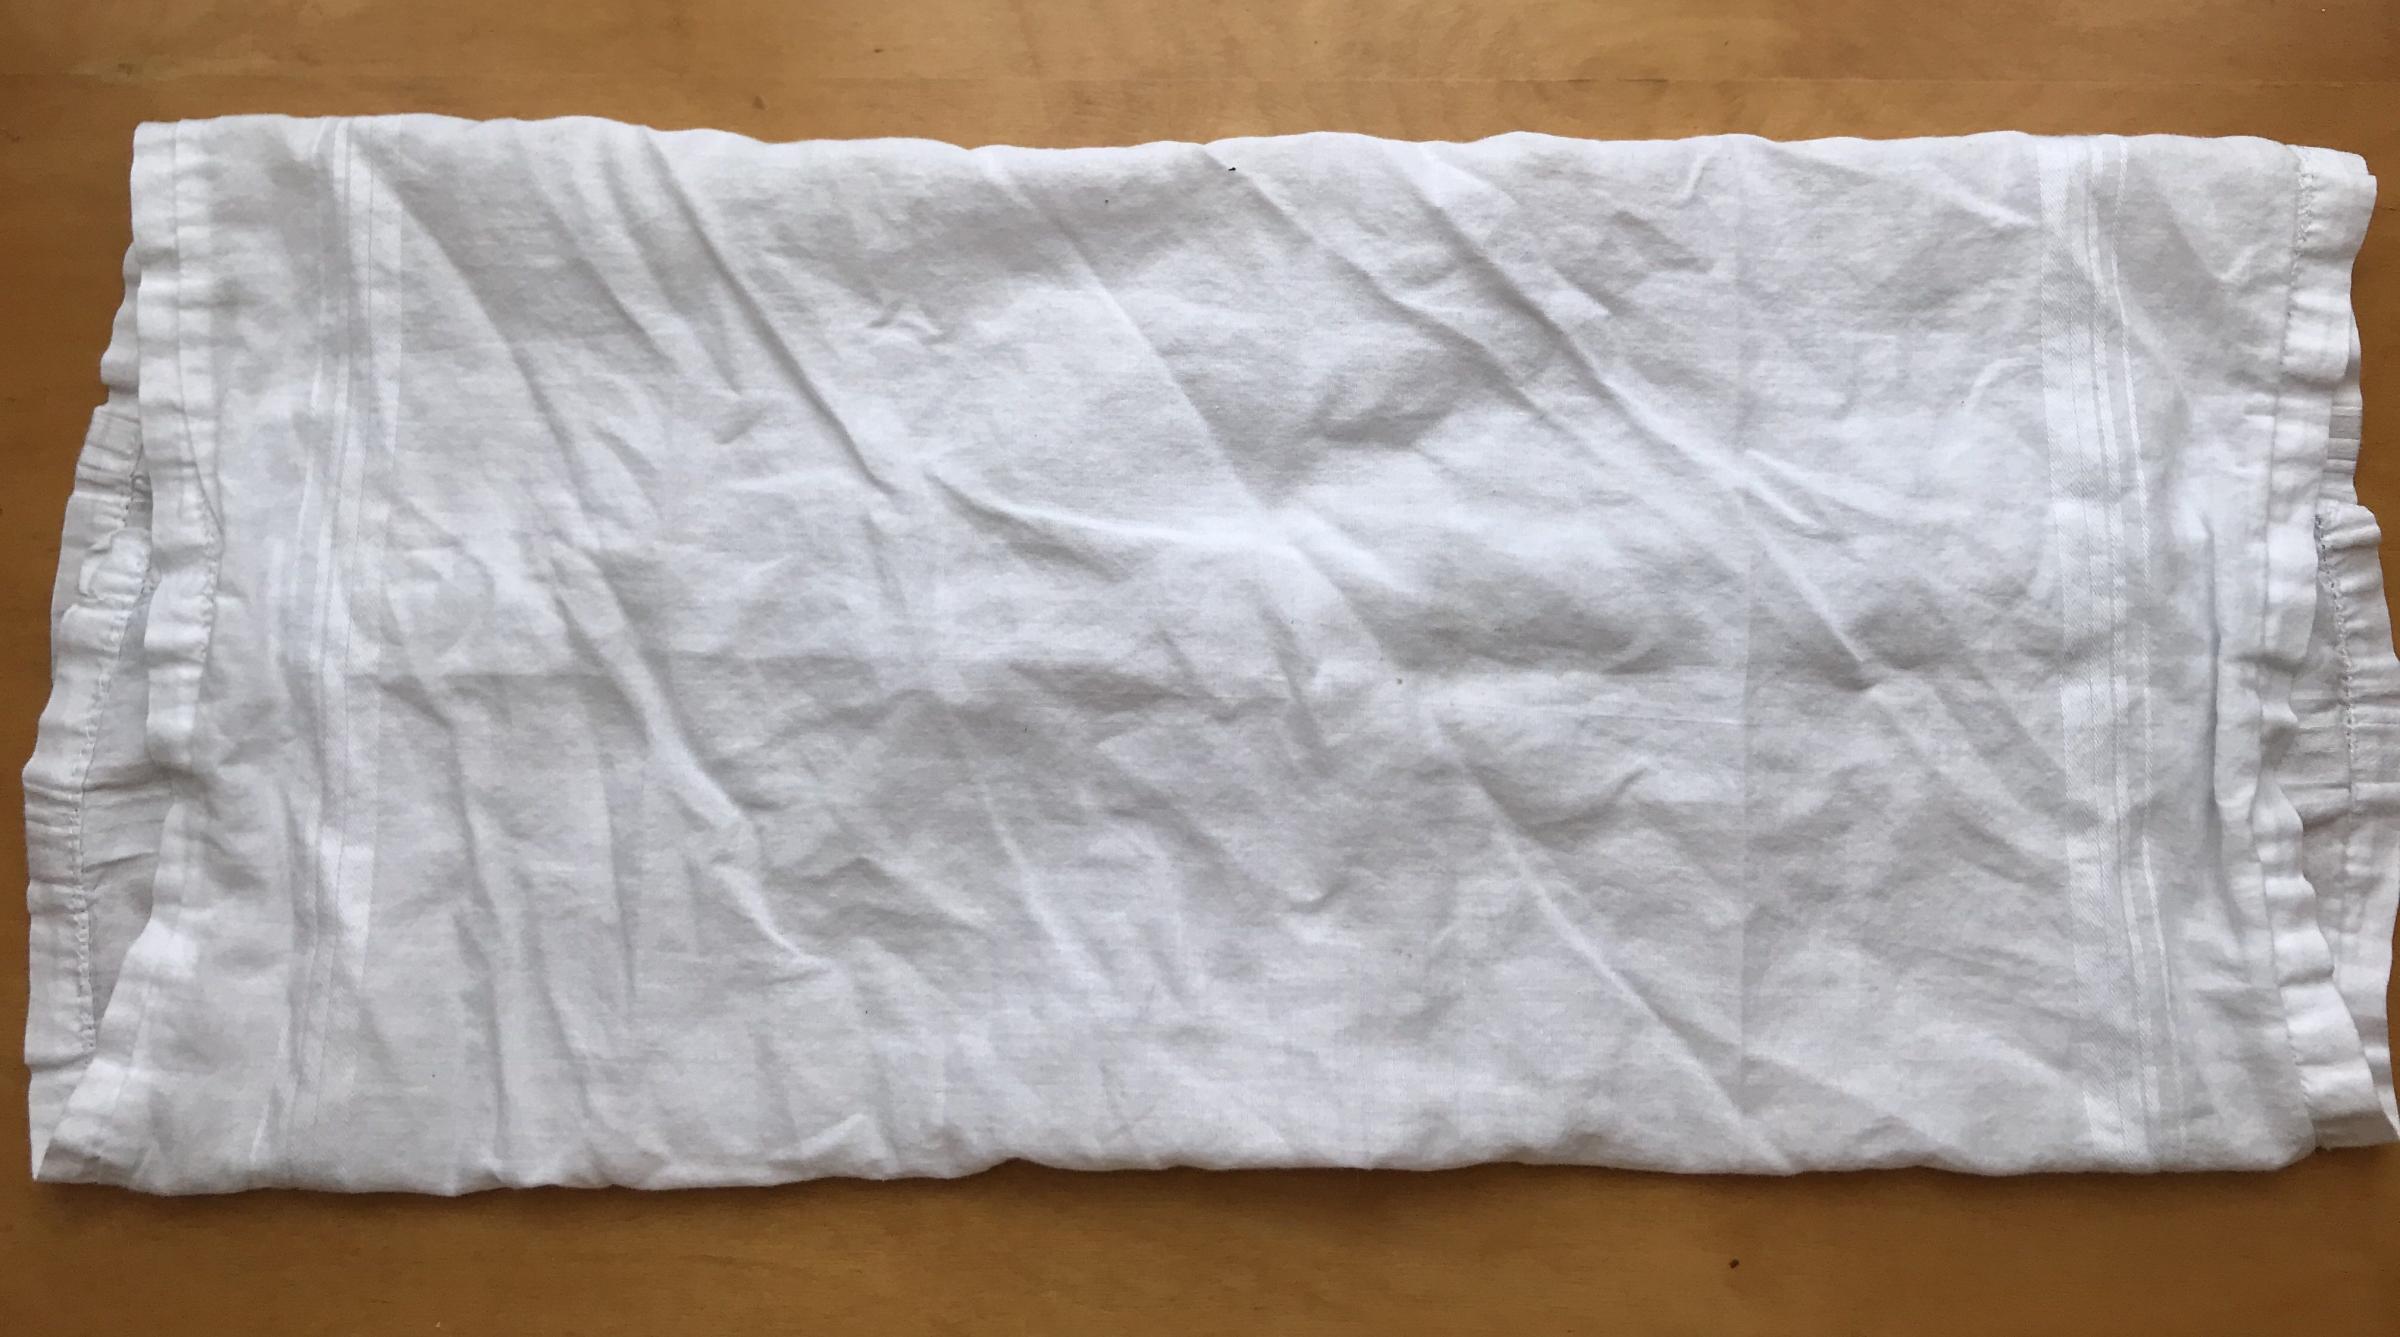
Step 3: Fold the bottom of the bandana up to the middle so it meets the top
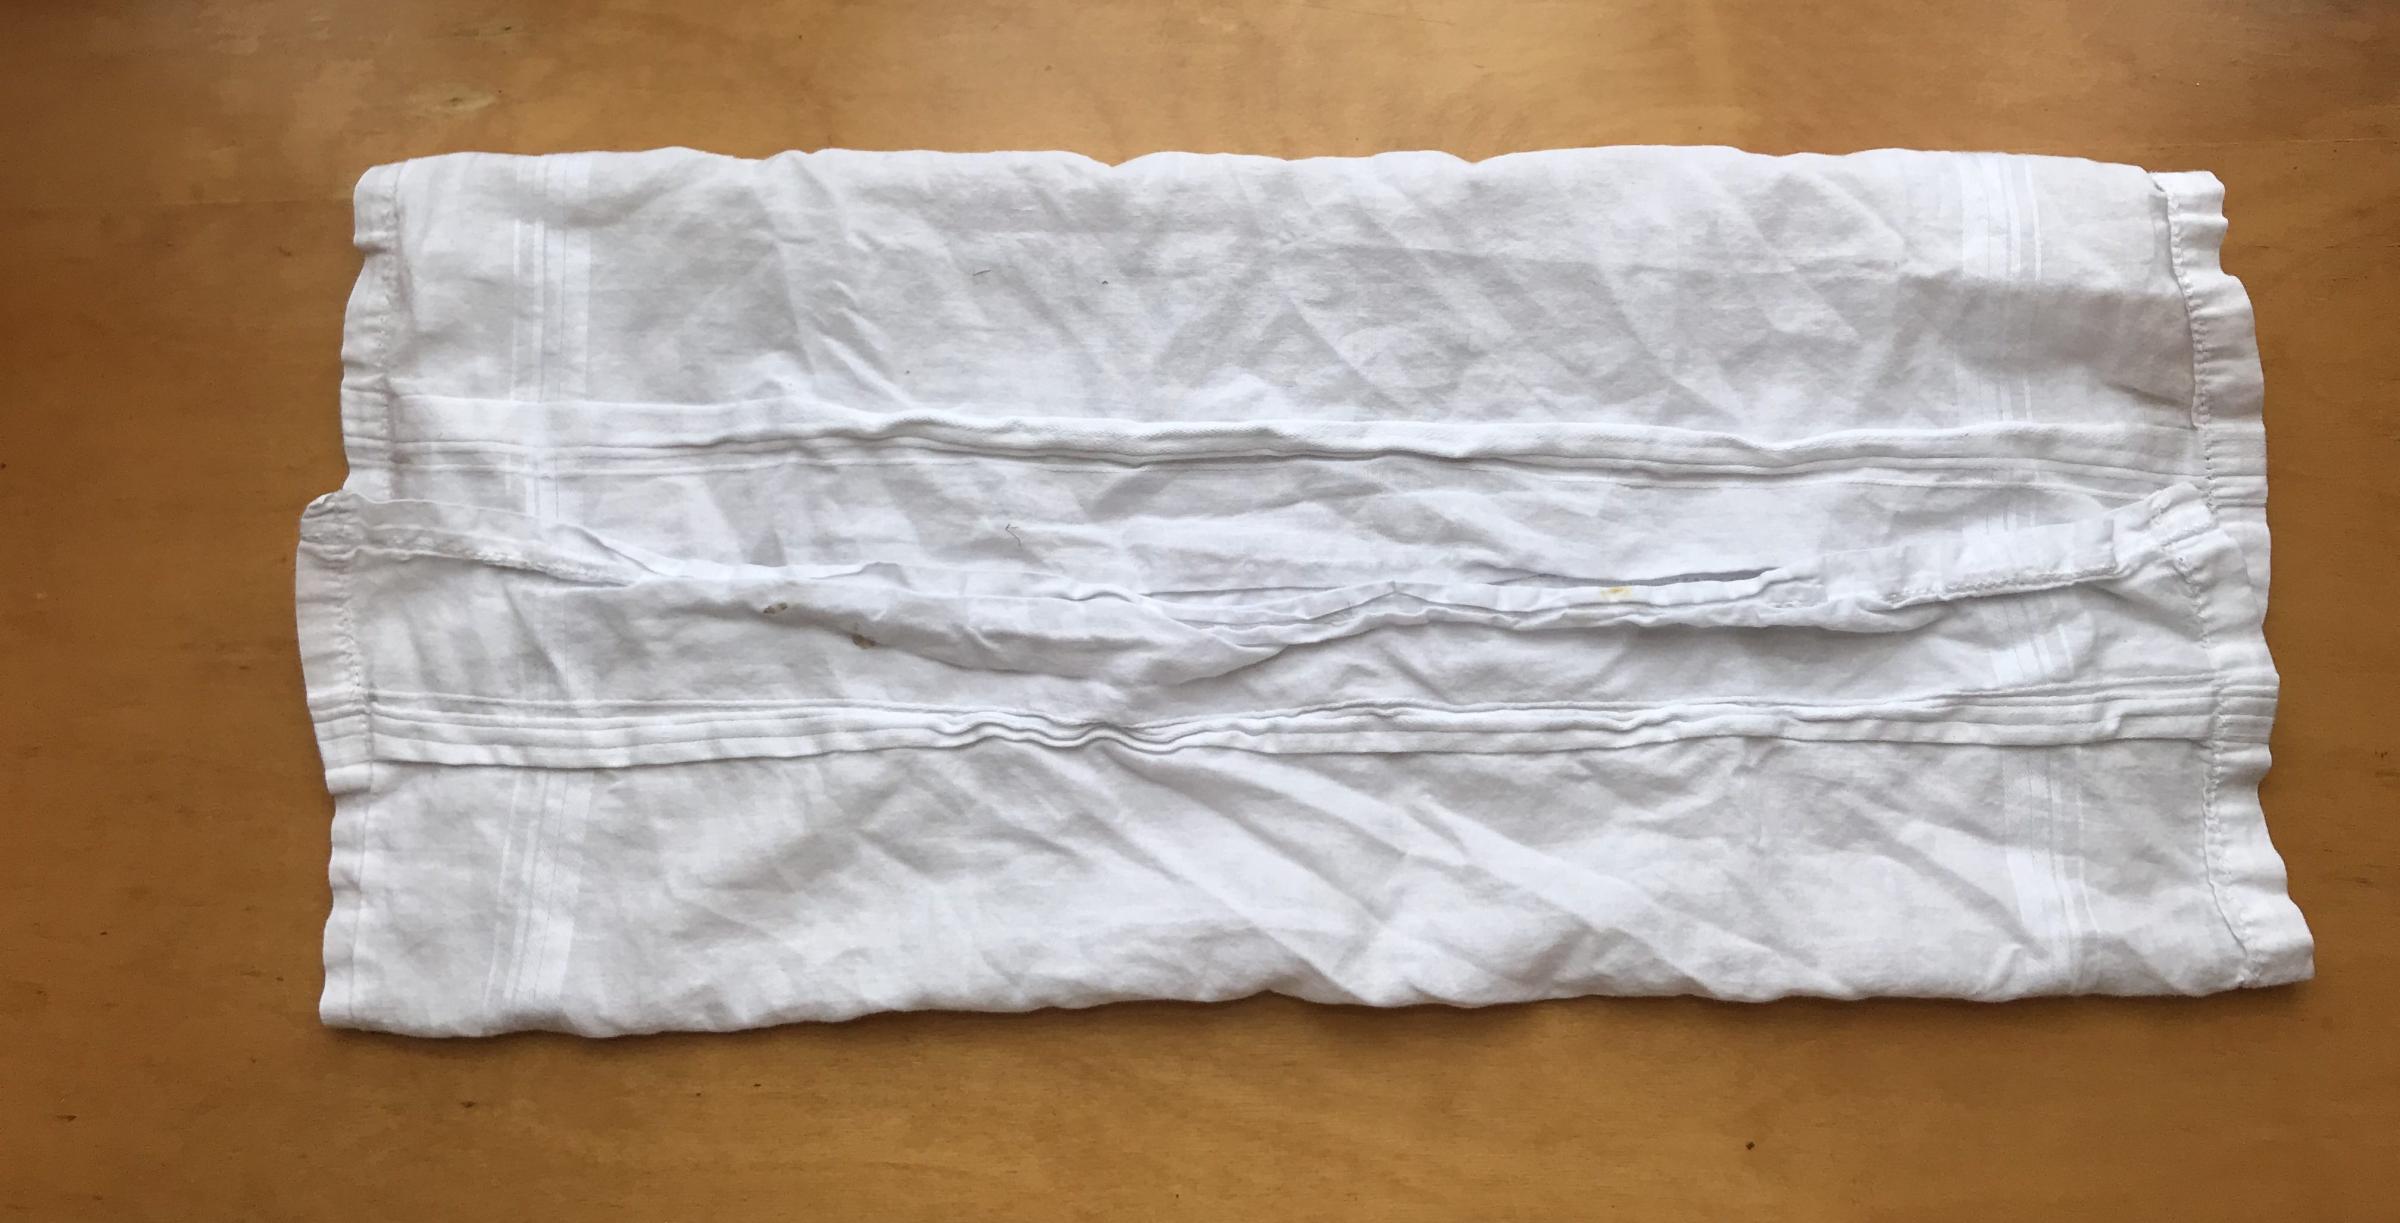
Step 4: Flip the bandana over and fold the top and bottom to the middle again
Step 5: Flip the bandana over again and thread the ends through both hair ties, dividing it into thirds
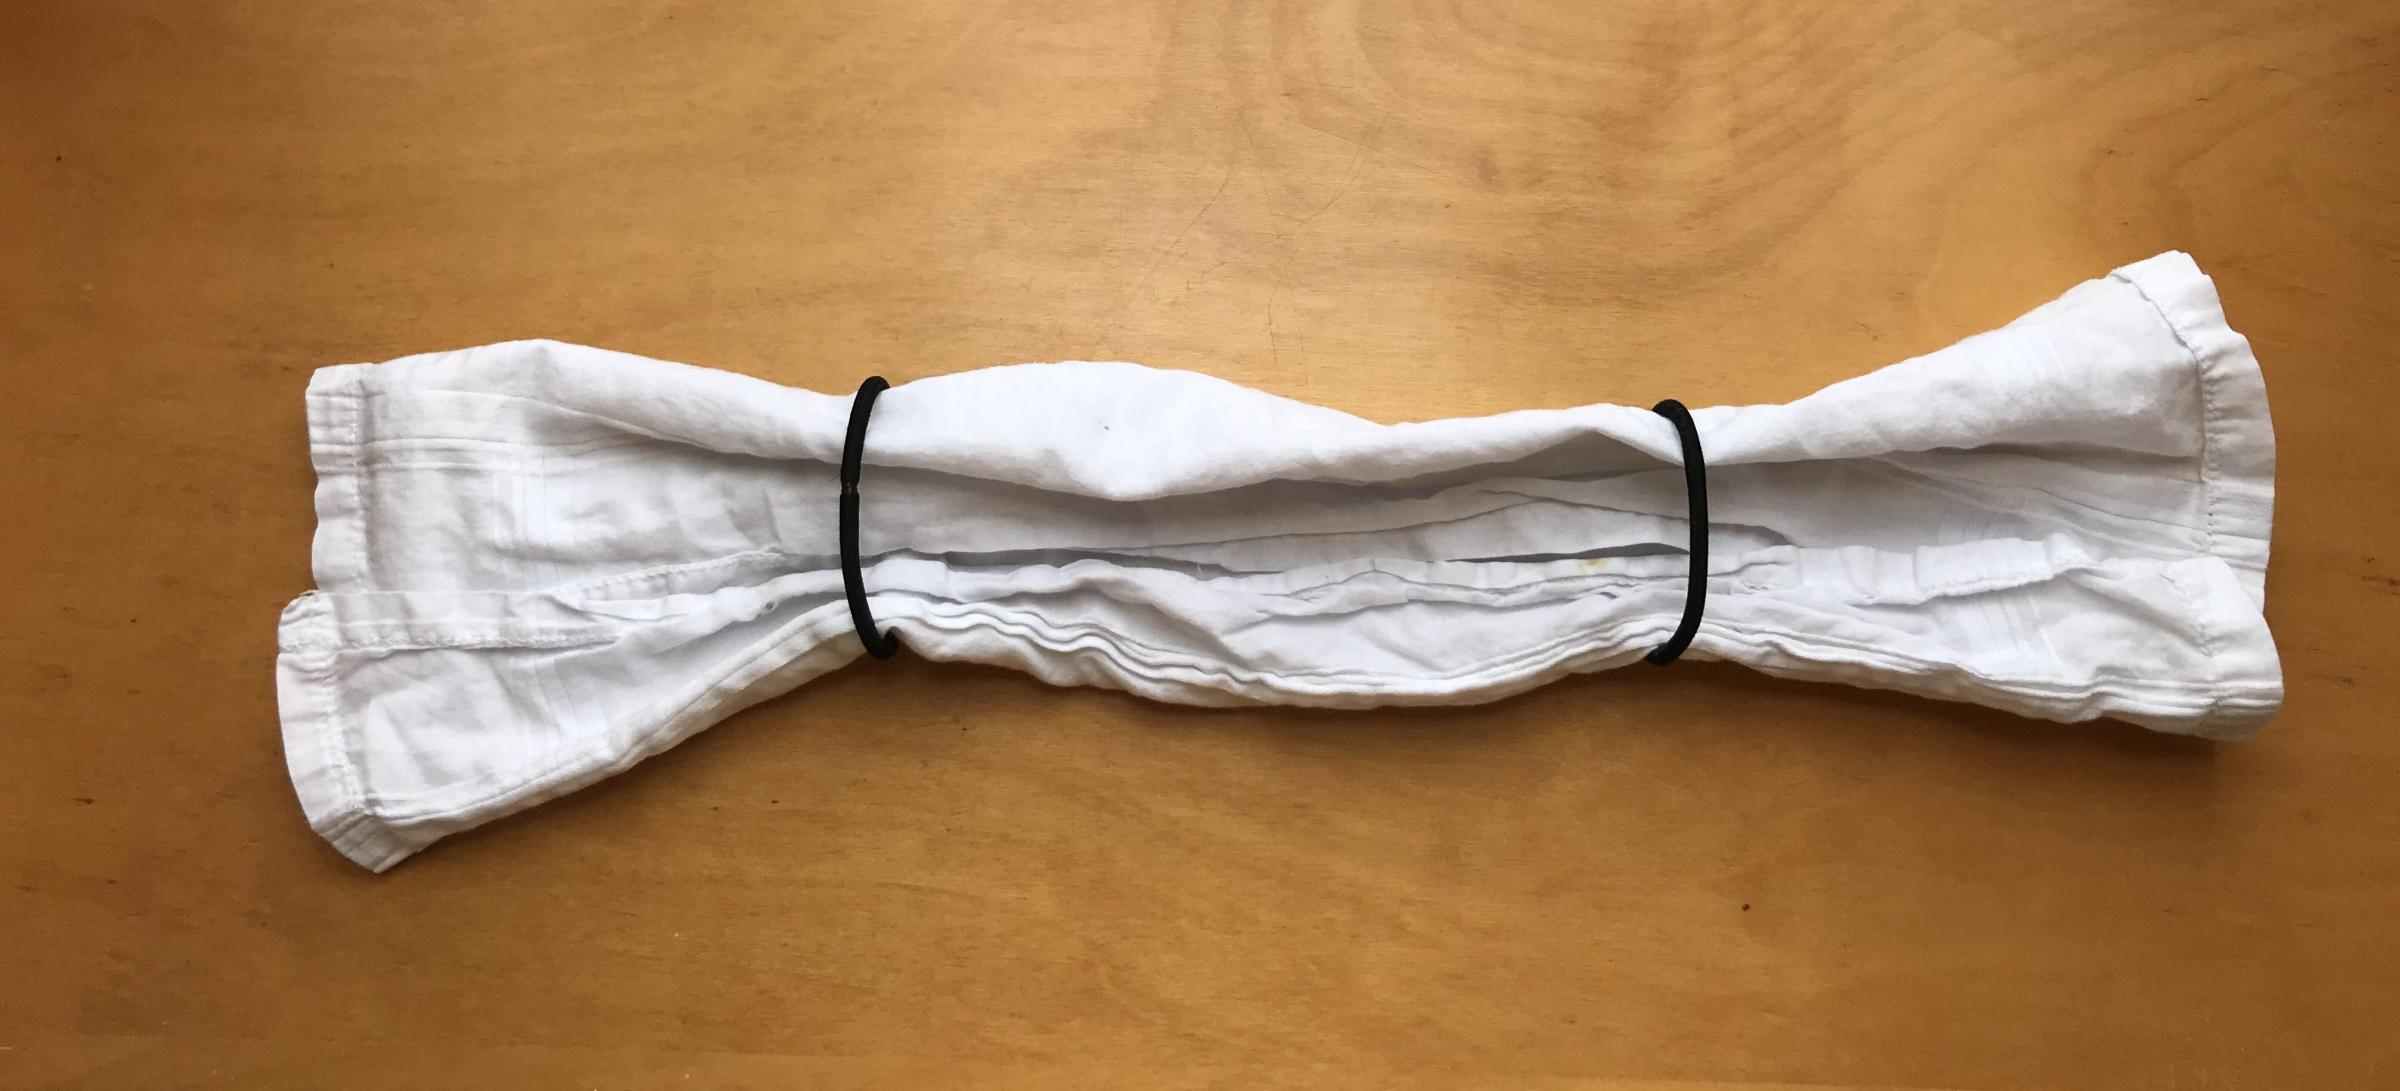
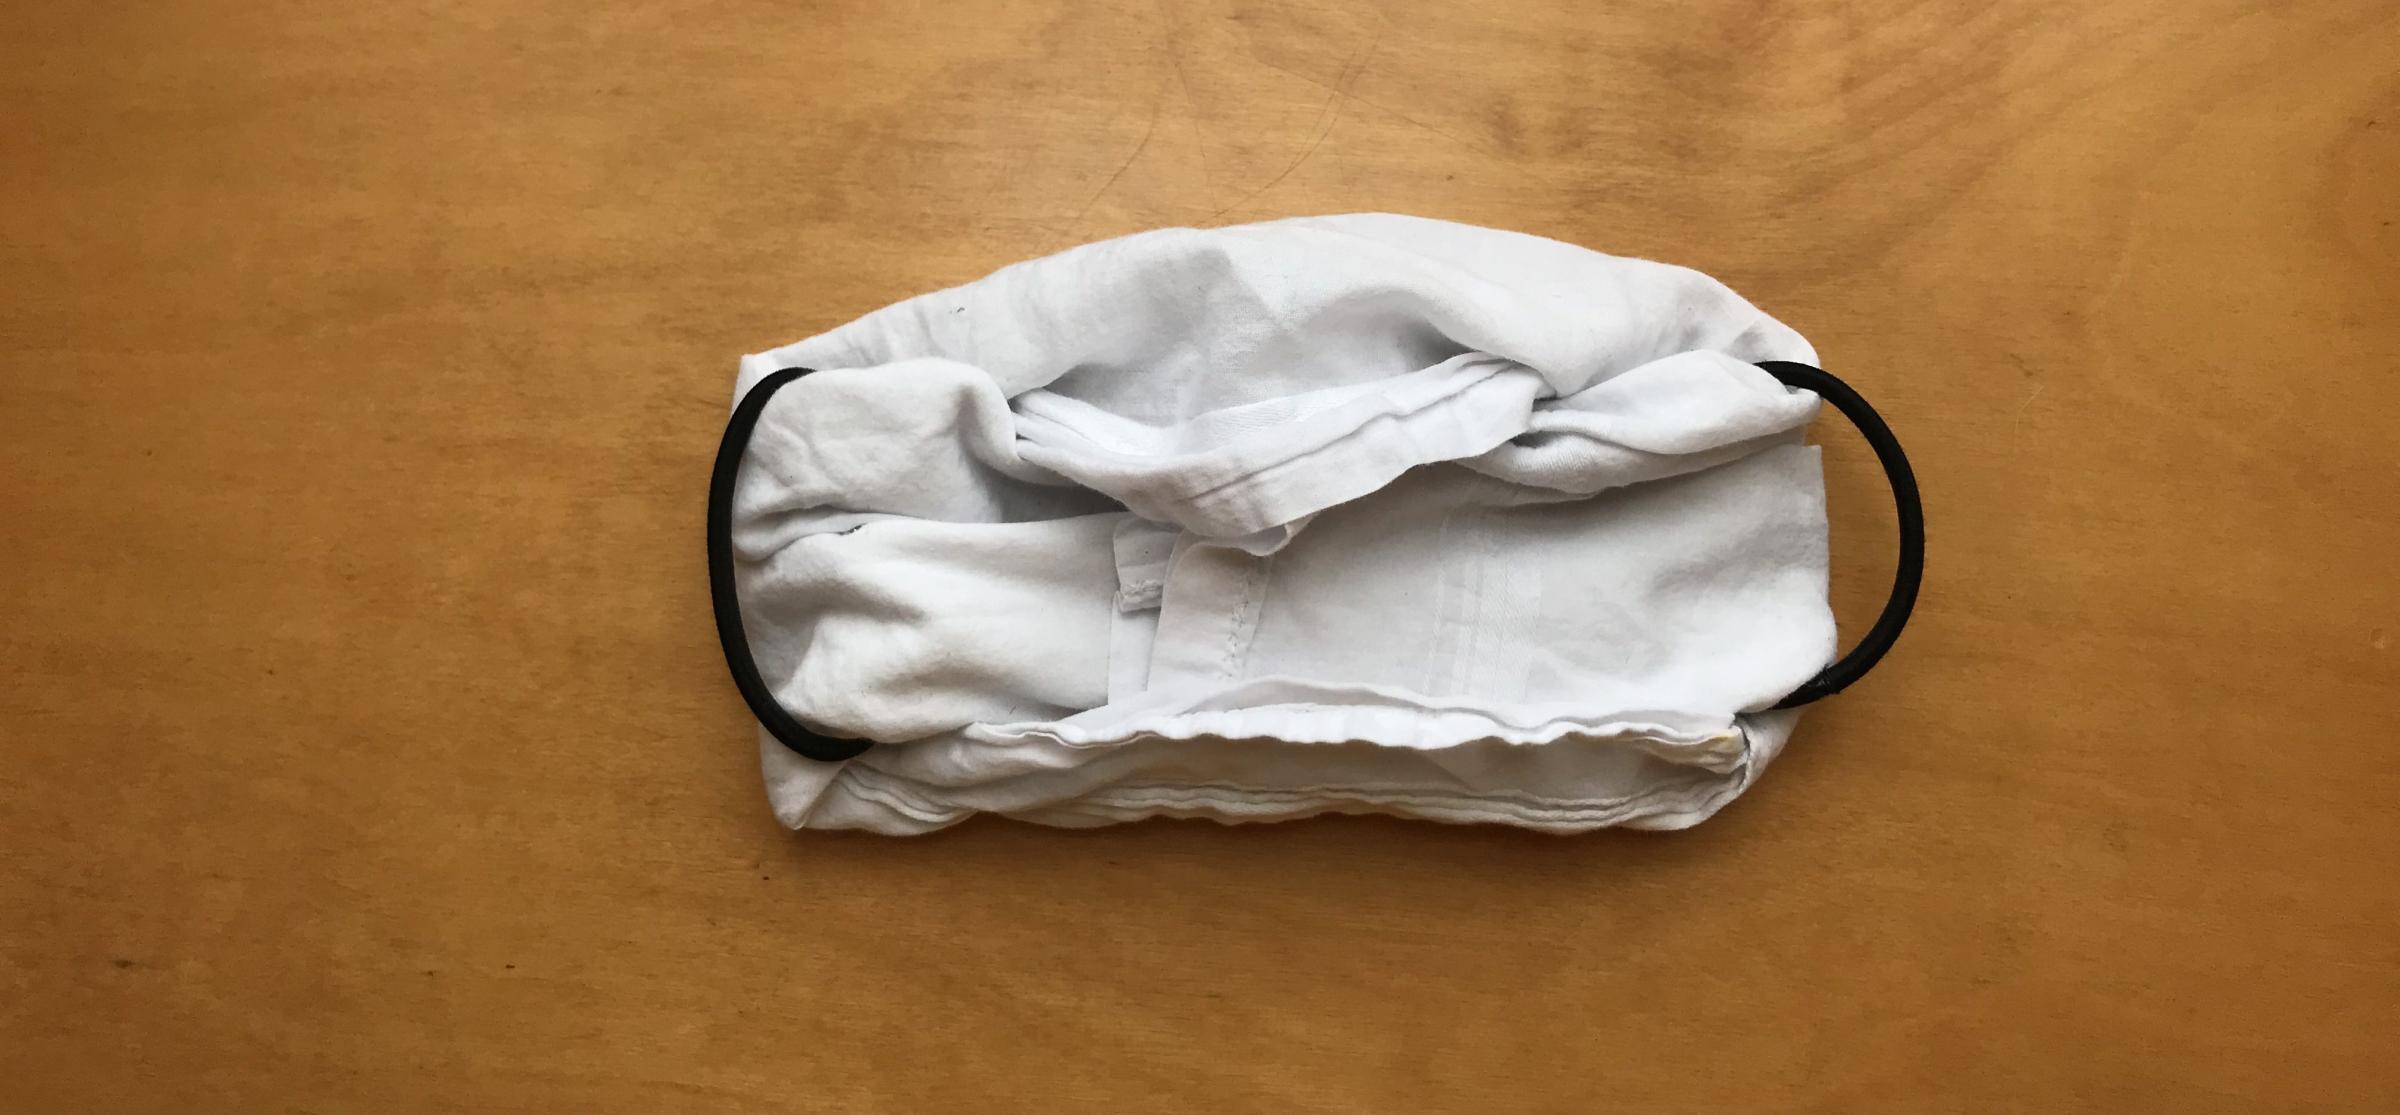
Step 6: Fold the sides of the bandana in so the hair ties form outer loops that you can put behind your ears.
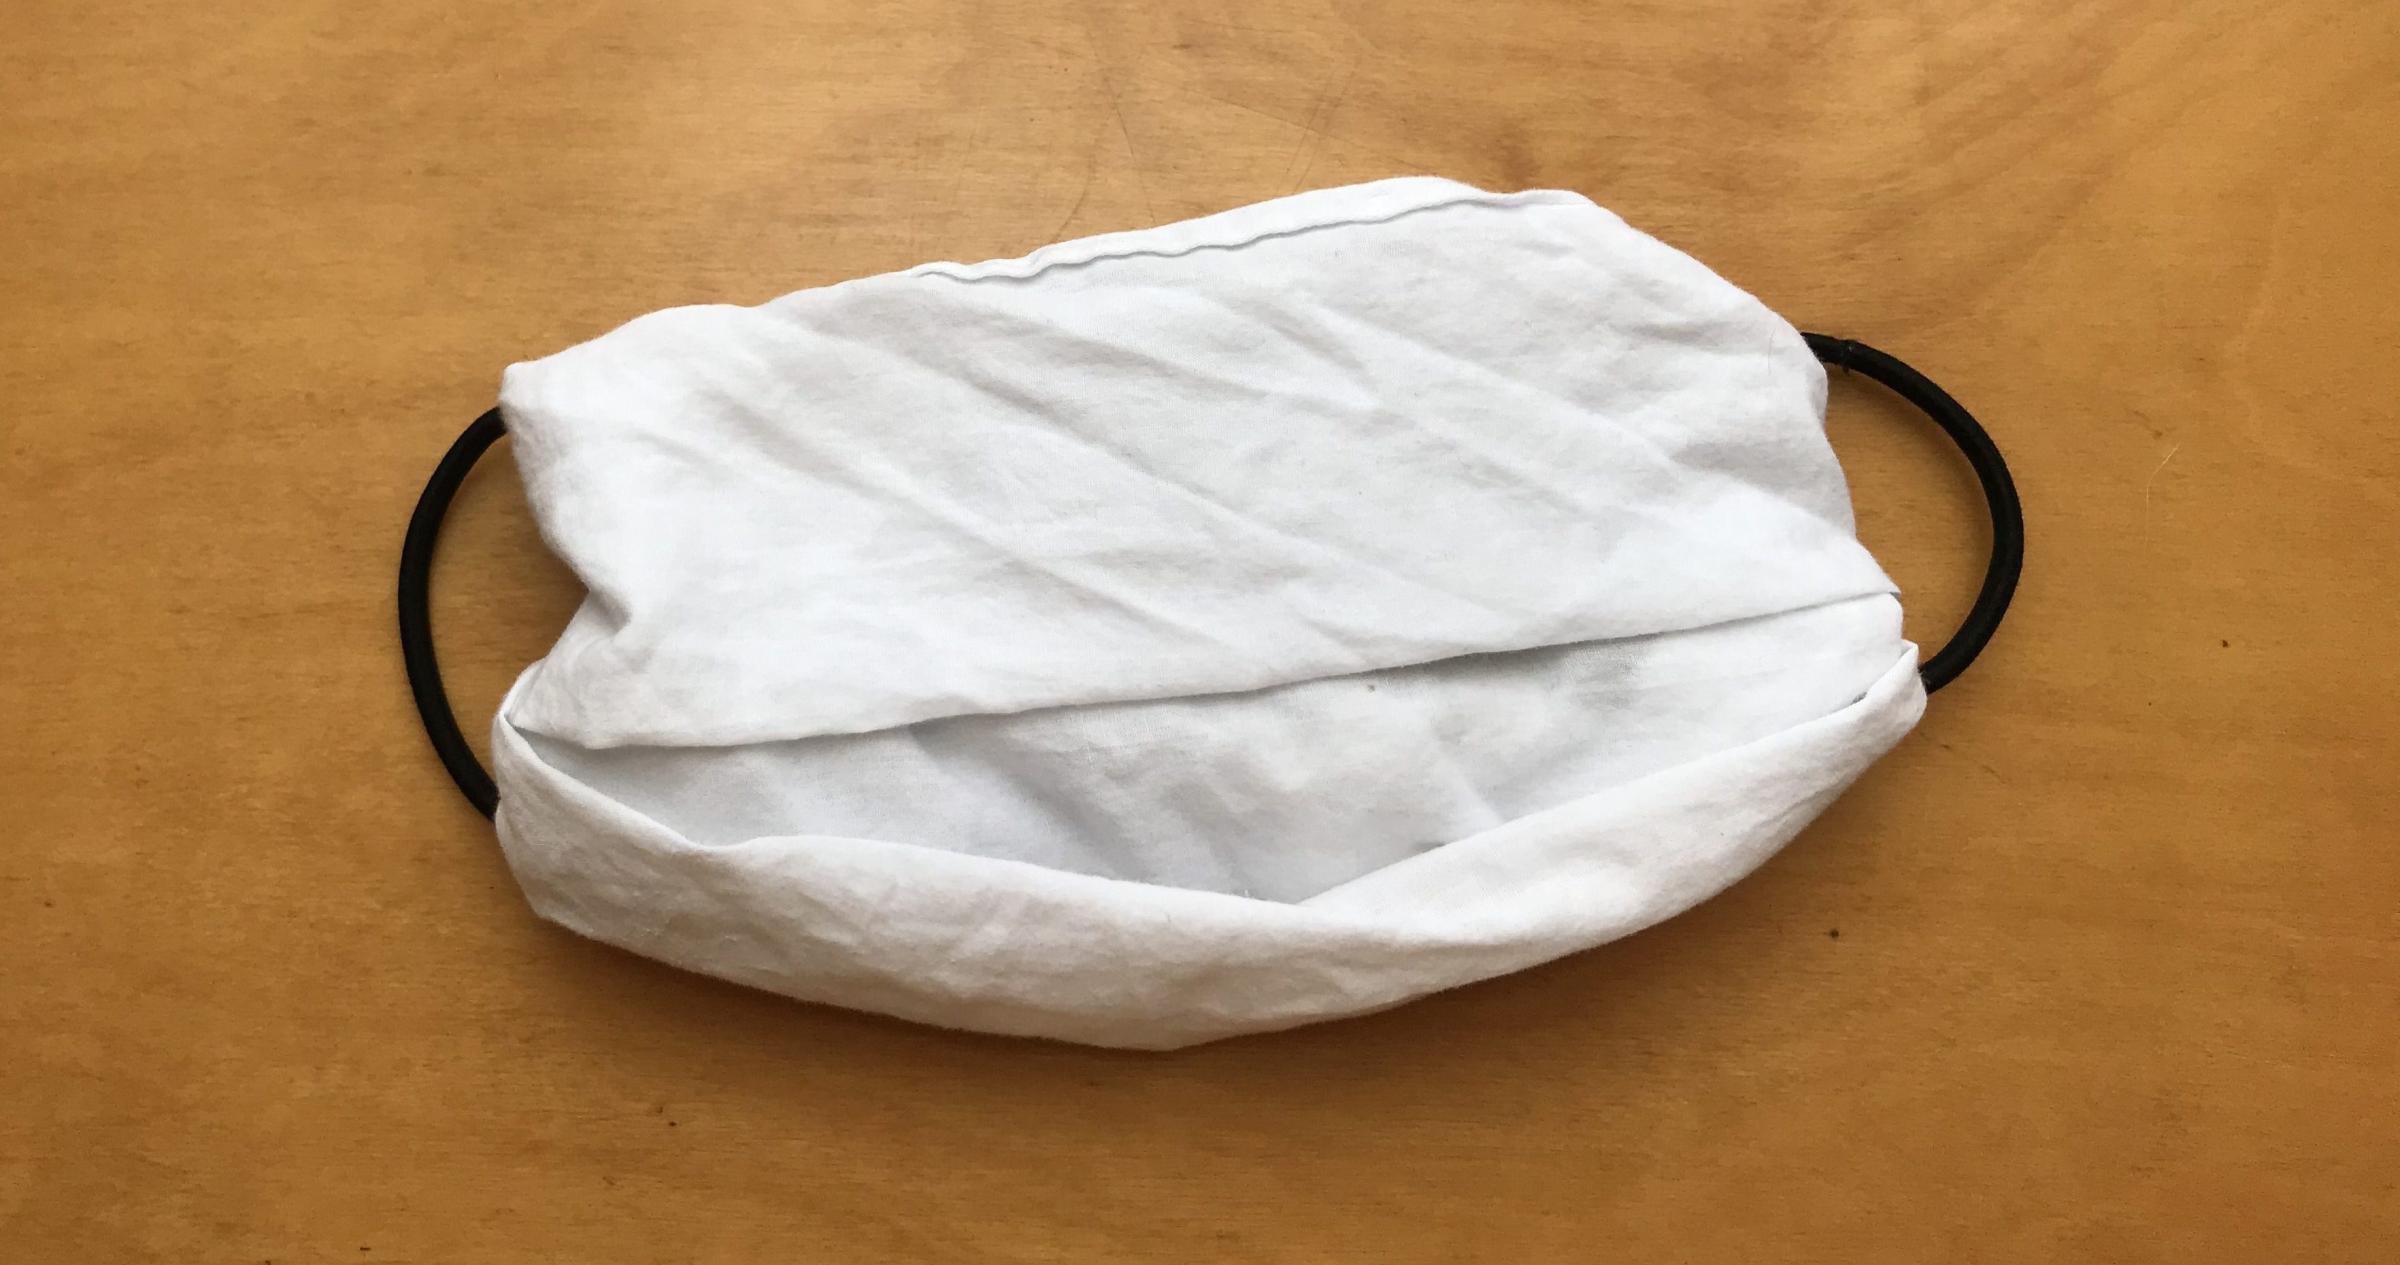
Flip it once more, so the pleats are facing outward, and the mask is complete.
More Must-Reads from TIME
- Inside Elon Musk’s War on Washington
- Why Do More Young Adults Have Cancer?
- Colman Domingo Leads With Radical Love
- 11 New Books to Read in February
- How to Get Better at Doing Things Alone
- Cecily Strong on Goober the Clown
- Column: The Rise of America’s Broligarchy
- Introducing the 2025 Closers
Contact us at letters@time.com