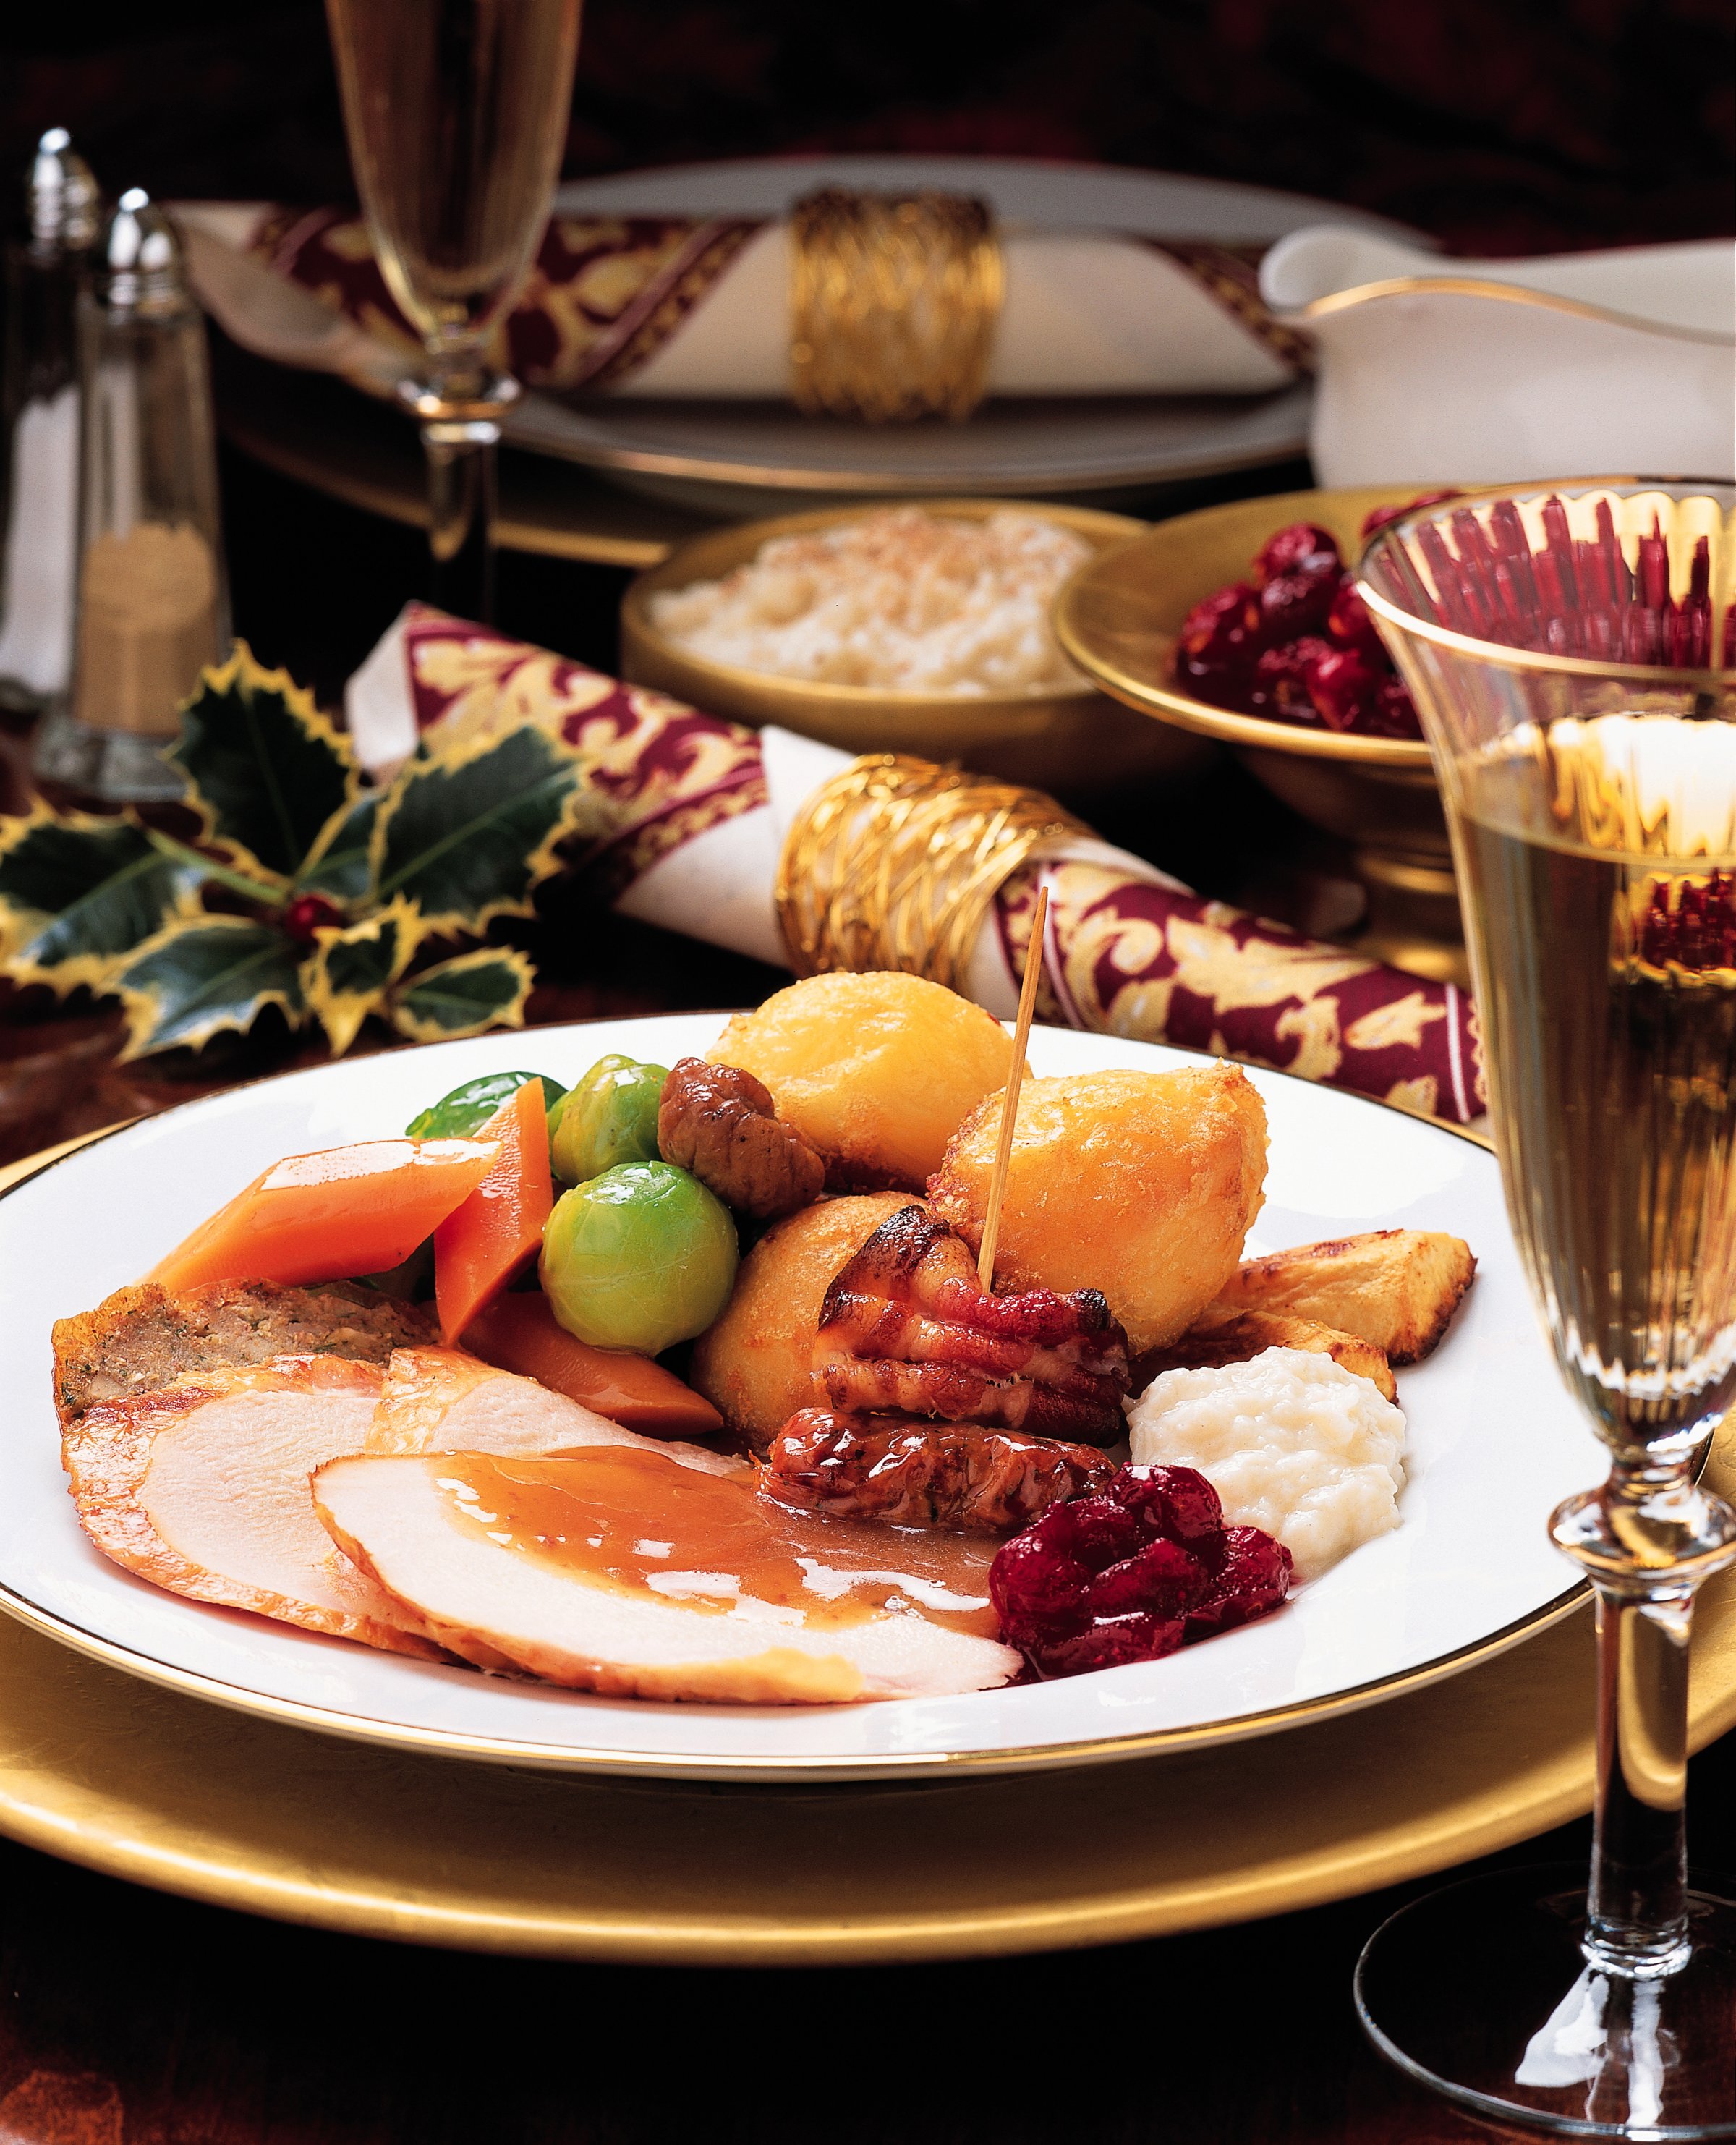
Looking to take top-notch Instagrams of your Christmas dinner this holiday season? Check out these smartphone-photo-snapping tips:
Question: I recently upgraded to an iPhone. My friends are always posting pictures of their food on Facebook and Instagram, but mine always come out crappy. How can I take better food photos?
Answer: Ah, you’re friends with those people. I’m assuming they’re all Yelp! Elite, and snapping photos before a meal is their way of saying grace.
I mean that’s fine, and everyone does it. But first, a few important ground rules:
Rule 1: Don’t make a big production out of it
When you’re taking pictures of your food, the last thing you want to do is make a fuss — you want to get your shot and be done with it in as discreet a way as possible. You know that guy who tows around a big DSLR with a zoom lens and external flash to post Flickr pictures of fire hydrants? Yeah, no one likes that guy. The same idea applies when you’re taking pictures of food.
Rule 2: Resist the urge to use flash
This ties in with the previous rule. If the restaurant you’re dining at is too dark to begin with, it’s probably best to leave your phone at bay (unless there’s a candle or something on your table). Flash is annoying, especially to everyone else around you. Plus it doesn’t make for great food shots, anyway. Don’t use it.
(MORE: The 10 Best Camera Apps for the iPhone)
Now that we’ve gotten the rules out of the way, here are a few tips for how you can make your Instagram/Facebook folder/Yelp! contributions look better than all your friends’…
Step 1: Let the food fill the screen
Whenever I’m snapping a food shot, I like to use Camera+. It has more functionality than the iPhone’s native camera app, and it lets you do some fundamental post processing (like cropping your image).
When you’re framing your picture, try to eliminate all the outside clutter (napkins, forks, Jäger bombs… you know the drill). There’s no harm in trying to quickly make things look pretty, too. A lettuce leaf here, a little parsley there… those kind of things can go a long way. (Again, just don’t make a big production out of it.)
Camera+ let’s you turn on an optional “rule of thirds” grid that can be useful for framing your shot, too, but essentially you’re just trying to let the food take front and center. Don’t use the iPhone’s zoom, either—if you need to get closer, do it the old fashioned way.
Step 2: Keep your phone steady
Since you’re not using flash, shoot horizontally and try to keep your iPhone as still as possible. Vertical shots tend to not look as good, even if you’re about to dive into a three foot hoagie. Rest your elbows on the table for balance to steady your iPhone. Camera+ has a stabilizer option, but you don’t really need to use it. Just frame, keep still, and click.
Step 3: Try not to apply filters
If you’re an Instagram user, I know you’re tempted to retrofit your shot with different filters, but the goal with food photography is to capture your meal’s deliciousness with as much of the original color as possible. You want your friends’ mouths to water when they’re lurking your Facebook profile after the bar lets out, remember?
So there you go. Give it a try, and let us know how it goes. You can apply a lot of these same principles to other smartphones and point & shoots. Just, please, remember to turn your flash off.
More Must-Reads from TIME
- Donald Trump Is TIME's 2024 Person of the Year
- Why We Chose Trump as Person of the Year
- Is Intermittent Fasting Good or Bad for You?
- The 100 Must-Read Books of 2024
- The 20 Best Christmas TV Episodes
- Column: If Optimism Feels Ridiculous Now, Try Hope
- The Future of Climate Action Is Trade Policy
- Merle Bombardieri Is Helping People Make the Baby Decision
Contact us at letters@time.com