Dots

1. Collect magazines and newspapers, and use a hole punch to create dots from the pages.
2. Use a paintbrush and craft glue to apply dots to eggs.
Note: We used raw eggs for these crafts because they last the longest (assuming they don’t break!). However, if you’re nervous about cracked eggs or want to make this family-friendly, feel free to use hard-boiled instead.
Natural Dye
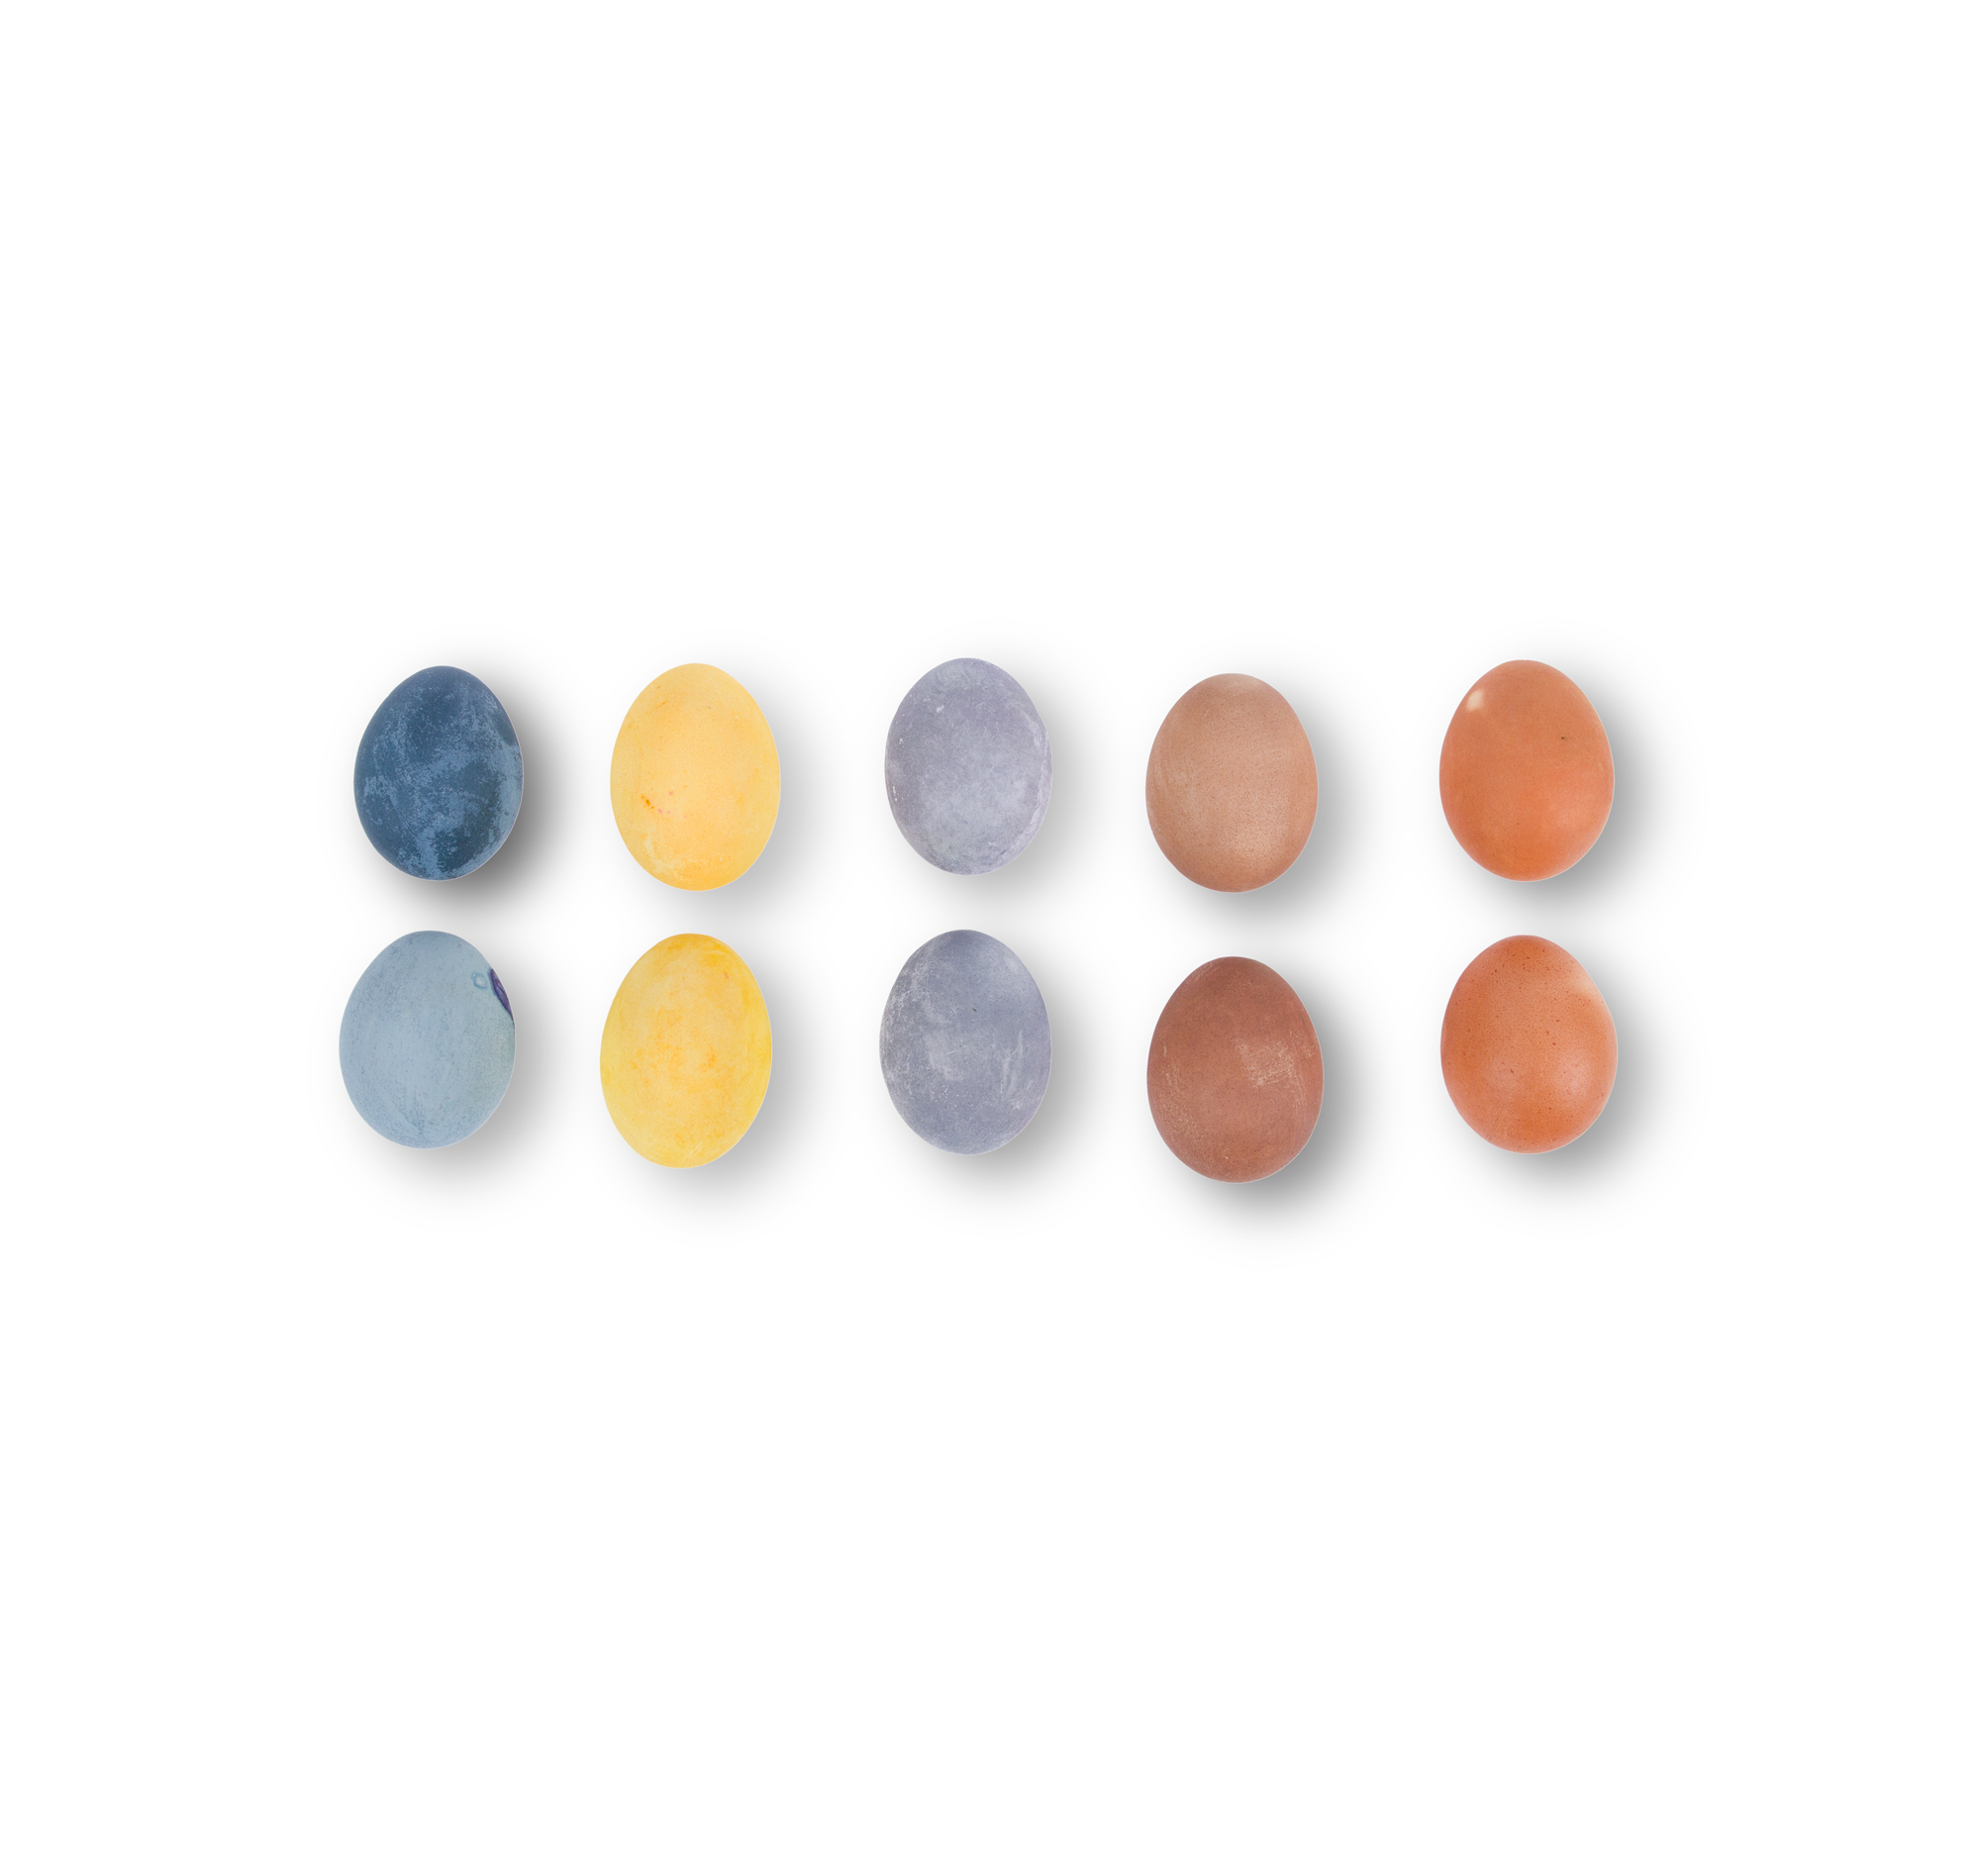
1. Wipe down all eggs with white vinegar.
2. Boil 2 cups chopped red cabbage, or the skins of 4 yellow onions, with 2 cups of water for 10 minutes covered. Strain out the cabbage.
3. Take the water off of the stove, and place the eggs in the water while still hot. The longer they sit in the dye, the more intense the color.
Alternate dye recipe: Mix 3 tablespoons turmeric into 2 cups of boiled water. Add eggs. Let soak 5 minutes. Remove with tongs and let dry.
Napkin
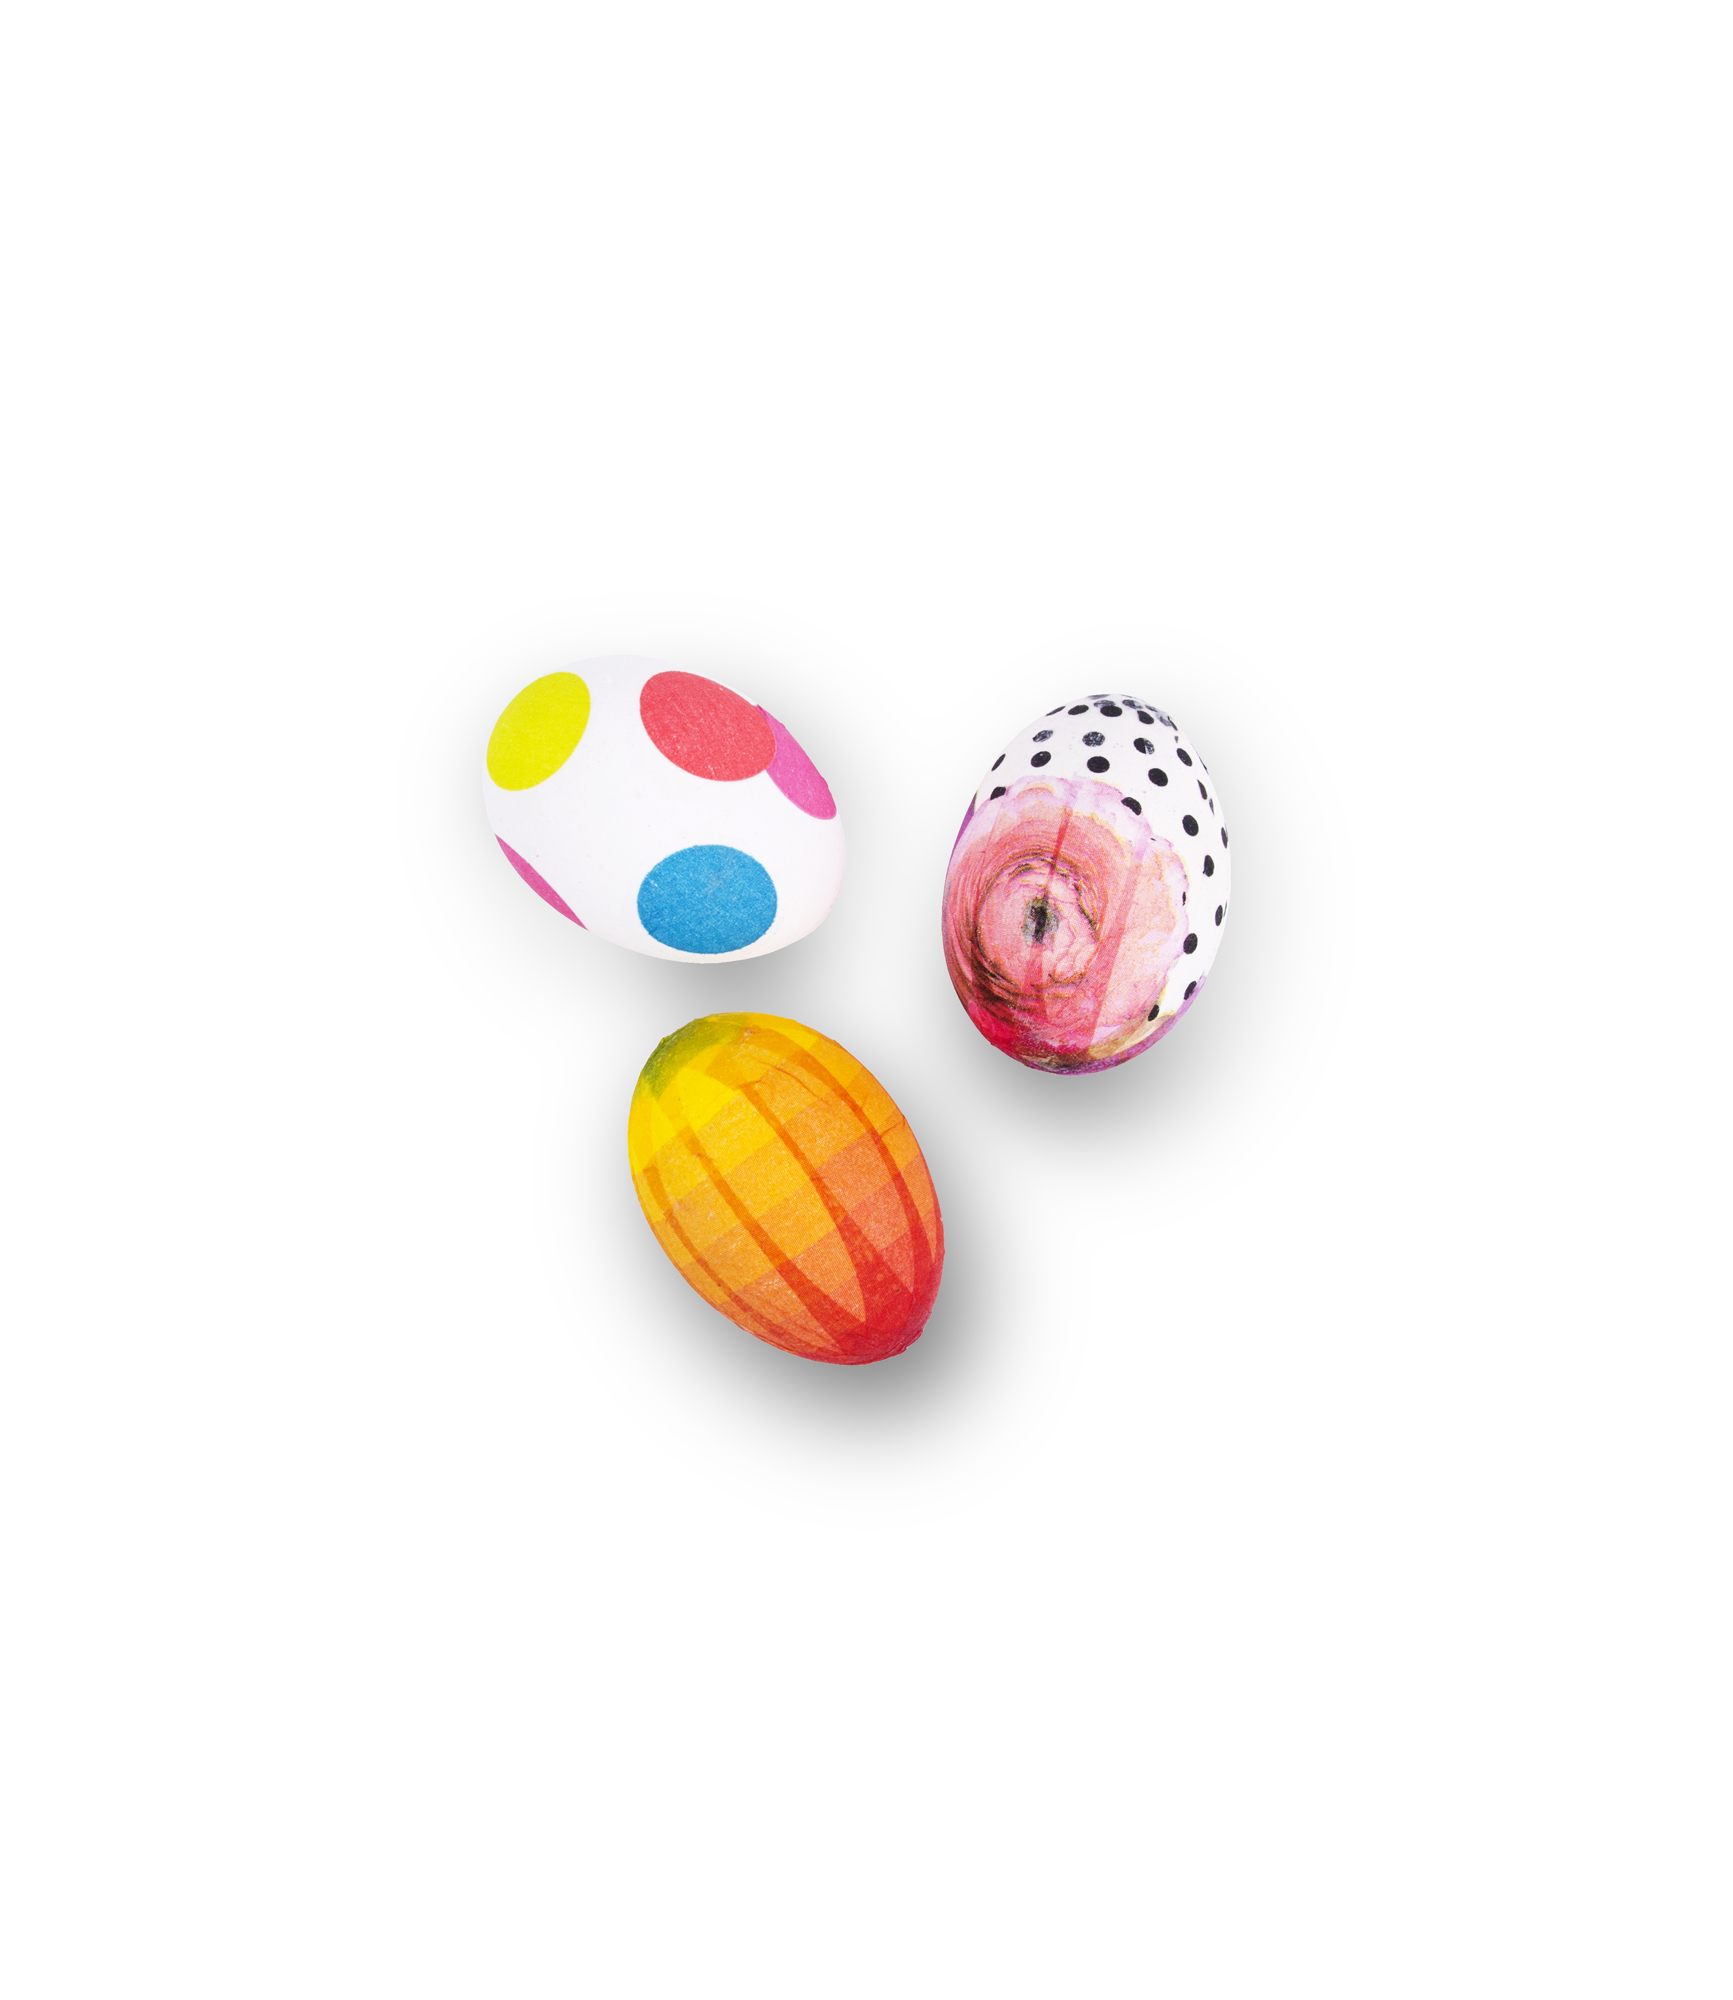
1. Separate out the colorful layer of a paper napkin and cut into half-inch strips.
2. Brush craft glue onto egg and and apply the strips, lining up the design on each strip and trimming ends as you go along.
3. Paint a layer of glue over entire egg to smooth wrinkles and create a satin finish.
Marbled
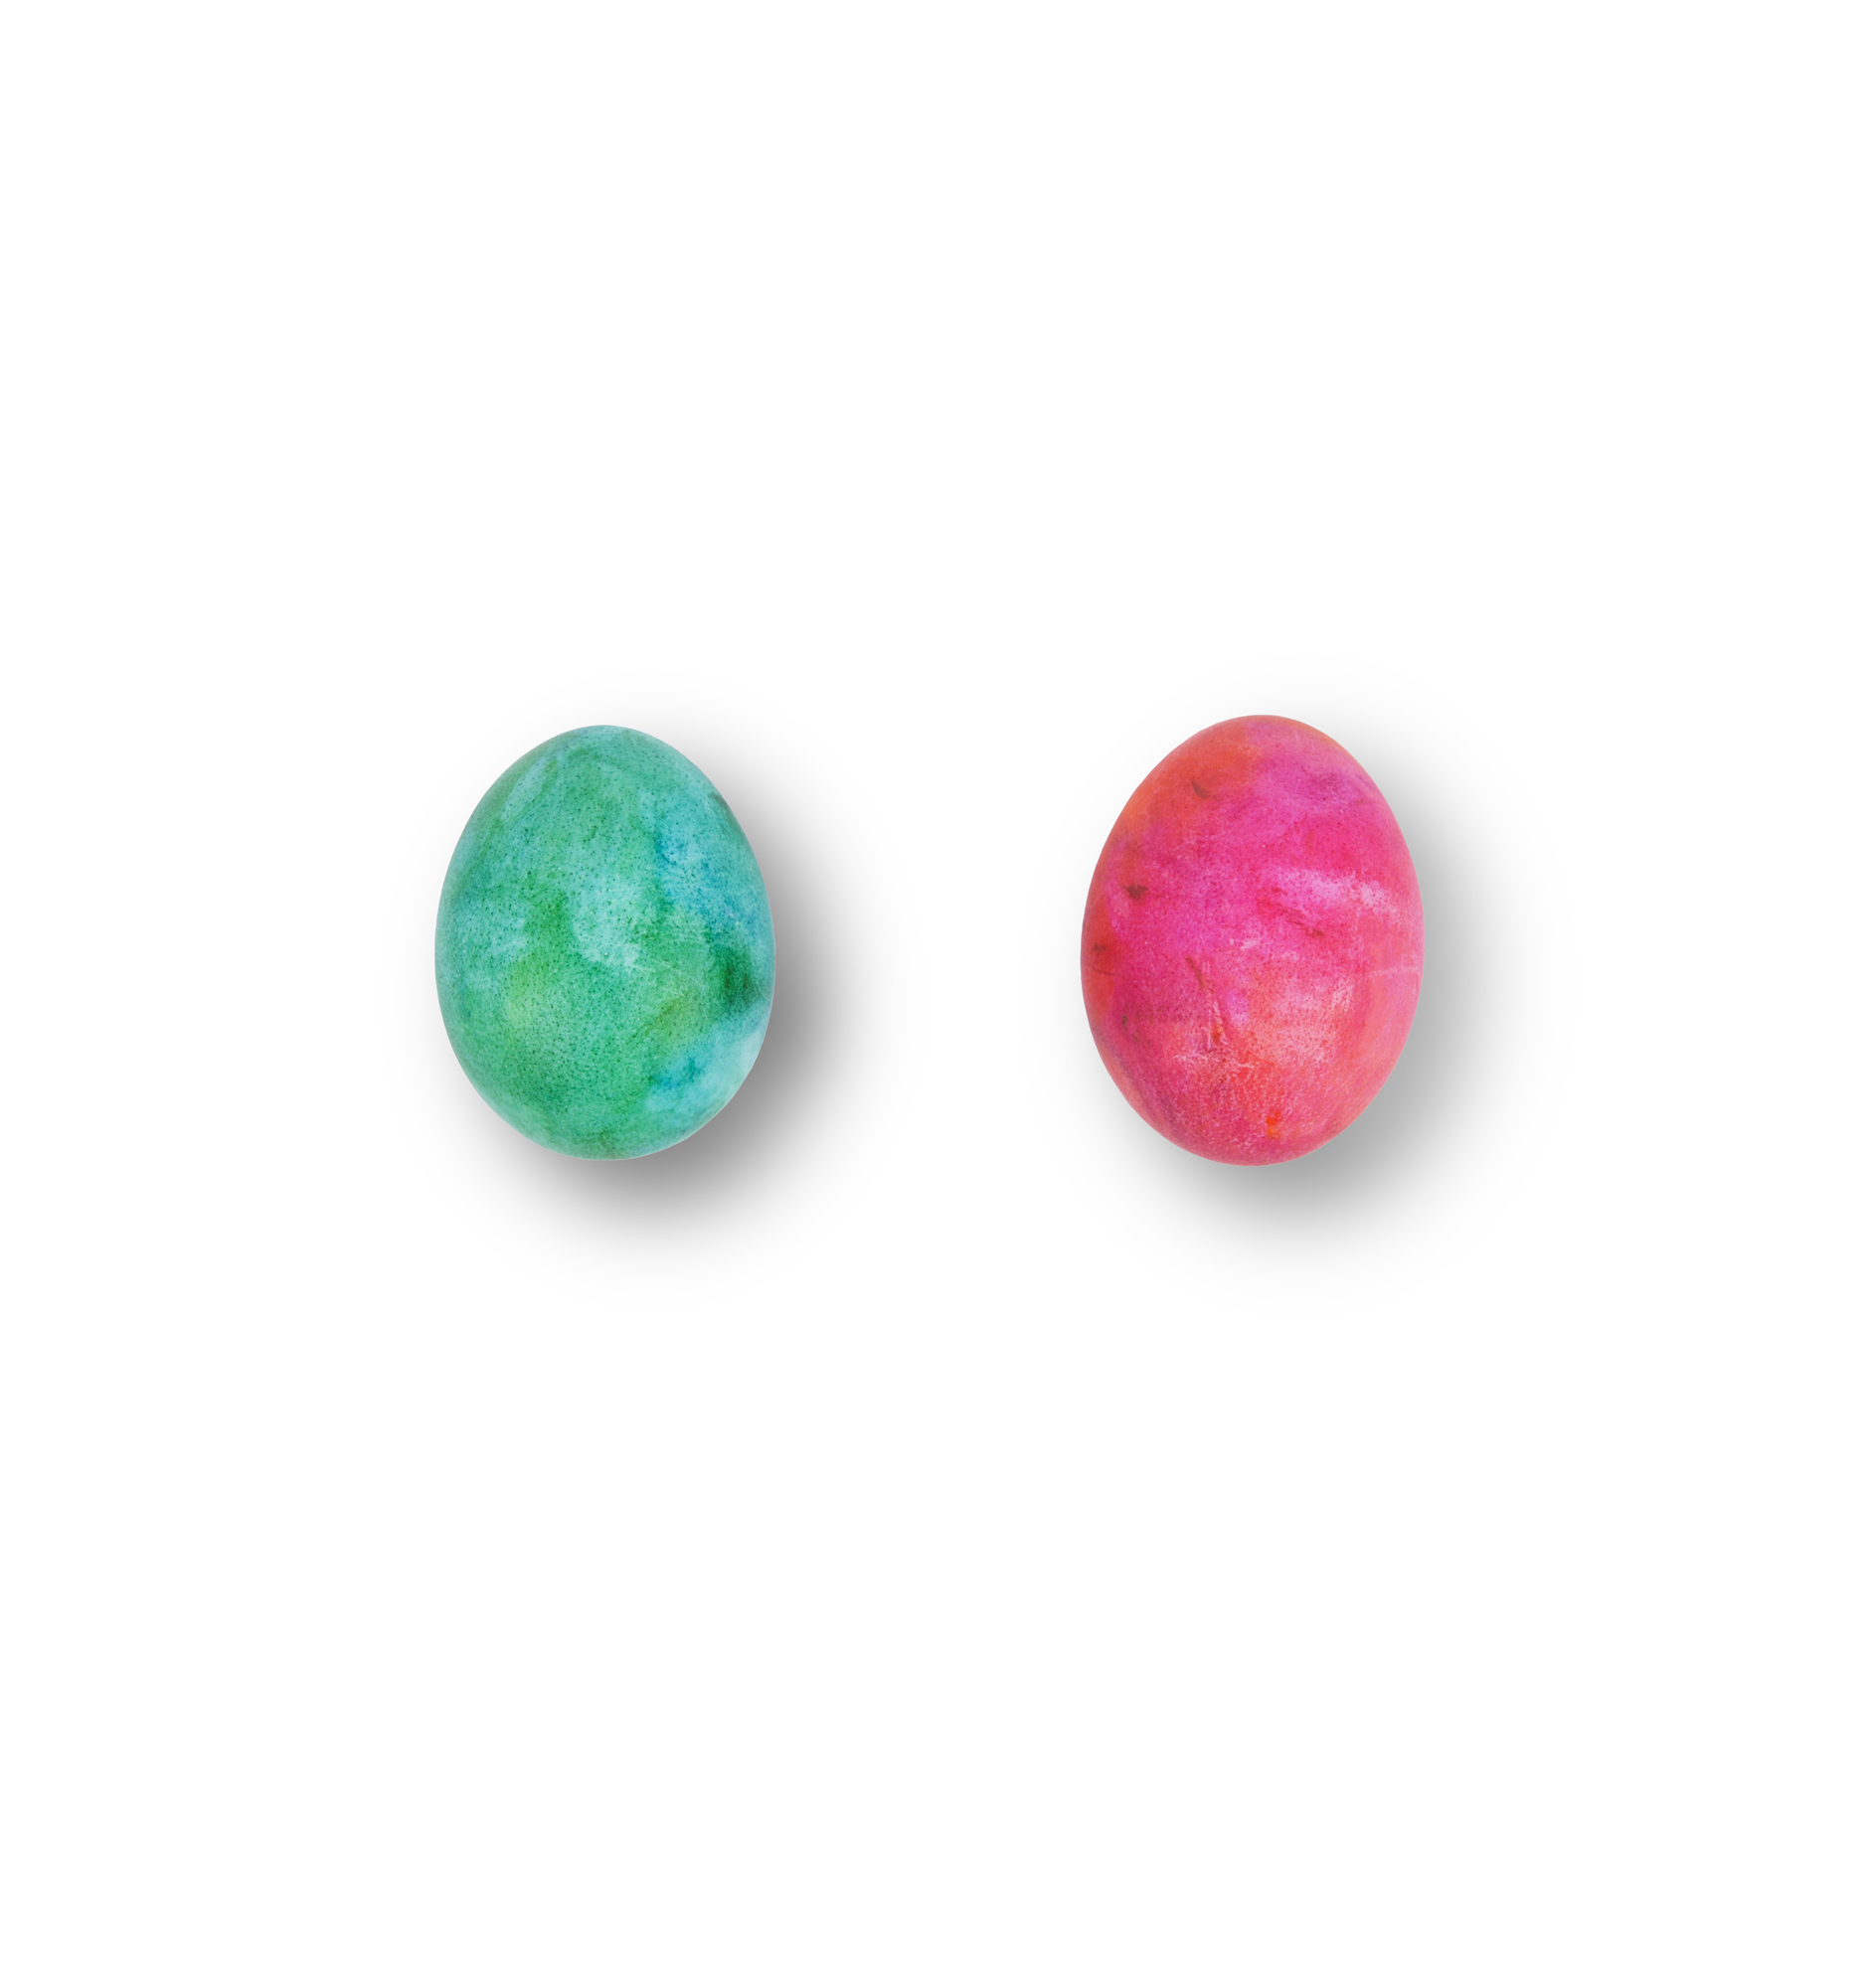
1. Cover a baking pan or plate in a layer of shaving cream.
2. Add stripes and dots of assorted food coloring to the pan.
3. Use a toothpick or chopstick to swirl colors throughout the shaving cream.
4. Roll the egg around in shaving cream, leaving a thick layer of shaving cream on eggs.
5. Leave egg on a drying rack or plate, and let it dry overnight or at least several hours.
6. Rinse off quickly in cool water.
Chick and Bunny Easter Eggs
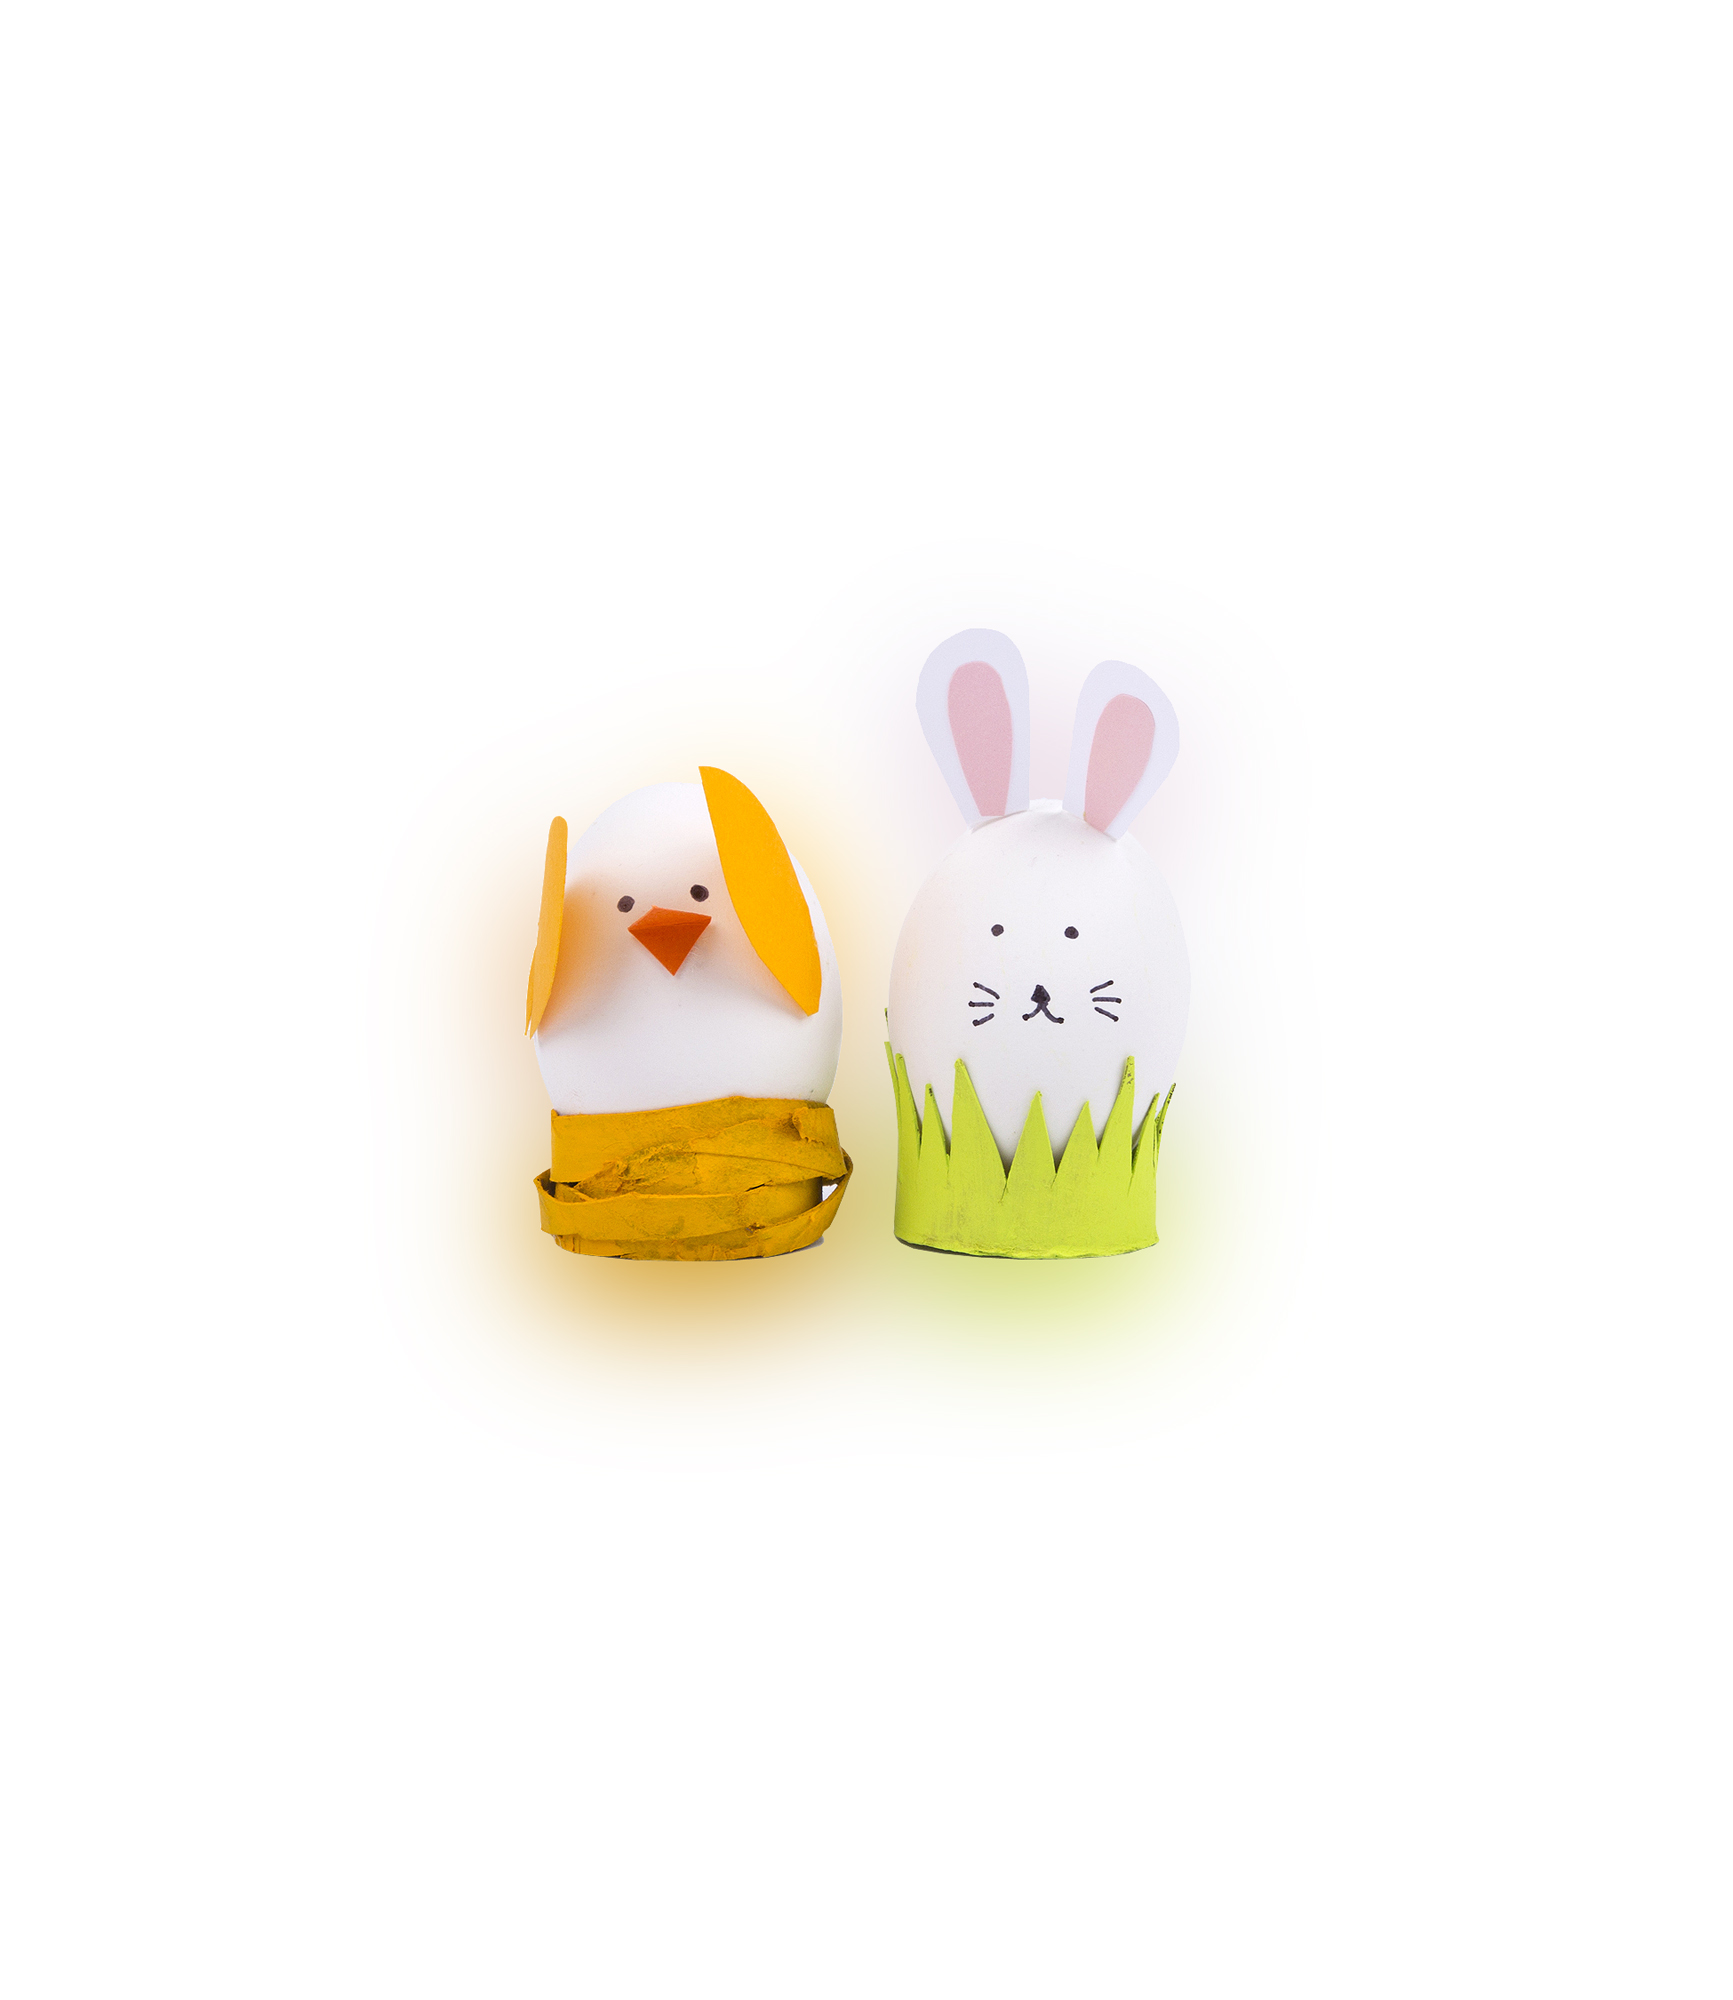
For the chick:
1. Draw eyes, nose and whiskers onto the egg using a fine Sharpie.
2. Cut out paper bunny ears. Attach each ear with craft glue.
3. For the nest, cut a portion of a toilet paper tube in a spiral strip.
4. Paint the tube yellow. Manipulate the spiral into a tangled nest shape.
For the bunny:
1. Draw eyes onto the egg using a fine Sharpie.
2. Cut out paper wings and beak, and attach with craft glue.
3. Cut a segment of paper towel tube roll and cut one edge in a jagged shape to mimic grass.
4. Paint the tube green. If it’s too wide for the egg, cut a slit and tape the tube shut at a smaller diameter.
String
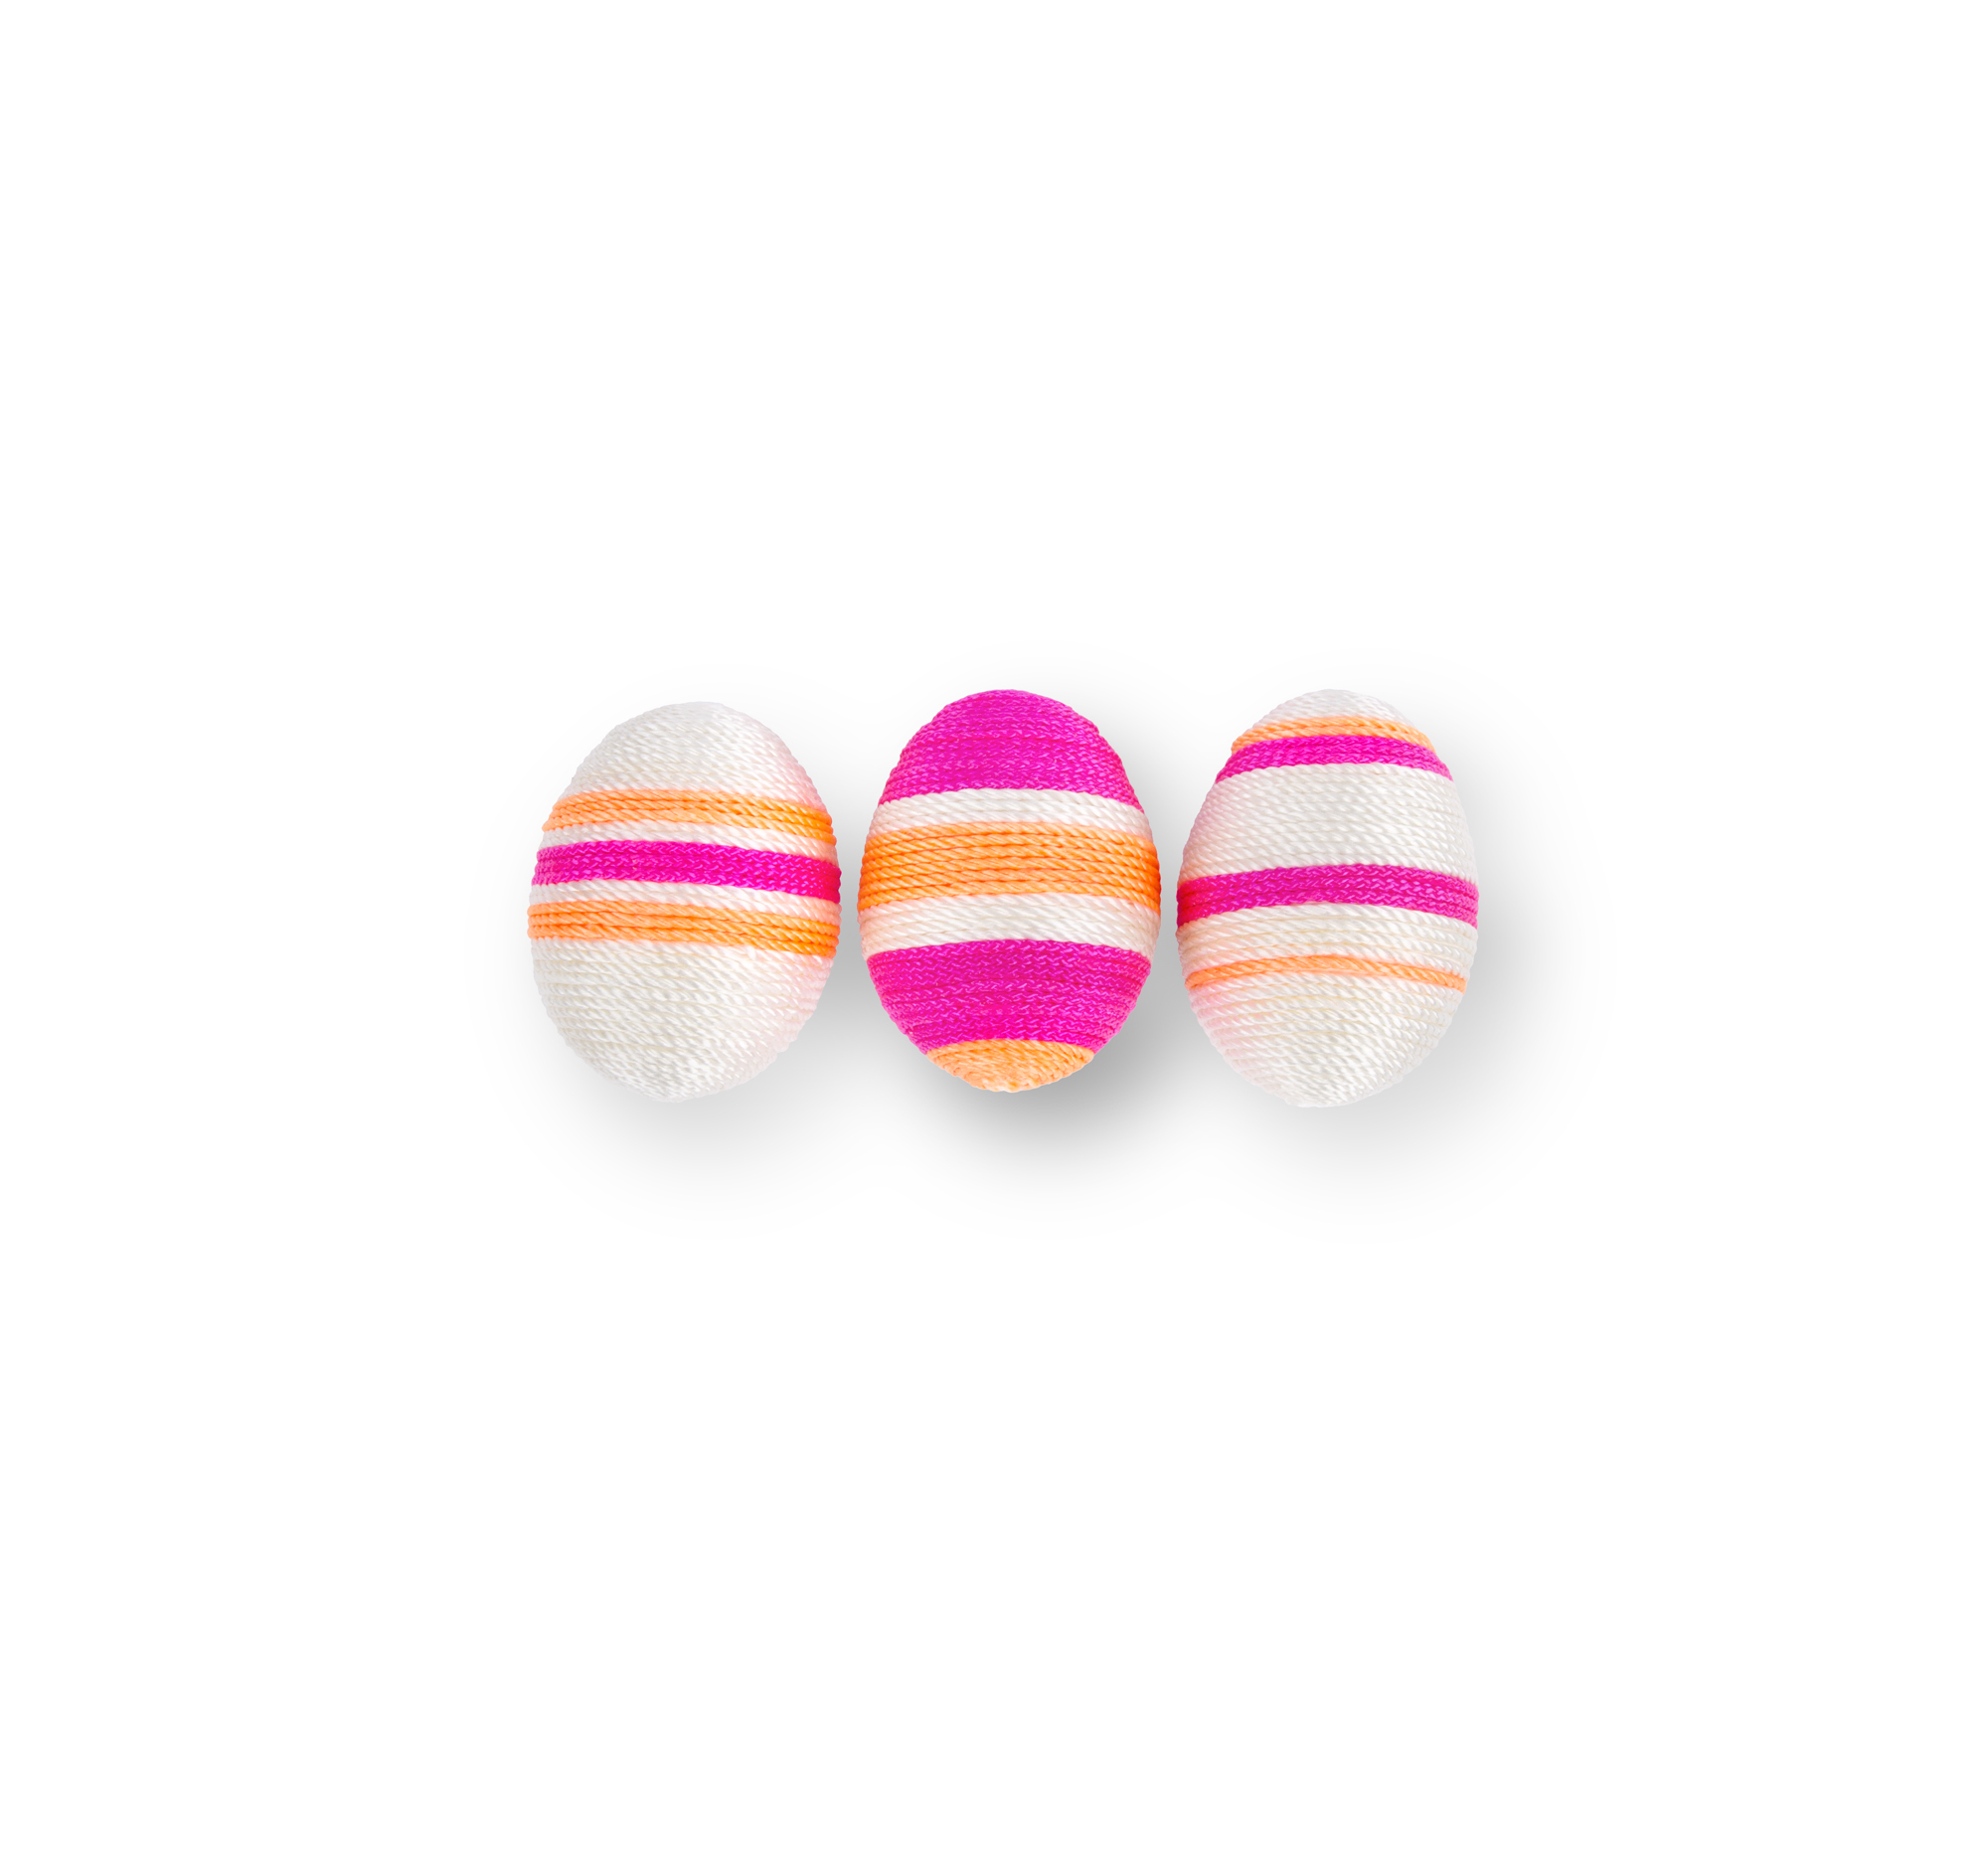
1. If you have a child who went to camp, you probably have plenty of friendship bracelet string at home. Cut a few contrasting colors into different lengths. This will make it easier to wrap string around the egg.
2. While wrapping the string tightly around the egg, use craft glue and a paintbrush to adhere string to the shell. Trim excess string as necessary.
Sharpie
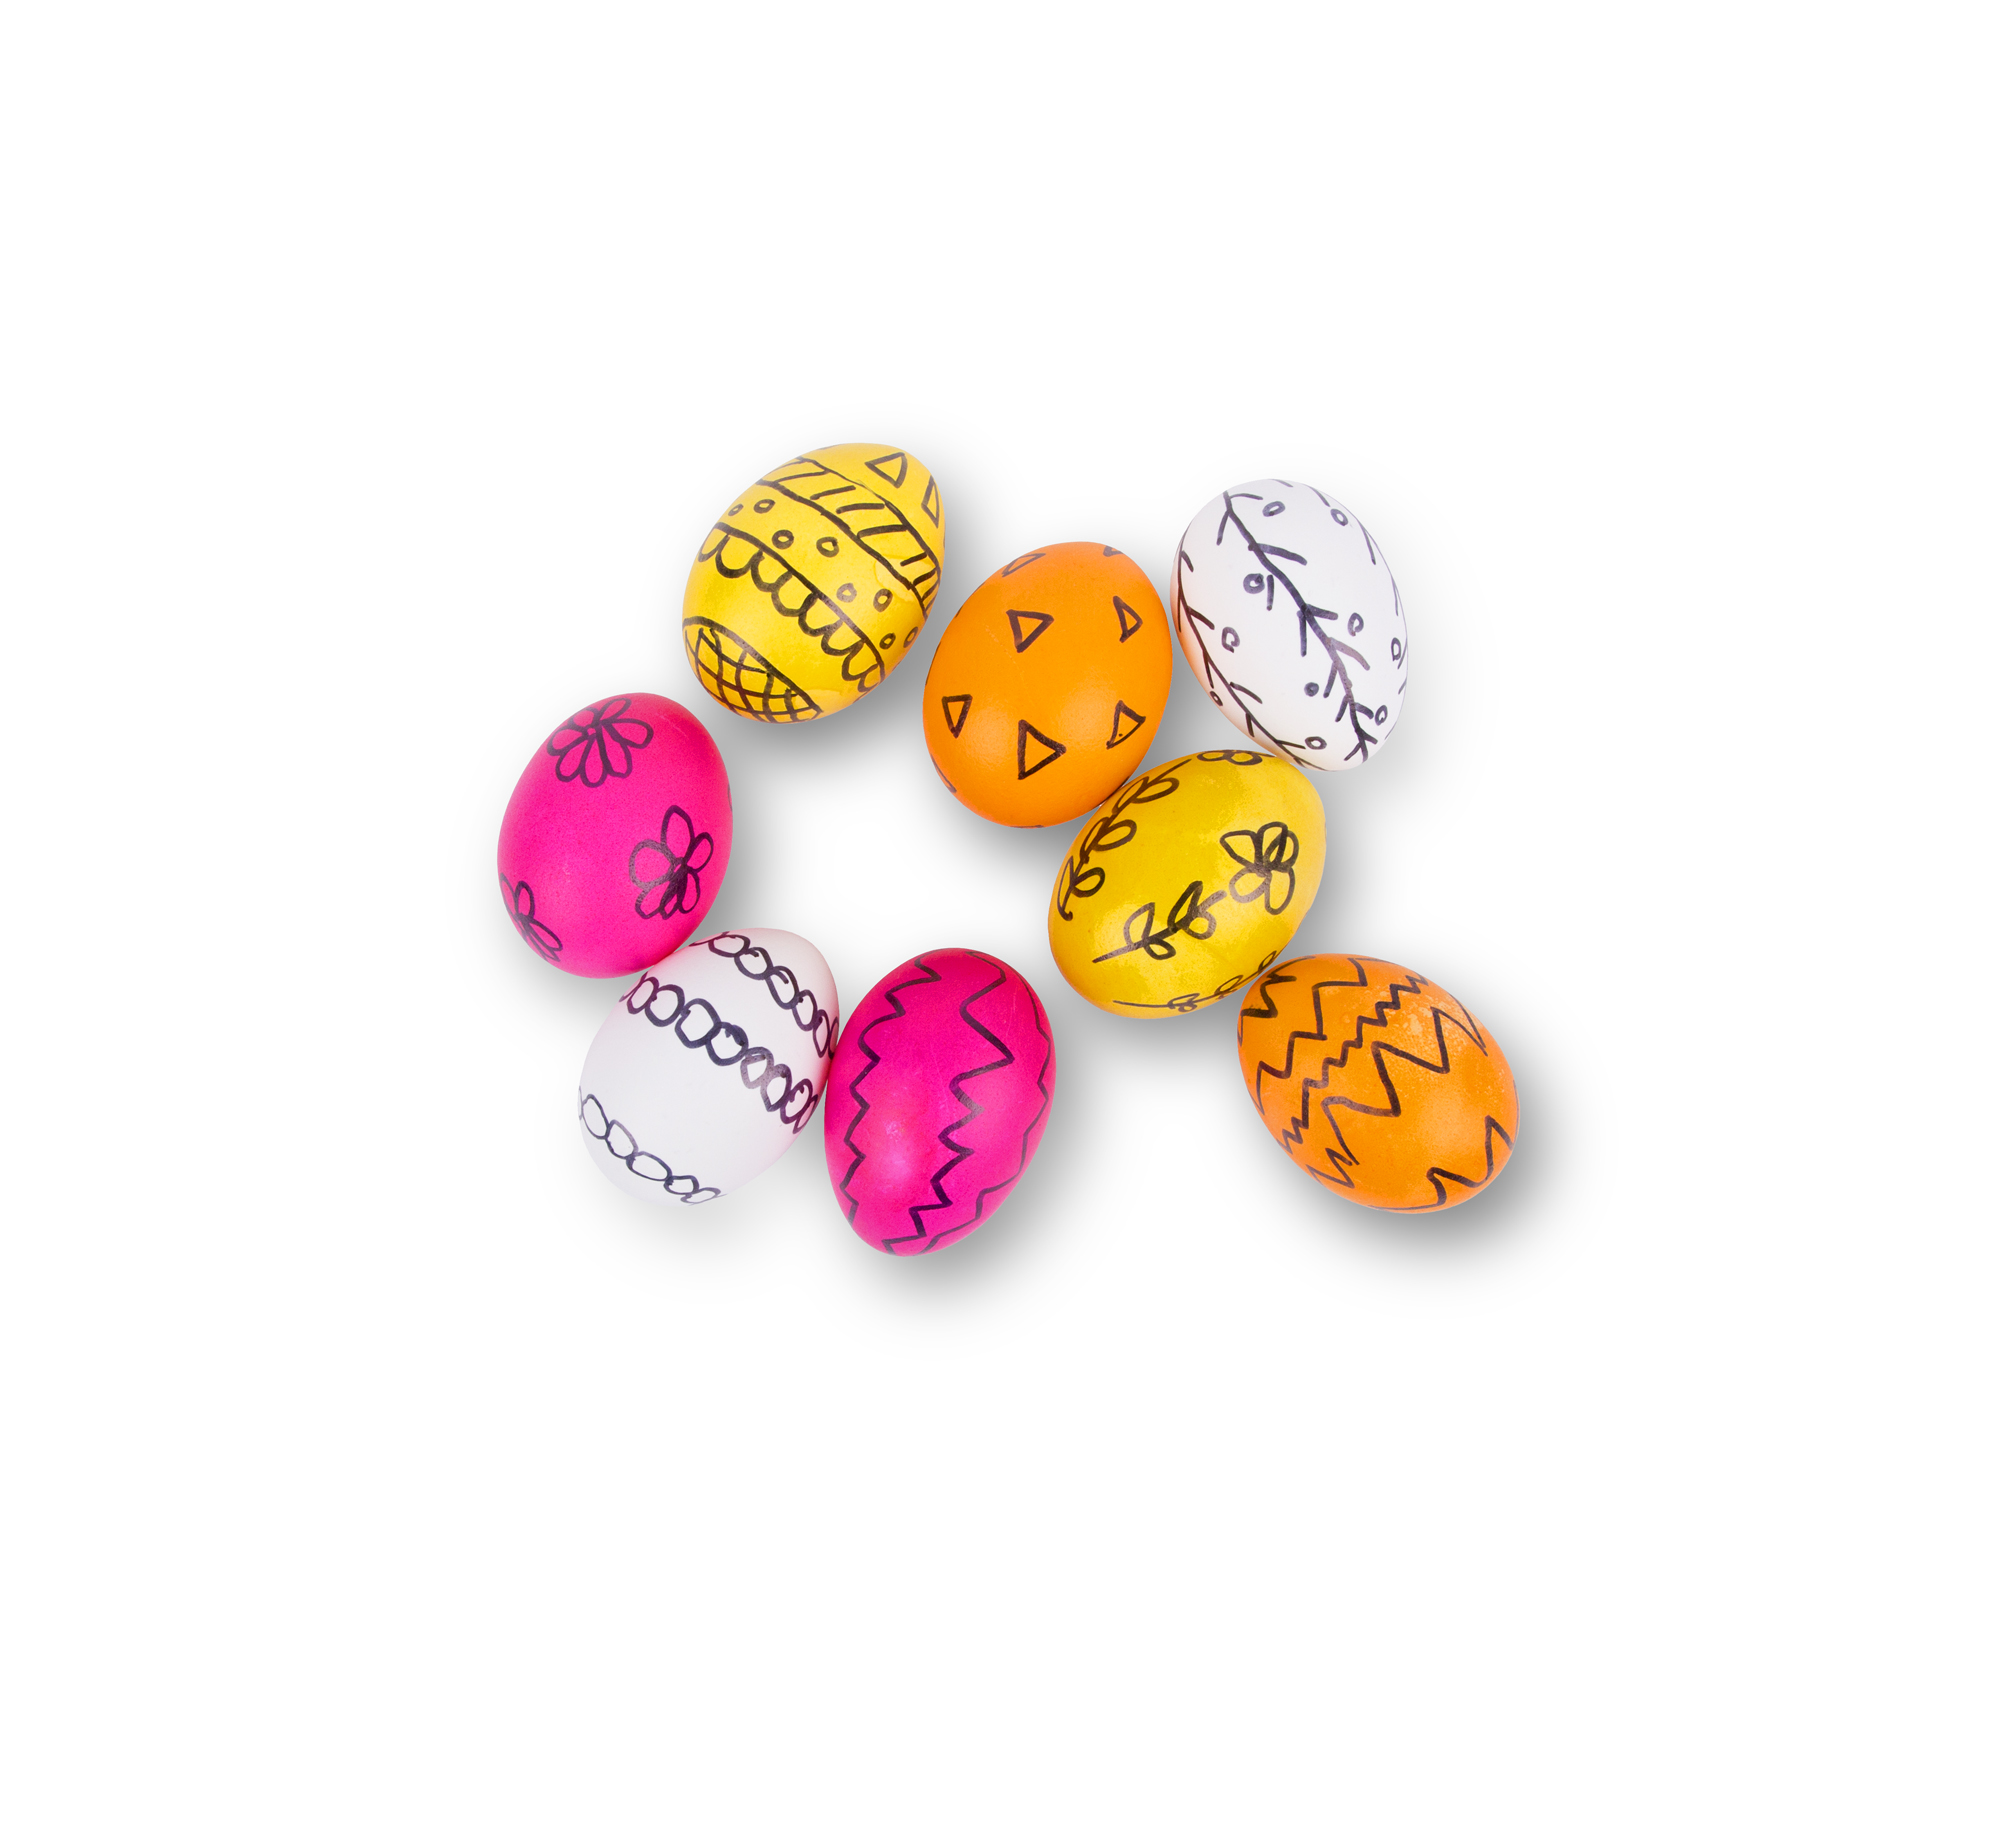
1. You can use plain eggs, but we chose to dye our eggs beforehand. Try the natural dye method from our previous tutorial.
2. Once the dyed eggs are dry, use a Sharpie to draw designs on the eggs. You can use ours for inspiration, or create your own!
This article originally appeared on RealSimple.com.
More from Real Simple:
More Must-Reads From TIME
- The 100 Most Influential People of 2024
- Coco Gauff Is Playing for Herself Now
- Scenes From Pro-Palestinian Encampments Across U.S. Universities
- 6 Compliments That Land Every Time
- If You're Dating Right Now , You're Brave: Column
- The AI That Could Heal a Divided Internet
- Fallout Is a Brilliant Model for the Future of Video Game Adaptations
- Want Weekly Recs on What to Watch, Read, and More? Sign Up for Worth Your Time
Contact us at letters@time.com